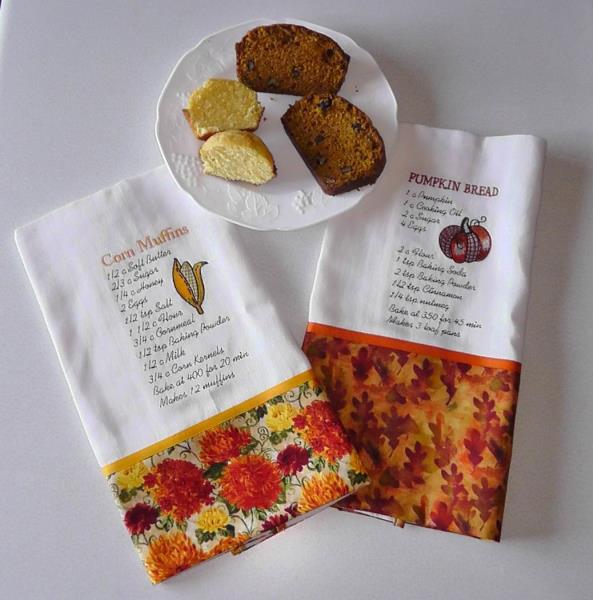
The tea towels will come in different lengths and widths. There may or may not be woven stripes on the towels either at the sides or along the bottoms. The amount of fabric to purchase will depend upon these things. For the project, the towel had woven stripes along each side, so a roll of 3/8” grosgrain ribbon was purchased for each towel to coordinate with the chosen fabric. You may choose two different fabrics or one for both towels as you wish. The embroidery is done then the ribbon and fabrics applied. The recipes make up well and the breads didn’t last long!
Step 1:
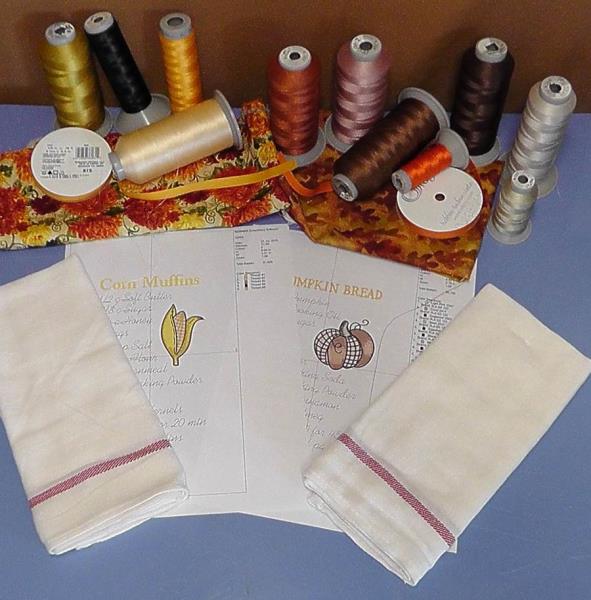
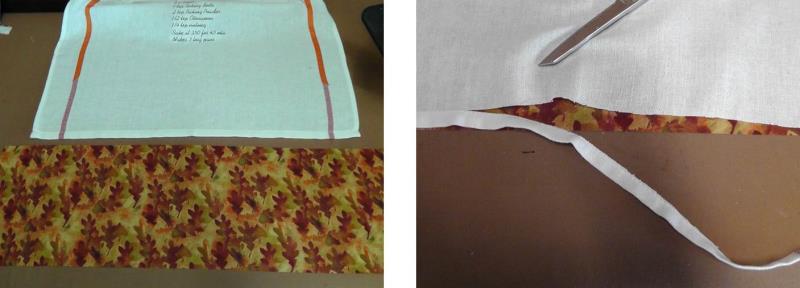
Gather the supplies and read through the instructions before beginning. It is not necessary to pre-wash the towels and fabrics, but you may do so if you wish. Follow the color sequence for the embroidery thread, but use colors that will also coordinate with the fabrics. Print out paper templates of the designs.
(Click Image to Enlarge)
Step 2:
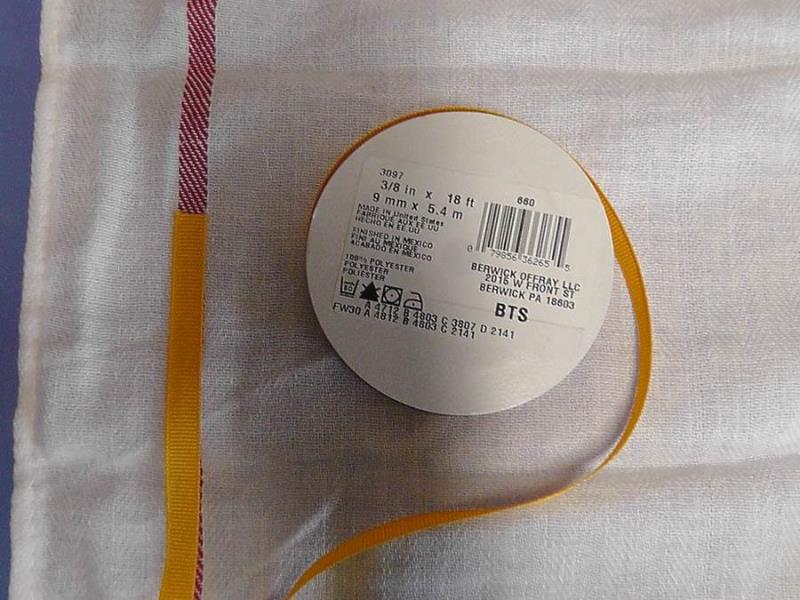
Choose ribbon that will cover the woven stripes in the towels if there are any. You may get lucky and be able to skip this step if the stripes coordinate with your project. For the project, 3/8” grosgrain ribbon was used and was just wide enough to cover the stripe.
(Click Image to Enlarge)
Step 3:
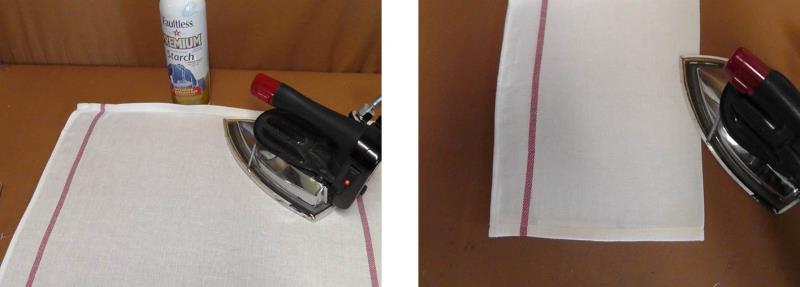
Press the towel well and then fold it in half lengthwise and press in a light crease to aid in aligning the paper template.
(Click Image to Enlarge)
Step 4:
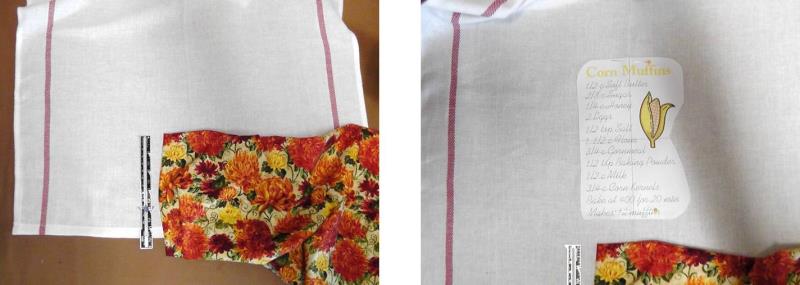
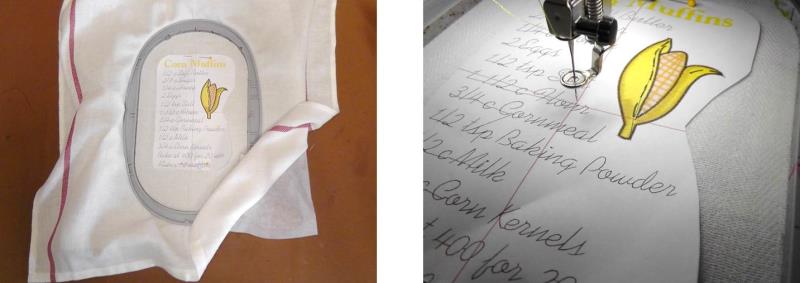
For design placement purpose, determine the depth of the fabric band at the bottom of the towel. For this towel it will be approximately 5.5”. Then place and center the paper template of the “Corn Muffin” design on the towel, aligning the top and bottom crosshairs to the crease marks on the towel.
(Click Image to Enlarge)
Step 5:
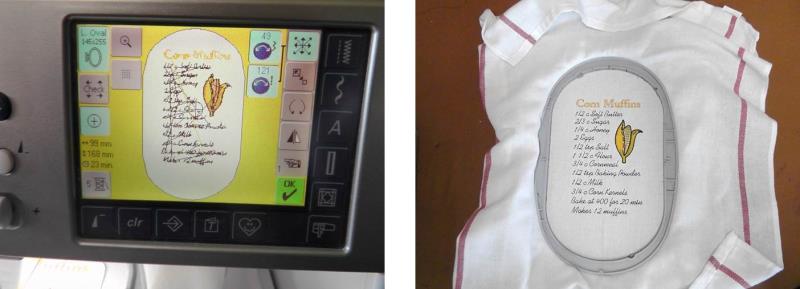
Hoop the towel with one layer of tearaway stabilizer. Load the “Corn Muffin design on the machine. Align the needle to the center of the paper template.
(Click Image to Enlarge)
Step 6:
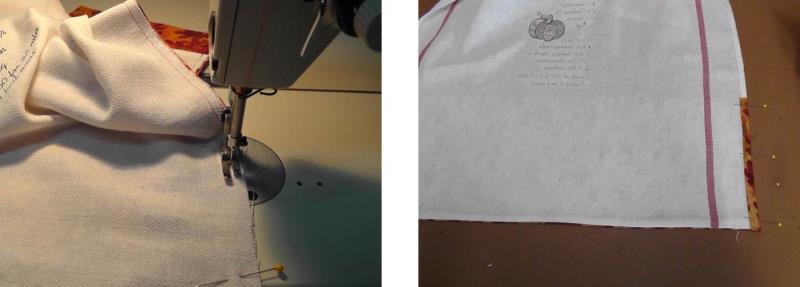
Stitch the design following the color sequence. You will notice that the text of the design jumps from one area to another making a lot of trims in this design. Check the embroidery work to make sure all threads are trimmed before removing the fabric from the hoop.
(Click Image to Enlarge)
Step 7:
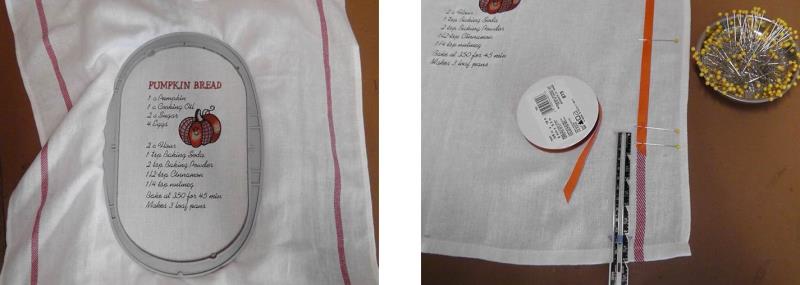
Repeat the steps of pressing, hooping and embroidering the “Pumpkin Bread” design on the second towel. Remove the excess stabilizer from both embroidery designs then begin the final decorating process. Cut and pin lengths of grosgrain ribbon over the woven stripes on the towel; extend the bottom of the ribbon about ¼” into the area to be covered with the fabric band at the bottom.
(Click Image to Enlarge)
Step 8:
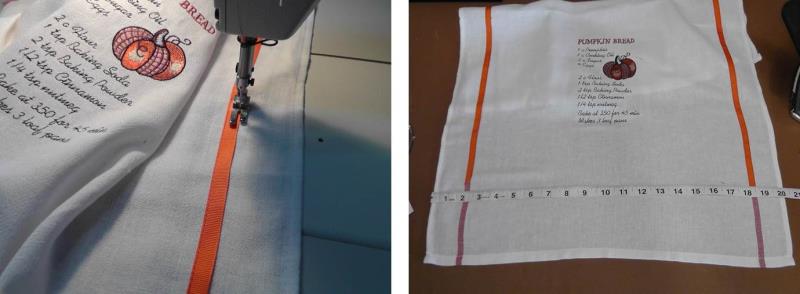
Sew the ribbon onto the towel along both edges of the ribbon. Next measure the width of the towel to cut the fabric band.
(Click Image to Enlarge)
Step 9:
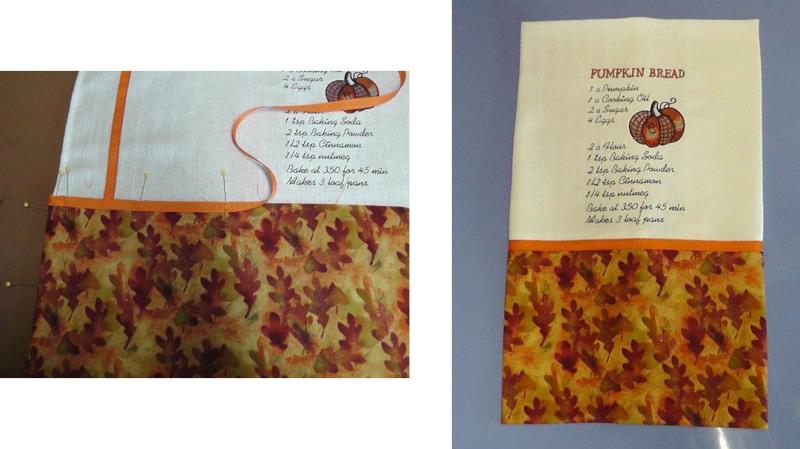
Add ½” at each end and cut the fabric the width and depth needed for the band. If the hem of the towel is bulky, cut it off next to the stitching line. Pin the fabric to the towel with the right side of the fabric to the wrong side of the towel at the lower hem edge and pin in place.
(Click Image to Enlarge)
Step 10:
Sew the fabric to the towel using a ¼” seam. Press the fabric to the right side. Double fold and turn back each short edge of the fabric wrapping it around the towel edges and pin in place.
(Click Image to Enlarge)
Step 11:
From the right side, pin the top of the fabric into position. Cut a length of ribbon the width of the towel plus 1”. Center the ribbon over the raw edge of the upper fabric pinned to the towel. Fold each cut end of the ribbon under ¼” and then wrap it to the back side of the towel and pin in place. Pin the ribbon in place over the raw edge of the towel. Secure the fabric and ribbon into position by stitching each edge of the towel and along both edges of the ribbon. Give the towel a final pressing. Repeat for the other towel.
(Click Image to Enlarge)
Step 12:
Bake up the recipes on the towels and enjoy them with your family or guests or give these as a hostess gift when next invited to a friend’s home.
Ramona Baird has been in the embroidery industry for over 23 years. She and her husband owned a commercial and retail embroidery store in Arizona for many years. She is an experienced digitizer having been mentored by award-winners Pat Williams and Lindee Goodall. Ramona is a contributor to “Creative Machine Embroidery” magazine having 5 covers to her credit. Ramona has worked for Wilcom America and served many years as Education Director for the American Sewing Guild. With a degree in fashion design, she is able to design and execute patterns which Pat Williams says are “out of the box” in creativity and application. Ramona likes to challenge the boundaries of embroidery and bring new and exciting designs, ideas, and projects to EmbroideryDesigns.com. She wants embroiderers of all levels to increase their skills and enjoyment in using their embroidery machine for gift-making and personal pleasure.