The umbrella has a wide enough area to be able to hoop with an adhesive stabilizer and fit under the needle of the machine for stitching; the designs were scaled down 3% and rotated 180° at the machine. Determine the placement for each design, attach the section to the hooped stabilizer (add pins for extra security if needed), stitch the design, cut away the excess stabilizer and then rinse the remainder after all the designs have been embroidered. There is no need for additional treatment of the stitched areas to keep out any water, but if you feel it is necessary, a spray coating of water repellent can be applied over the outside and inside of the embroidered area.
Step 1:
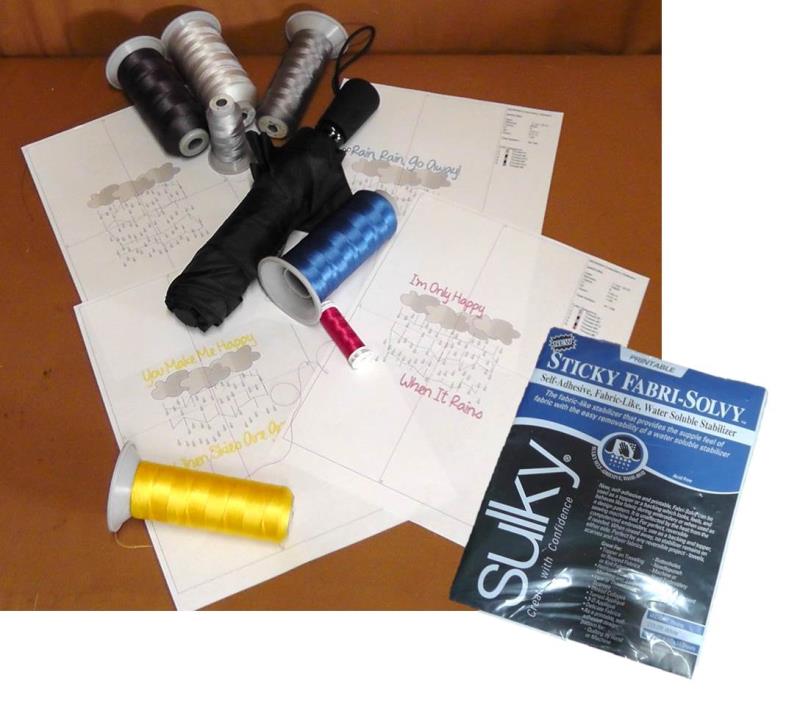
Gather all the materials and read through the instructions before beginning. The umbrella used for this project is a pop-up style with wide sections making it easy to hoop and embroider. Use a fabric-type adhesive stabilizer for hooping the umbrella. Print out paper templates of the designs to aid in design placement.
(Click Image to Enlarge)
Step 2:
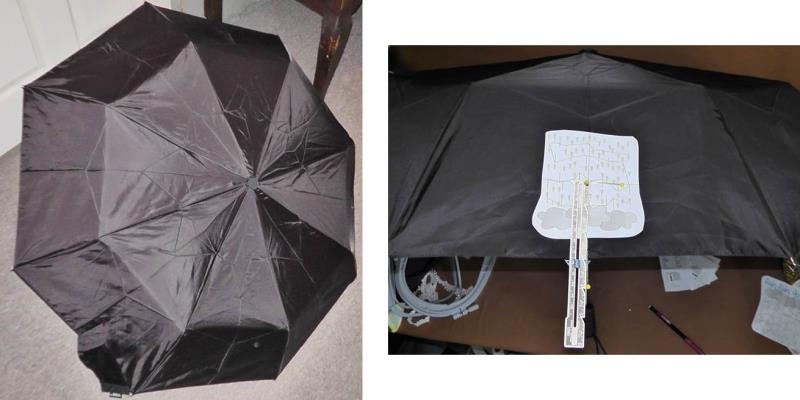
Open up the umbrella and count the sections. This umbrella has eight sections, with the tab to secure the umbrella closed on one section. Determine which sections to use for embroidery. For the project every other section was embroidered beginning with the section to the right of the section with the tab. Measure the width of the section and find the center. This umbrella was 14” wide at the edge of each section so a pin was placed at 7”. Cut out the design from the paper. It was determined for hooping purposes that the center of each design should be placed 3” up from the edge. Measure the umbrella you purchase and decide on the placement of the designs.
(Click Image to Enlarge)
Step 3:
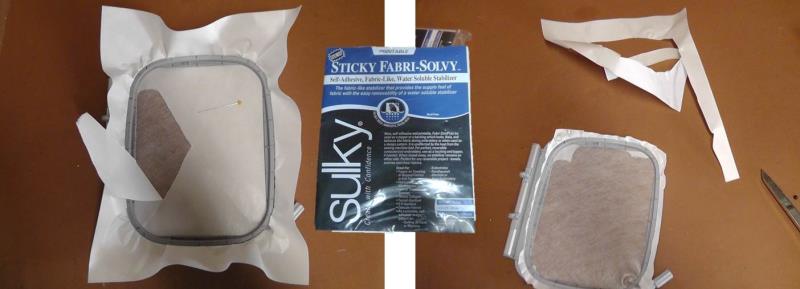
Hoop one layer of stabilizer with the paper side up. Remove the protective paper from within the hoop area. Cut away the excess paper from around the hoop so it doesn’t interfere with the hooping and stitching.
(Click Image to Enlarge)
Step 4:
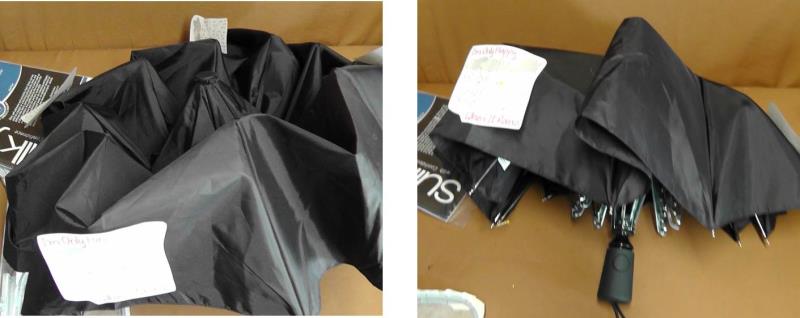
Partially close the umbrella. The umbrella needs to be in its relaxed state for hooping and stitching.
(Click Image to Enlarge)
Step 5:
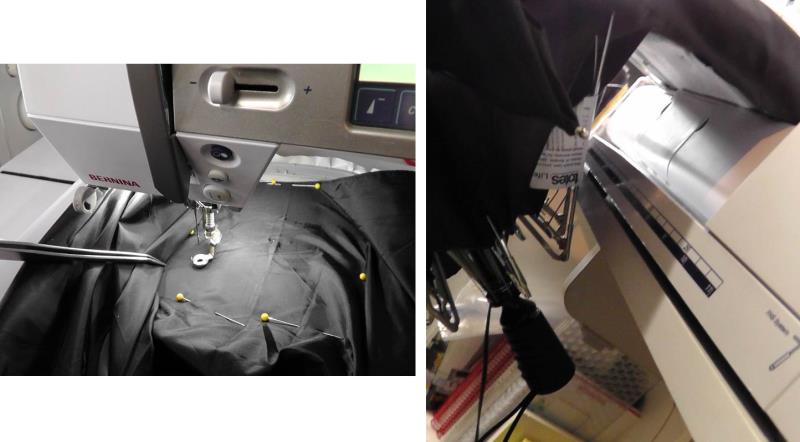
When hooping align the edge of the umbrella with the upper edge of the hoop. Stick the umbrella fabric to the adhesive stabilizer. If you feel it is necessary, add pins around the perimeter of the hoop; be sure they will be well out of the way of the foot while stitching. Pull the machine as close to the edge of the table as possible yet maintaining safety. Place the handle of the umbrella and the metal brackets well out of the way of the hoop. When stitching, I did not have any problems with these things getting in the way or dragging the hoop but you must check carefully to be sure that the foot and needle will be clear of any hardware from the umbrella and that the weight of the umbrella will not cause any drag on the hoop.
(Click Image to Enlarge)
Step 6:
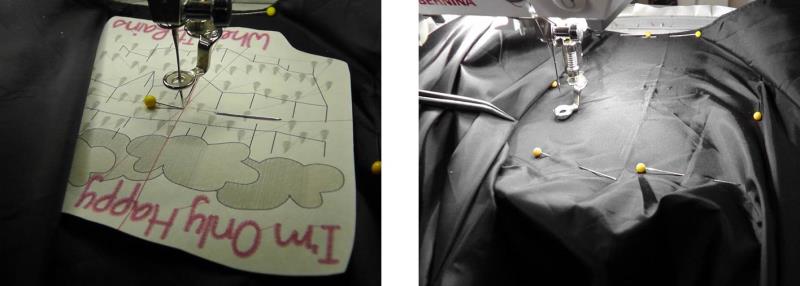
Load the design “I’m Only Happy” on the machine. Rotate the design 180°. Align the needle to the center of the template. Remove the template. Do a clearance check of the design stitch area. If needed, hold any fabric or hardware out of the way with tweezers.
(Click Image to Enlarge)
Step 7:
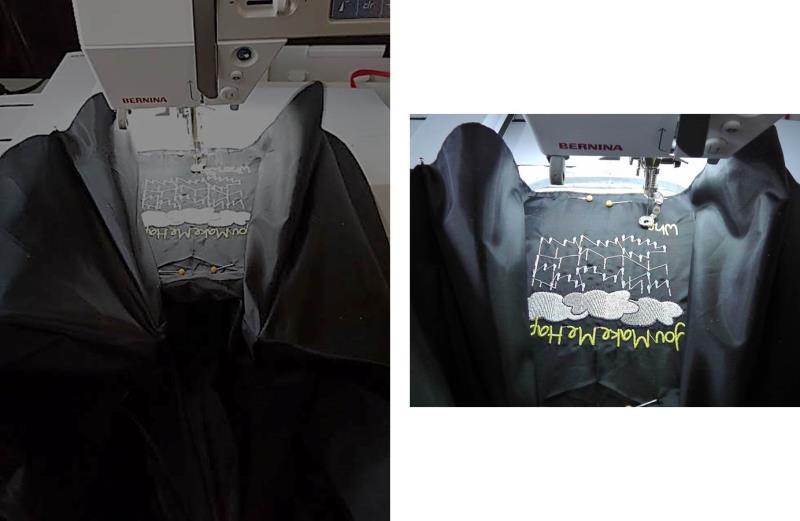
Stitch the design following the color sequence.
(Click Image to Enlarge)
Step 8:
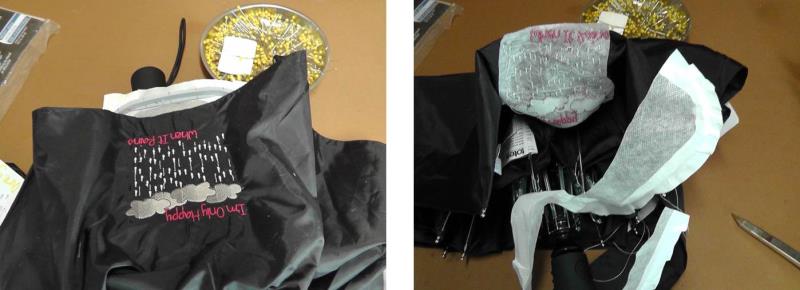
Carefully remove the hoop from the machine and then remove the hoop from the fabric. Cut away the excess stabilizer.
(Click Image to Enlarge)
Step 9:
Repeat the steps of hooping the stabilizer and stitching the remaining three designs as planned.
(Click Image to Enlarge)
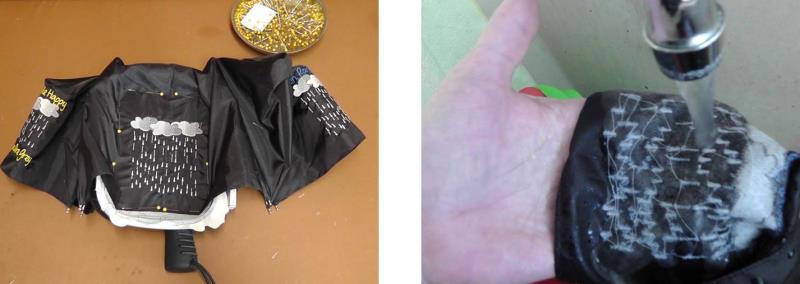
Step 10:
After all the designs have been stitched, run the embroidery under water to remove the excess stabilizer according to the manufacturer’s directions.
(Click Image to Enlarge)
Step 11:
Allow the fabric to dry thoroughly. Water will still be repelled over the umbrella but if desired, spray to coat the embroidered area with a water repellent on the top and underside of the embroidery.
(Click Image to Enlarge)
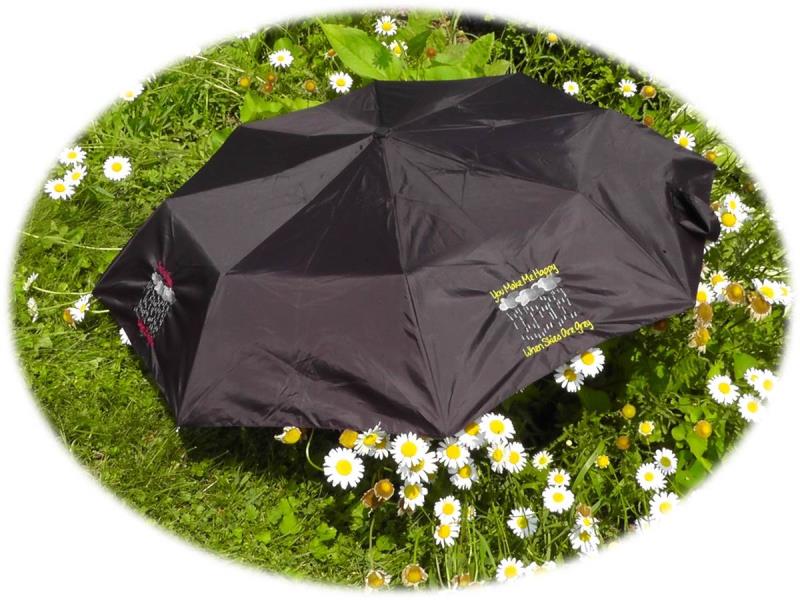
Step 12:
Congratulations on completing a whimsical embroidered umbrella to brighten those rainy days.
Ramona Baird has been in the embroidery industry for over 23 years. She and her husband owned a commercial and retail embroidery store in Arizona for many years. She is an experienced digitizer having been mentored by award-winners Pat Williams and Lindee Goodall. Ramona is a contributor to “Creative Machine Embroidery” magazine having 5 covers to her credit. Ramona has worked for Wilcom America and served many years as Education Director for the American Sewing Guild. With a degree in fashion design, she is able to design and execute patterns which Pat Williams says are “out of the box” in creativity and application. Ramona likes to challenge the boundaries of embroidery and bring new and exciting designs, ideas, and projects to EmbroideryDesigns.com. She wants embroiderers of all levels to increase their skills and enjoyment in using their embroidery machine for gift-making and personal pleasure.