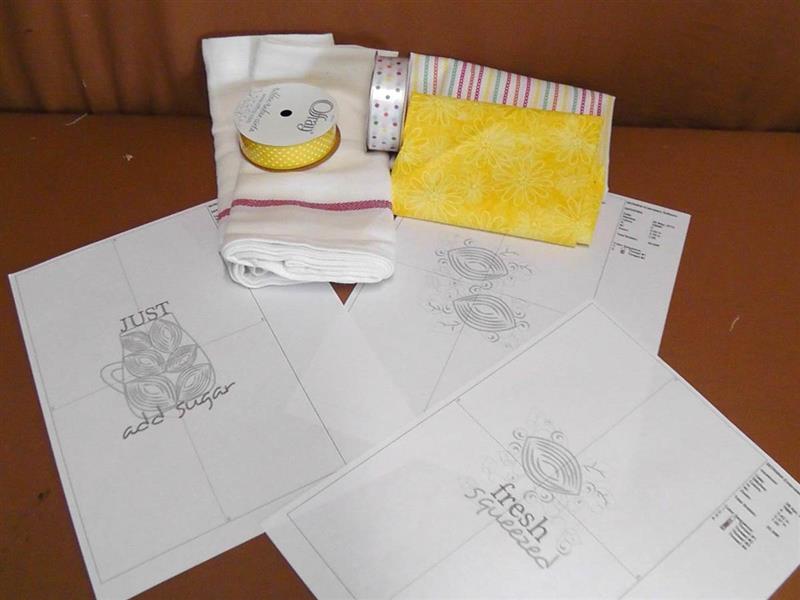
One tea towel is used to create the wrap for the pitcher and the other tea towel is cut in half and used for the towel and glass mat. Ribbon provides accents and covers the red woven trim on the towel. A colorful summer-colored fabric accents the bottom of the towel and a lemony yellow floral fabric is used for the back of the glass mat. The amount of ribbon and fabric to purchase will depend on the size of the towels being used. General instructions are given for the project; purchase the towels and then measure and figure out how much ribbon and fabric to purchase.
Step 1:
Gather the supplies needed. Print paper templates of the embroidery designs. Read all the instructions before beginning the project.
(Click Image to Enlarge)
Step 2:
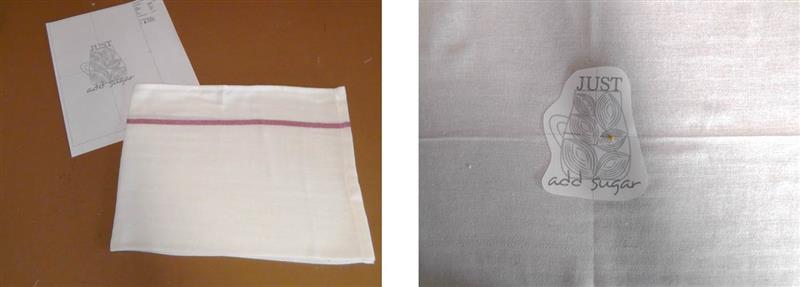
Begin with the pitcher wrap which will use one full towel. Press the towel well then quarter fold it to find the center of the towel; press lightly to crease. Cut out the paper template of embroidery design “JUST add sugar”. Center the paper template at the center of the towel. Hoop the towel with the tearaway stabilizer.
(Click Image to Enlarge)
Step 3:
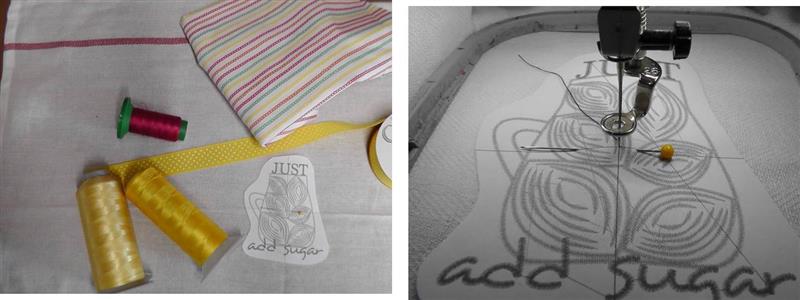
For the project, a light yellow embroidery thread was used as the first color and a deeper yellow for the second. The hot pink was chosen to coordinate with the fabric for the lettering. Load the design on the machine and align the needle to the center of the paper template design.
(Click Image to Enlarge)
Step 4:
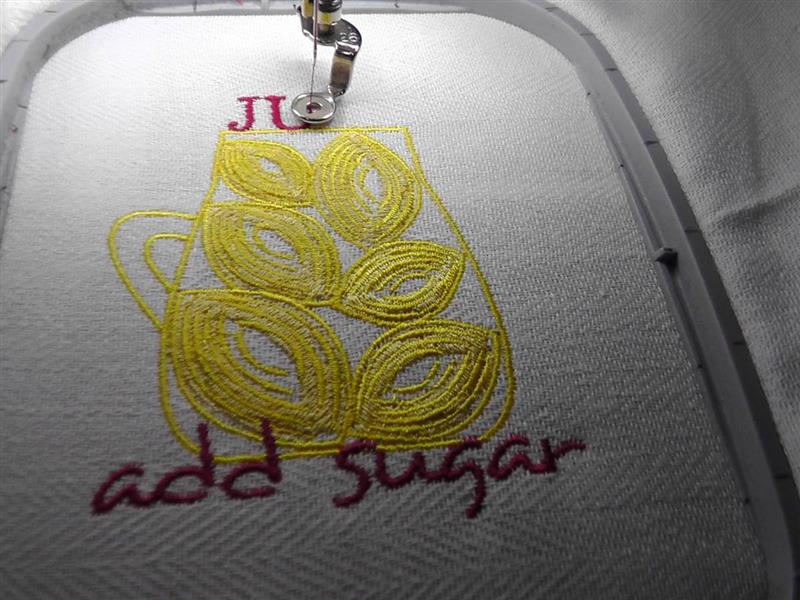
Stitch the design following the color sequence. After the embroidery is finished, remove the fabric from the hoop and remove the excess stabilizer.
(Click Image to Enlarge)
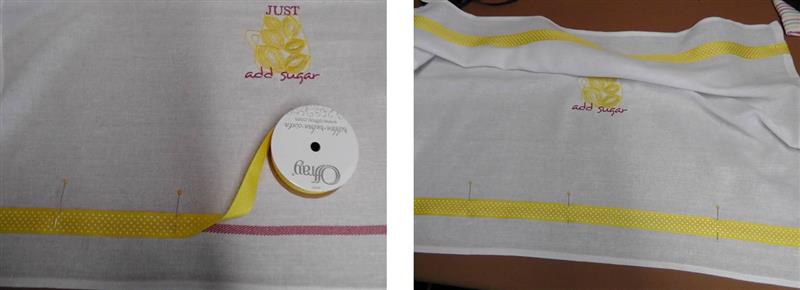
Step 5:
Center and pin the ribbon over the woven trim on the towel, wrapping the cut ends of the ribbon to the underside of the towel at the edge. Repeat for the trim on the other side of the towel.
(Click Image to Enlarge)
Step 6:
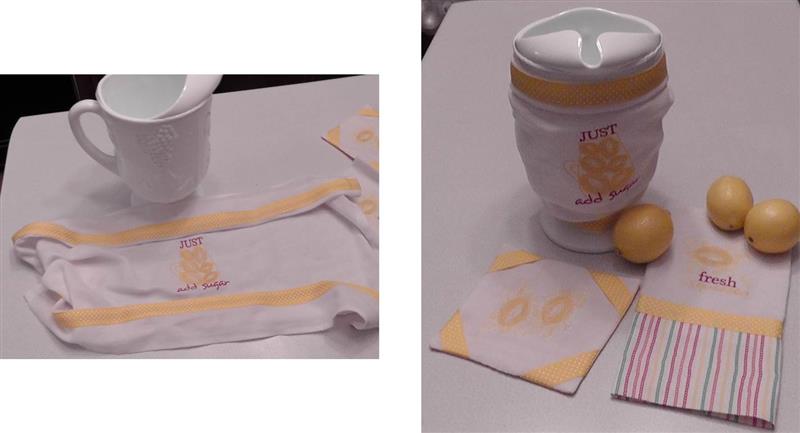
Thread the sewing machine with thread to match the ribbon. Edge stitch along both edges of each ribbon. The towel wrap for the pitcher is completed. A towel wrapped around an ice filled pitcher of lemonade will help keep the drips to a minimum and the towel can be easily washed when needed.
(Click Image to Enlarge)
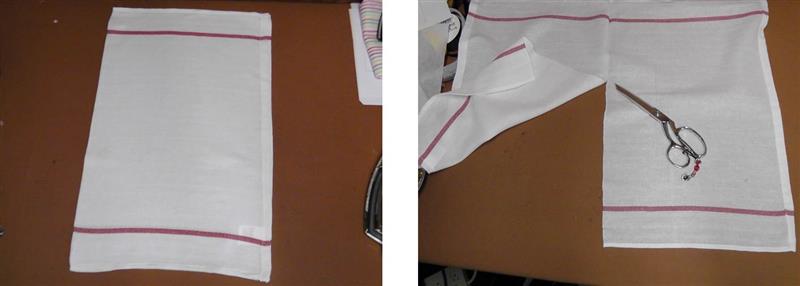
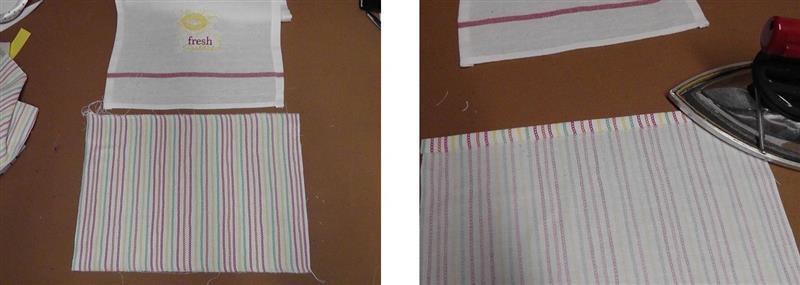
Step 7:
Now it is time to create the decorative towel. Press and fold the remaining towel in half width-wise; crease and then cut along the crease to cut the towel in half.
(Click Image to Enlarge)
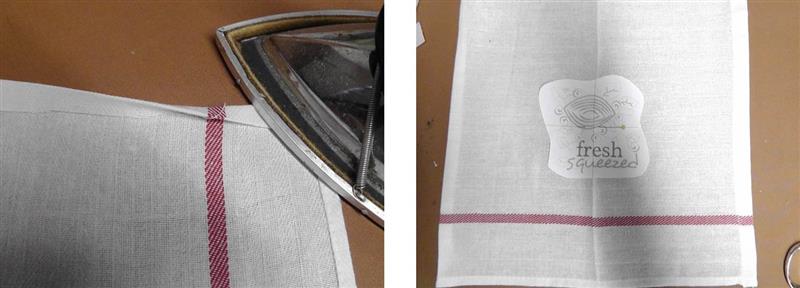
Step 8:
Fold back the cut edge of the towel to hem. Press in a double fold and then stitch in place.
(Click Image to Enlarge)
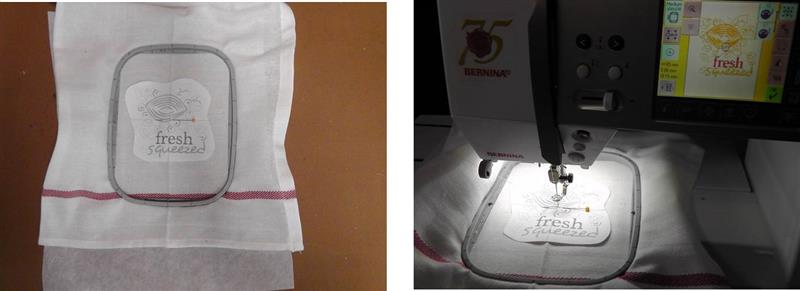
Step 9:
Fold the towel in half to find the center. Decide where to embroider the design. Hoop the fabric with tearaway stabilizer centering the design in the hoop. Load the design “Fresh Squeezed” in the machine aligning the center of the embroidery design to the paper template in the hoop. Stitch the design following the color sequence with the chosen embroidery thread colors. Remove the fabric from the hoop and remove the excess stabilizer; press the towel well.
(Click Image to Enlarge)
Step 10:
Determine how long you would like the fabric at the bottom of the towel to be and then double that and add a ½” seam allowance. Fold back and press the seam allowance in place. (Note: for the project the towel trim fabric finished 5”—it was cut 10.5” in length and the width of the towel plus 1” seam allowance for each side.)
(Click Image to Enlarge)
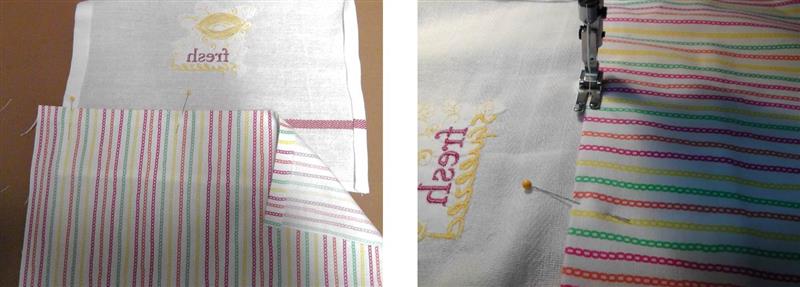
Step 11:
Turn over the towel and center the fabric over the woven trim of the towel; stitch in place.
(Click Image to Enlarge)
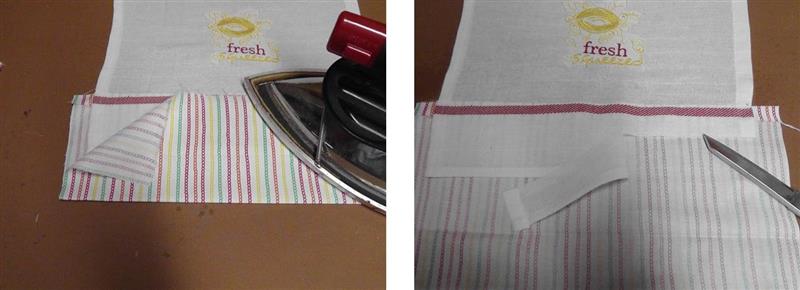
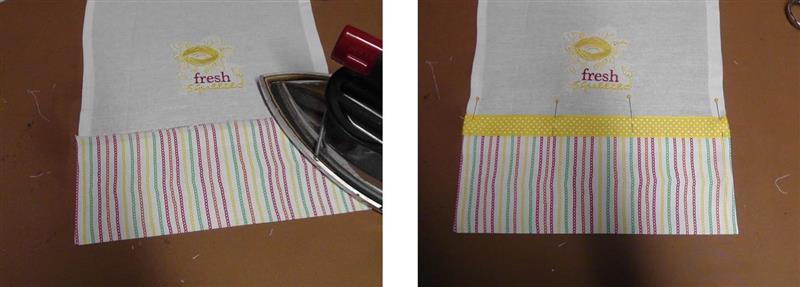
Step 12:
Turn the towel to the right side. Bring the lower cut edge up over the woven trim edge and press the colorful fabric in half. Trim off the towel below the woven trim to eliminate bulk, leaving about a ¾” seam allowance.
(Click Image to Enlarge)
Step 13:
Now bring the right sides of the fabric together at the edges of the towel and pin in place. Sew a seam beginning at the edge of the towel, sew down to the folded edge of the fabric. Repeat for the other towel edge. Trim the seams and clip the corners.
(Click Image to Enlarge)
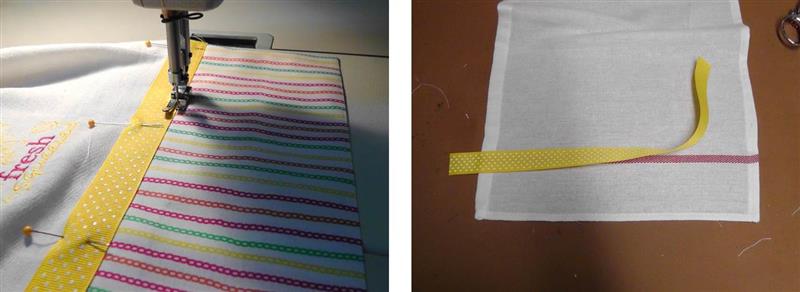
Step 14:
Fold the colorful fabric right side out and press the side seams well. Cover the raw edge of the colorful fabric with ribbon and pin in place, folding and wrapping the cut edges of the ribbon to the underside of the towel.
(Click Image to Enlarge)
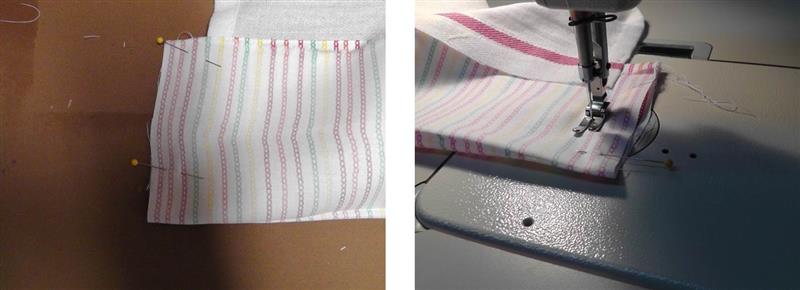
Step 15:
Stitch along both edges of the trim to secure the ribbon to the towel. Cut a piece of ribbon to cover the other side of the towel over the woven trim
(Click Image to Enlarge)
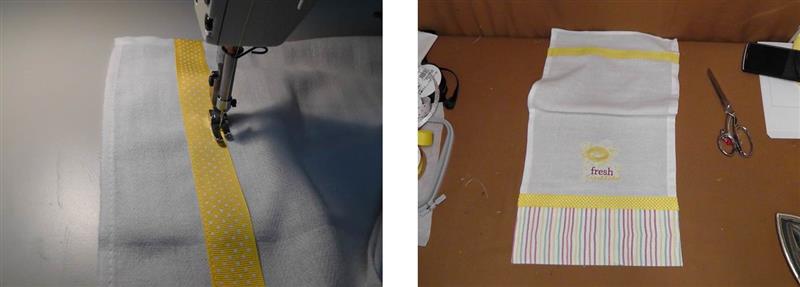
Step 16:
Pin in place and stitch the ribbon down along both edges; press and fold the towel. This completes the towel.
(Click Image to Enlarge)
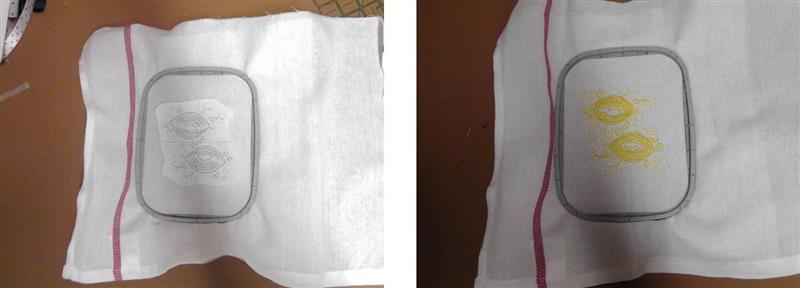
Step 17:
For the last item in the project, use the remaining half of the second tea towel. Hoop the fabric with tearaway stabilizer. Load and stitch the two lemons design following the color sequence. Remove the excess stabilizer and press the fabric well.
(Click Image to Enlarge)
Step 18:
Align and place the paper template over the stitched design. Align a ruler to the center of the cross hair on the paper template. Draw around the ruler; the finished size is 6: x 6”. Cut pieces of the yellow dot ribbon and pin at the corners of the fabric square. Remove the paper template and sew along the edges of the ribbon to secure it to the fabric.
(Click Image to Enlarge)
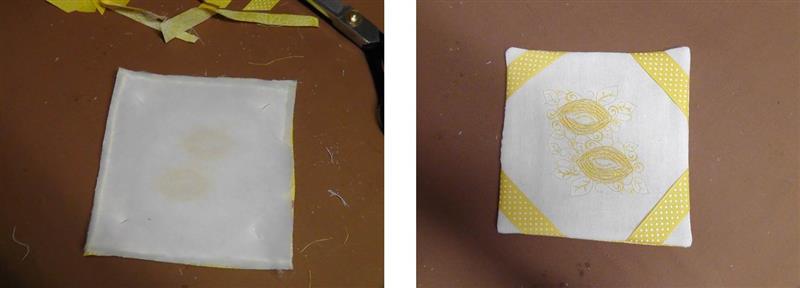
Step 19:
Cut a square of yellow fabric 6” x 6” and place right sides together over the embroidered fabric. Pin a square of batting with the same dimensions over the wrong side of the yellow fabric. Stitch all three layers together leaving and opening at a side of turning. Turn the fabric right side out, forming the corners well; press. Hand-sew the opening closed.
(Click Image to Enlarge)
Step 20:
Create folds at the top and bottom of the “JUST add sugar” towel for the pitcher and wrap it around the pitcher tying the corners of the towel at the handle area of the pitcher.
(Click Image to Enlarge)
Step 21:
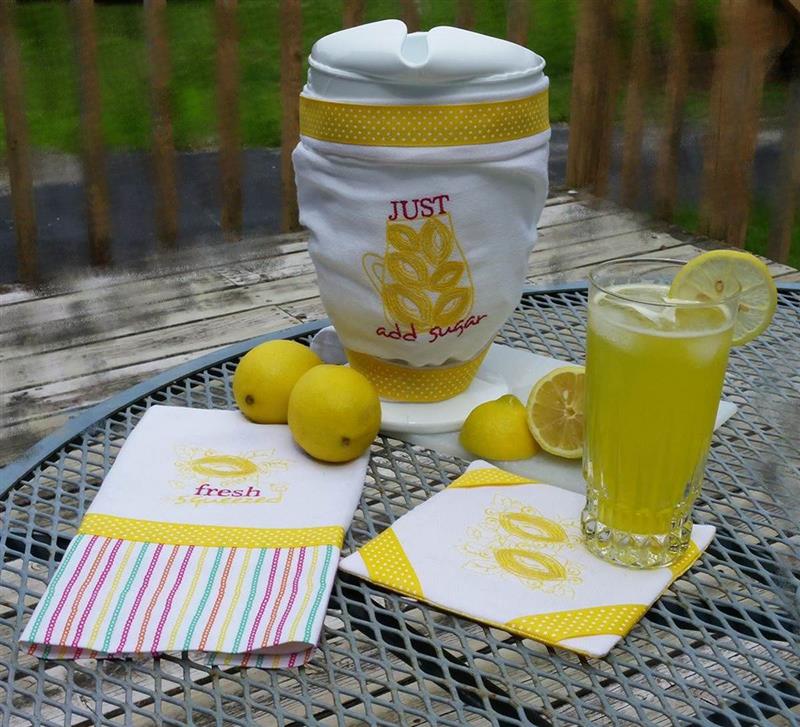
Use your favorite recipe to “Make Lemonade!” and enjoy a peaceful, relaxing, lazy summer afternoon.
Ramona Baird has been in the embroidery industry for over 23 years. She and her husband owned a commercial and retail embroidery store in Arizona for many years. She is an experienced digitizer having been mentored by award-winners Pat Williams and Lindee Goodall. Ramona is a contributor to “Creative Machine Embroidery” magazine having 5 covers to her credit. Ramona has worked for Wilcom America and served many years as Education Director for the American Sewing Guild. With a degree in fashion design, she is able to design and execute patterns which Pat Williams says are “out of the box” in creativity and application. Ramona likes to challenge the boundaries of embroidery and bring new and exciting designs, ideas, and projects to EmbroideryDesigns.com. She wants embroiderers of all levels to increase their skills and enjoyment in using their embroidery machine for gift-making and personal pleasure.