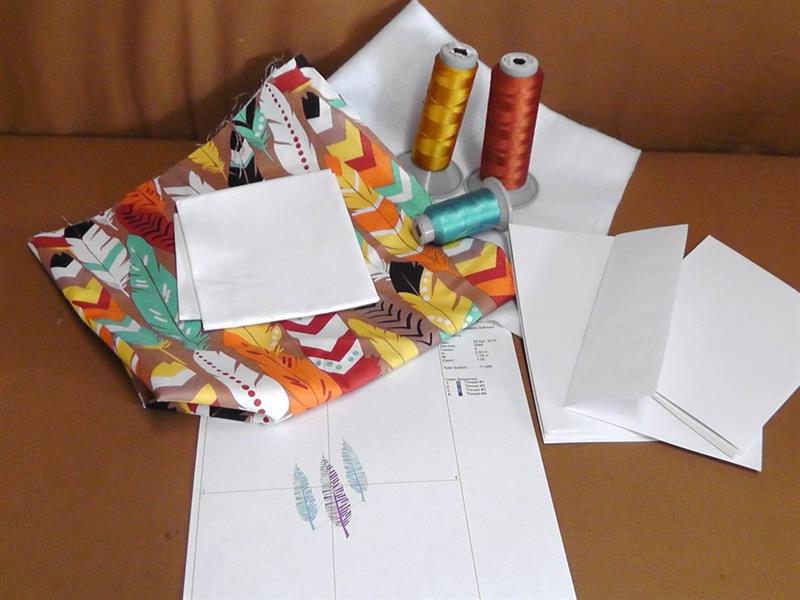
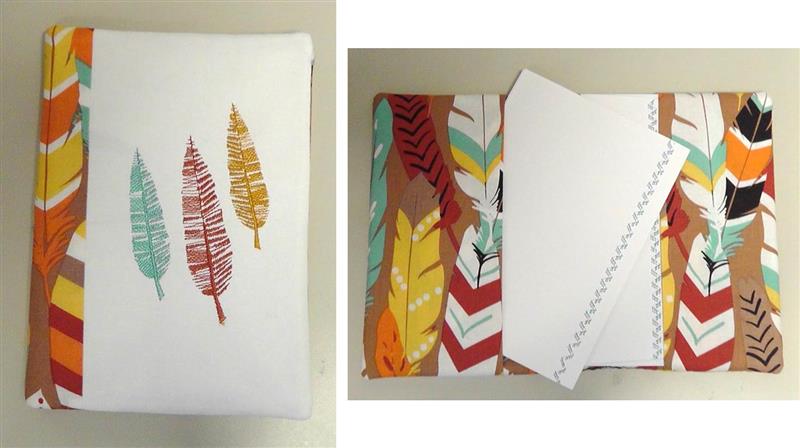
Use feather designed fabric to coordinate with the “Three Feathers” embroidery design and create a set of decorative stitched note-cards to coordinate with a holder for the cards.
This “Three Feathers Note Card Set” is created by embroidering the feathers using colors to coordinate with the print of the fabric. Inside pockets hold the decorative machine-stitched note cards and envelopes.
Step 1:
Gather the supplies and read through all the instructions. Alter the dimensions of the fabrics if the note cards and envelopes you choose are smaller or larger than the ones used for this project.
(Click Image to Enlarge)
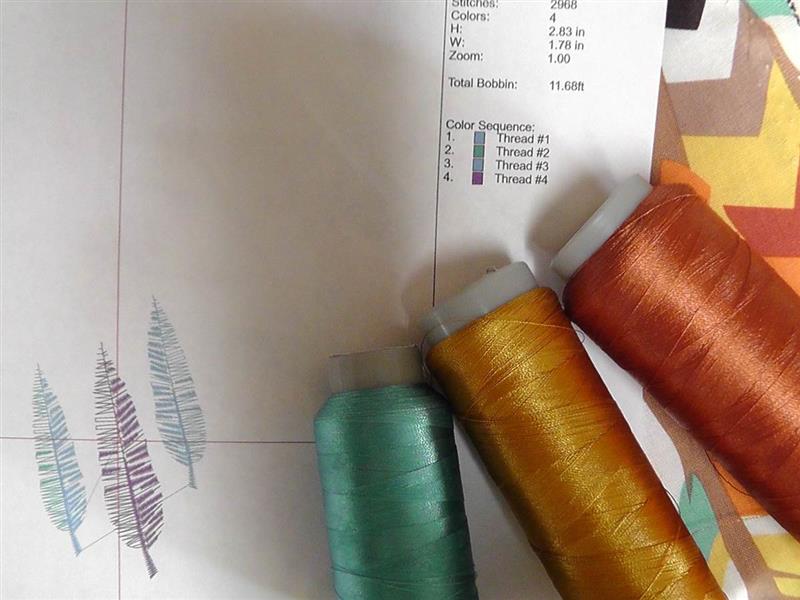
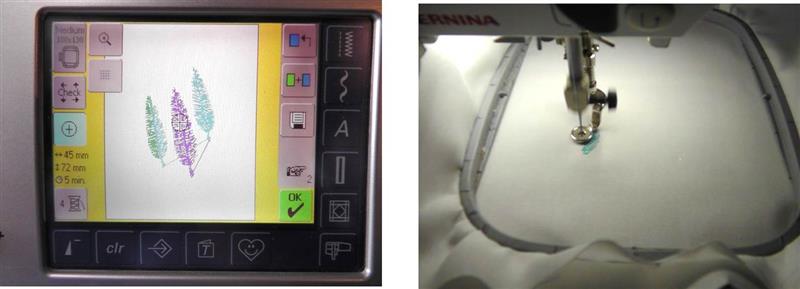
Step 2:
Choose embroidery thread colors to coordinate with the colors in the fabric. For the project all the feathers were done using a single color. At the machine the design was enlarged (approx.. 35%) to fill out the hoop area.
(Click Image to Enlarge)
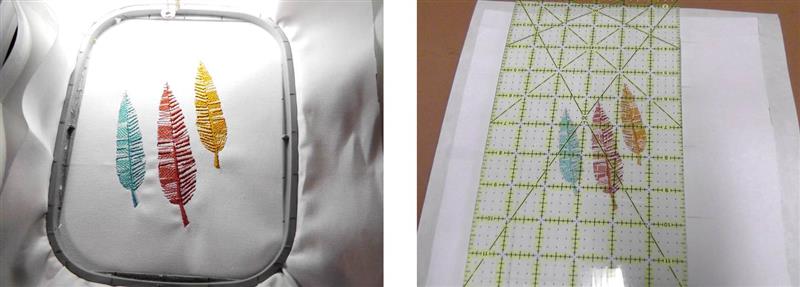
Step 3:
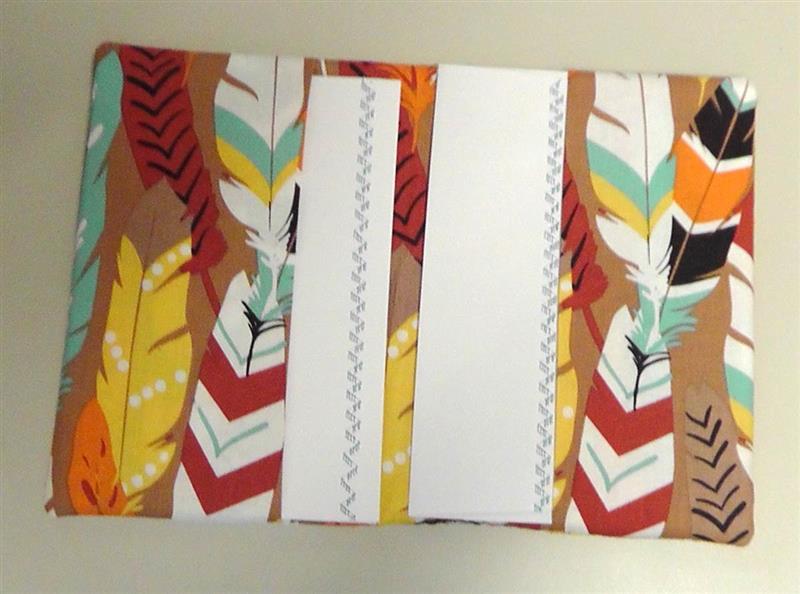
Lay the note cards and envelopes on a flat surface and space them apart as if they were already in the holder. Measure the amount of fabric needed for the width of the fabric and add seam allowances.
(Click Image to Enlarge)
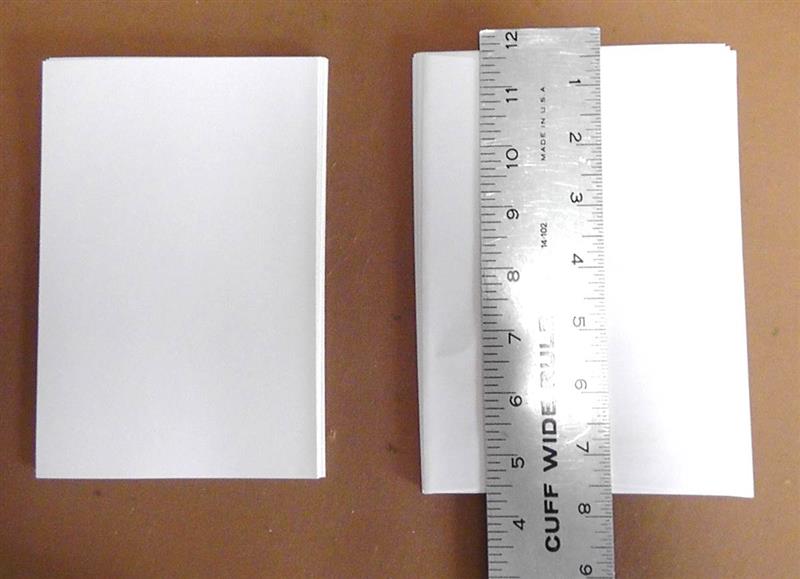
Step 4:
Measure the height of the envelopes and add seam allowances to that measurement. Write down the measurements.
(Click Image to Enlarge)
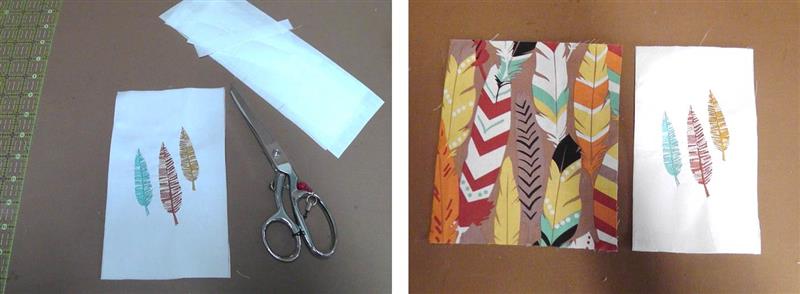
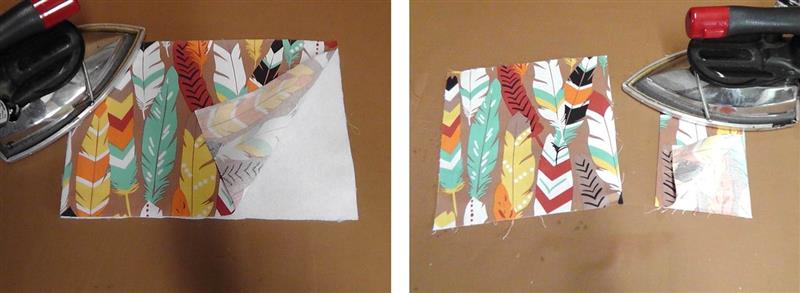
Step 5:
Press the fabrics well using spray starch. Cut out the feather fabric according to the dimensions (or altered dimensions) as listed in the materials list.
(Click Image to Enlarge)
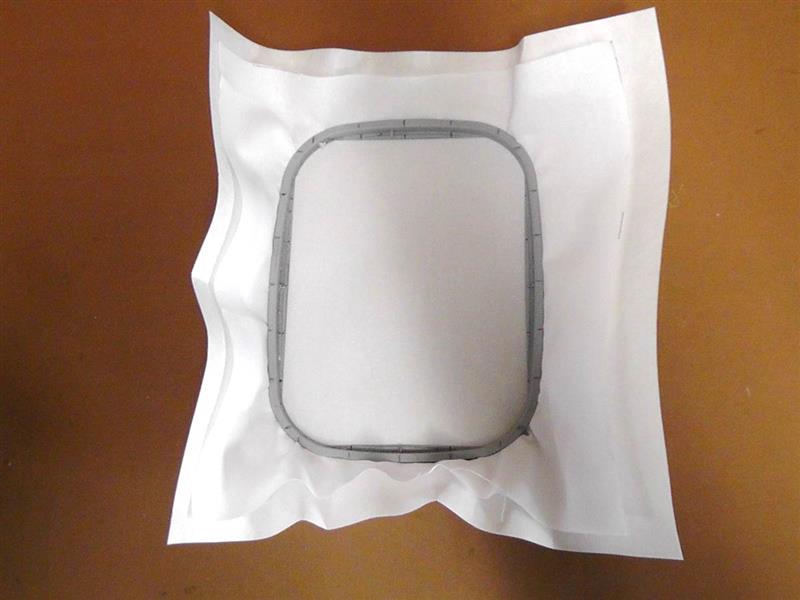
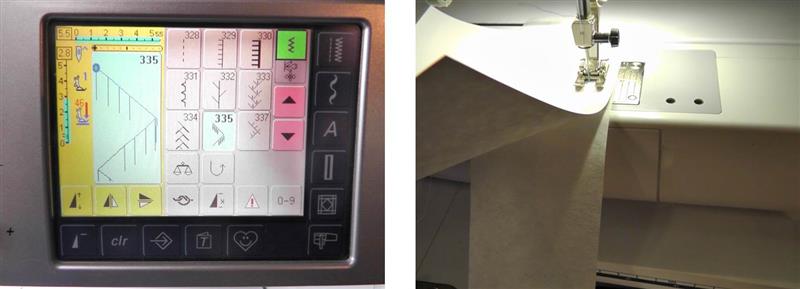
Step 6:
Hoop the white fabric for embroidery (be sure to allow ample fabric for hooping and the final measurement needed; after embroidery this fabric will be cut to fit.)
(Click Image to Enlarge)
Step 7:
Load the “Three Feathers” embroidery design on the machine. Embroider the design following the color sequence (note: for the project each feather was stitched in a single color).
(Click Image to Enlarge)
Step 8:
After the embroidery is finished, remove the fabric from the hoop and measure and mark the fabric to the dimension needed, centering the design.
(Click Image to Enlarge)
Step 9:
Cut out along marks and remove the excess stabilizer. Now it is time to sew the note card holder together. Place the front feather fabric right side up on a flat surface. Place the embroidered fabric to the right of the feather fabric.
(Click Image to Enlarge)
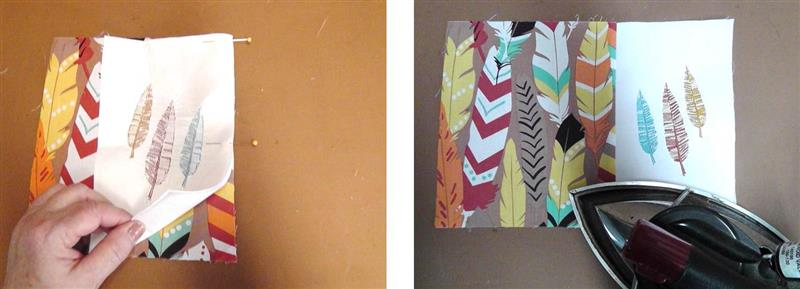
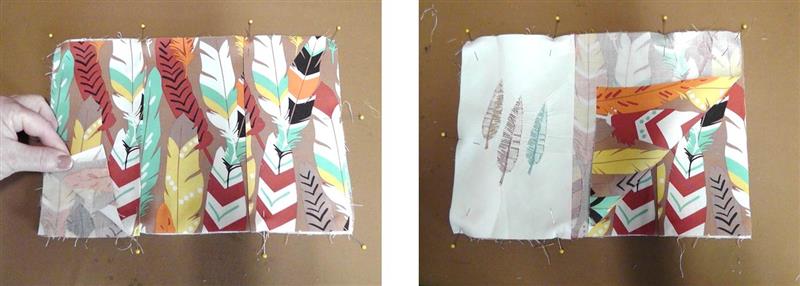
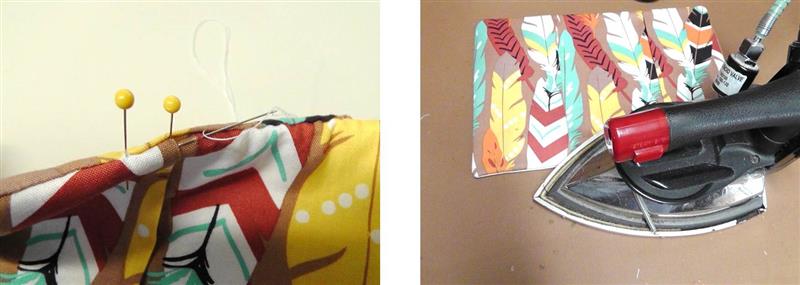
Step 10:
Place the embroidered feathers over the feather fabric and pin in place as shown. Sew the fabrics together using a ¼” seam allowance removing the pins as you sew. Press the seam toward the feather fabric.
(Click Image to Enlarge)
Step 11:
Fuse the batting to the wrong side of the feather fabric lining. Fold each pocket piece in half lengthwise and press to crease well.
(Click Image to Enlarge)
Step 12:
Place the pocket pieces in place one on the left side and one on the right side of the fabric back matching cut edges at the top, bottom, and sides. Pin the pockets in place. Now place the top embroidered fabric right side down over the pockets/back piece and pin in place.
(Click Image to Enlarge)
Step 13:
Sew around all four sides using a ¼” seam allowance and leave an opening at the bottom for turning. Clip the corners.
(Click Image to Enlarge)
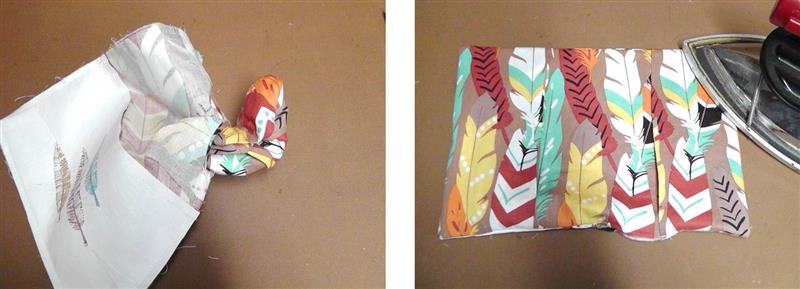
Step 14:
Turn the note card holder right side out through the opening, forming the corners well. Press.
(Click Image to Enlarge)
Step 15:
Fold the seam allowances of the opening to the inside; pin and hand sew the opening closed. Press once again. The note card holder is completed so now it is time to decorate some cards with machine stitching.
(Click Image to Enlarge)
Step 16:
Choose an open-type decorative stitch on the machine. All the note cards can be done with the same design or choose different designs as you wish. Place a strip of tearaway stabilizer under the area to be stitched. Choose an open toe foot for stitching.
(Click Image to Enlarge)
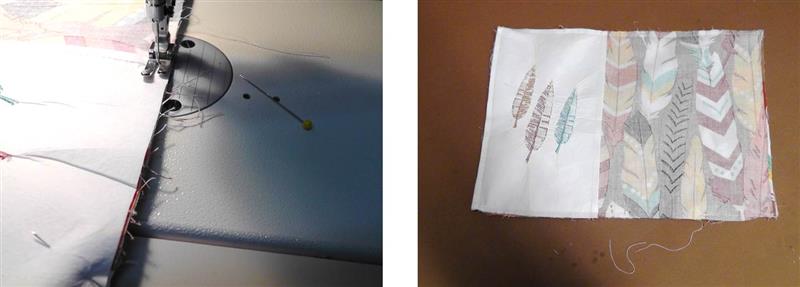
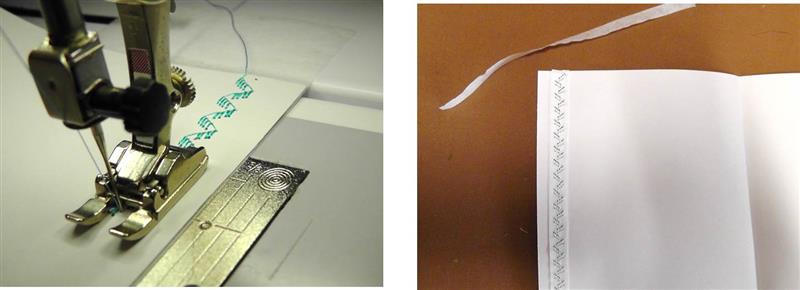
Step 17:
Choose one of the embroidery thread colors for stitching (keep the embroidery bobbin thread in the bobbin). Stitch the edge of the card guiding the edge of the card along the line on the throat plate for even stitching. Trim off the excess stabilizer with scissors (do not tear away). At this point the note card can be decorated with more stitching, ribbon trims or flowers can be added; anything you’d like to do to decorate the note cards.
(Click Image to Enlarge)
Step 18:
Repeat the steps to add decorative stitching to the flaps of the envelopes.
(Click Image to Enlarge)
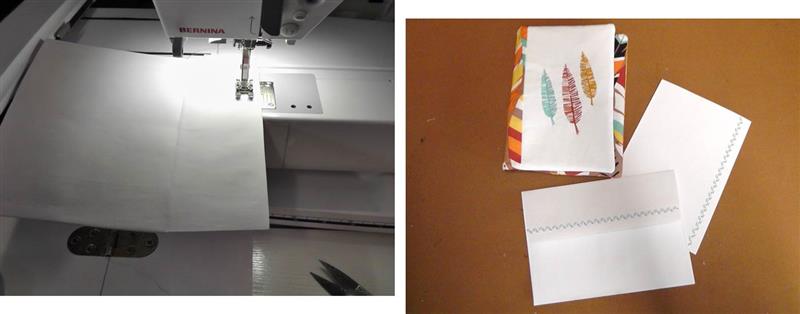
Step 19:
Insert the note cards and envelopes into the note card holder.
(Click Image to Enlarge)
Step 20:
Add a book of stamps and the "Three Feathers Note Cards Set" is all set ready for thank-you notes or hello wishes to friends.
Ramona Baird has been in the embroidery industry for over 23 years. She and her husband owned a commercial and retail embroidery store in Arizona for many years. She is an experienced digitizer having been mentored by award-winners Pat Williams and Lindee Goodall. Ramona is a contributor to “Creative Machine Embroidery” magazine having 5 covers to her credit. Ramona has worked for Wilcom America and served many years as Education Director for the American Sewing Guild. With a degree in fashion design, she is able to design and execute patterns which Pat Williams says are “out of the box” in creativity and application. Ramona likes to challenge the boundaries of embroidery and bring new and exciting designs, ideas, and projects to EmbroideryDesigns.com. She wants embroiderers of all levels to increase their skills and enjoyment in using their embroidery machine for gift-making and personal pleasure.