Live Chat
Embroidery Designs
Welcome, Embroiderer
Login
Easter Table Topper/Basket Liner Using a Cutwork Design
{{mainImageAlt || (productInfo._source && productInfo._source.name) || ''}}

Easter Table Topper/Basket Liner Using a Cutwork Design Embroidery Project

By   Sue Gerhardt   on   March 25, 2015
  • SKILL LEVELSome Experience
  • TIME REQUIRED02:00
  • FINISHED SIZE17.5 x 17.5 inches
Description

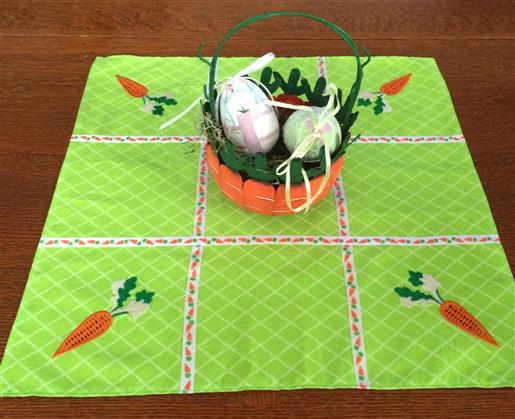
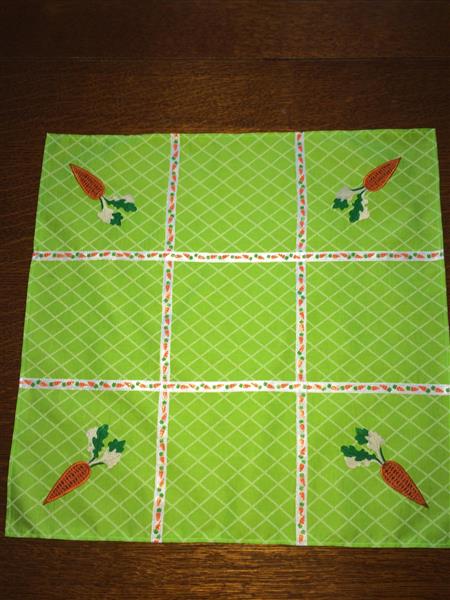
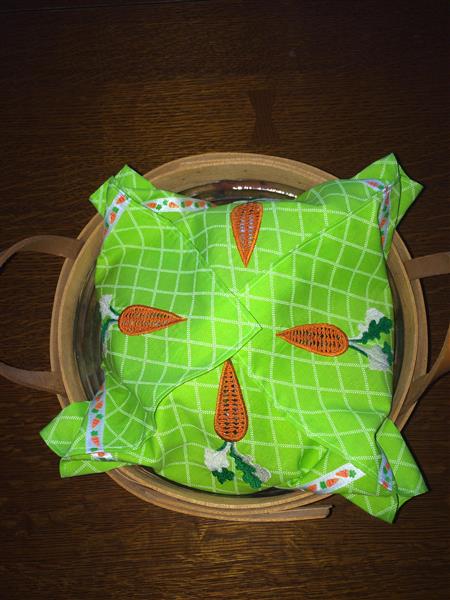
This is a perfect table topper to display an Easter basket, and you can also use it as a basket liner for your Easter meals. I will show you how to position your cutwork design perfectly in every corner.

Step of

Materials

Project Preview Video

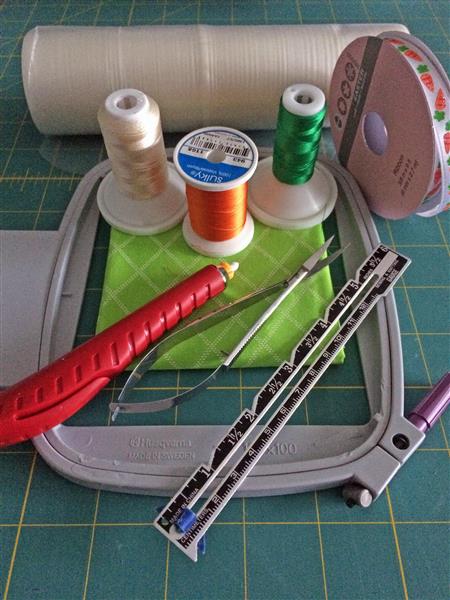
Materials
  • 1 Pre-washed fat quarter or ½ yard poly/cotton fabric
  • Embroidery thread and embroidery bobbin thread
  • Sewing thread that matches your fat quarter
  • 4” x 4” or 100mm x 100mm embroidery hoop
  • Medium weight disolvable stabilizer
  • Measuring gauge
  • A pair of sharp scissors
  • Fabric chalk
  • Pins
  • 2 yards of decorative 3/8" ribbon

  • Designs used in this project

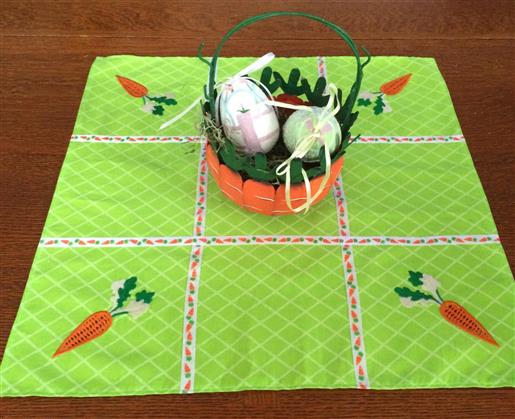
    Final Product: What You Will Create


    Step 1:
    Gather the materials.

    (Click Image to Enlarge)


    Step 2:
    Cut the piece of fabric 18” x 18”.


    Step 3:
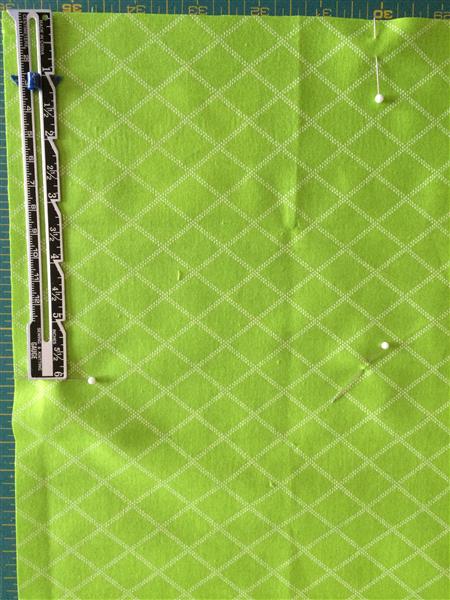
    Measure 6” up each side from the corners and mark with a pin. Measure 6” in towards the middle of the fabric on the right side and mark with a pin. Make sure that it is also 6” in from the left side to make a 6” square.

    (Click Image to Enlarge)


    Step 4:
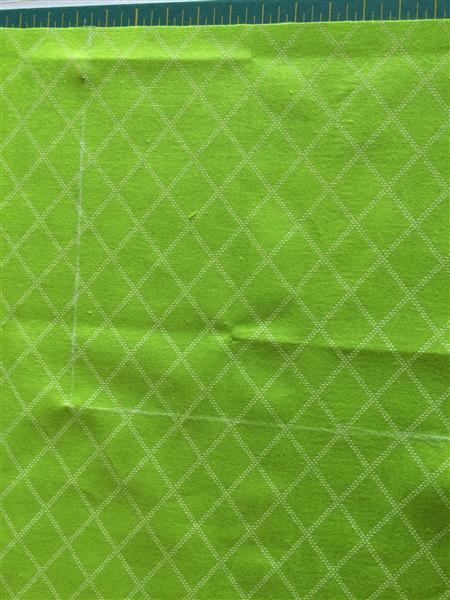
    Using the fabric chalk, draw 2 lines making a square on the fabric.

    (Click Image to Enlarge)


    Step 5:
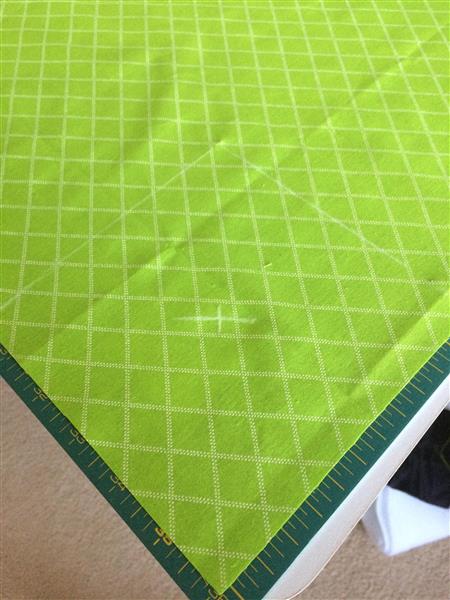
    Mark the middle of the square and that will also be the guidelines for the middle of the hoop.

    (Click Image to Enlarge)


    Step 6:
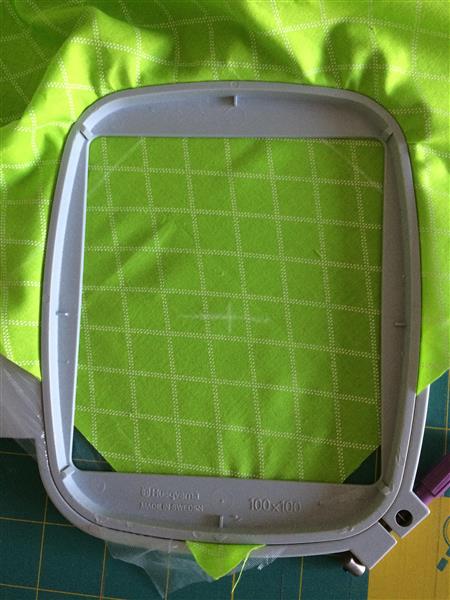
    Hoop the stabilizer and fabric making sure the corner is lined up with middle of your hoop at the bottom.

    (Click Image to Enlarge)


    Step 7:
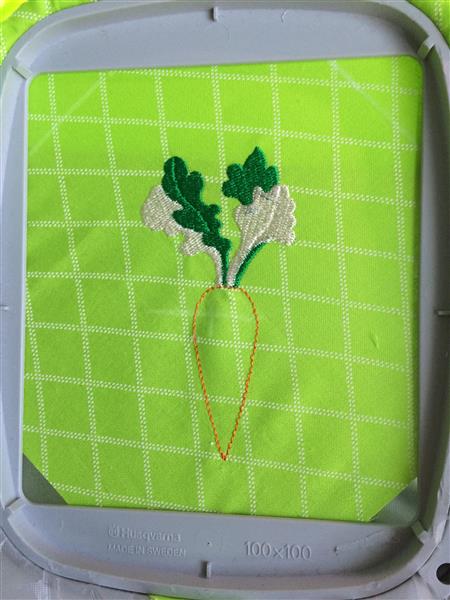
    Stitch out colors 1-4.

    (Click Image to Enlarge)


    Step 8:
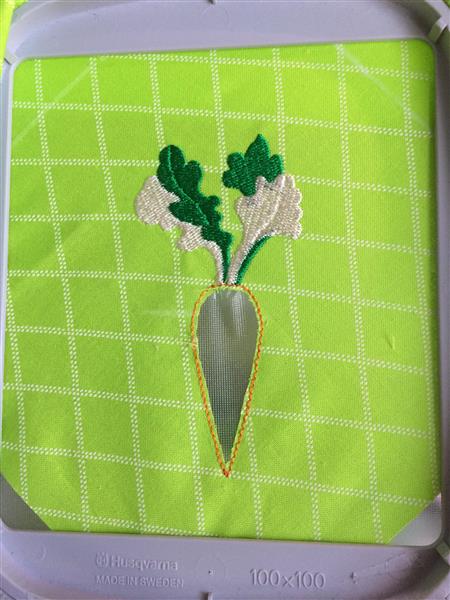
    Take the hoop off of your machine, but do not un-hoop the fabric. Cut the fabric inside of the carrot making sure that you do not cut the stabilizer or the outline stitches. I would also trim any excess bobbin or embroidery threads on the back so that they don’t get tangled in the cutwork stitching.

    (Click Image to Enlarge)


    Step 9:
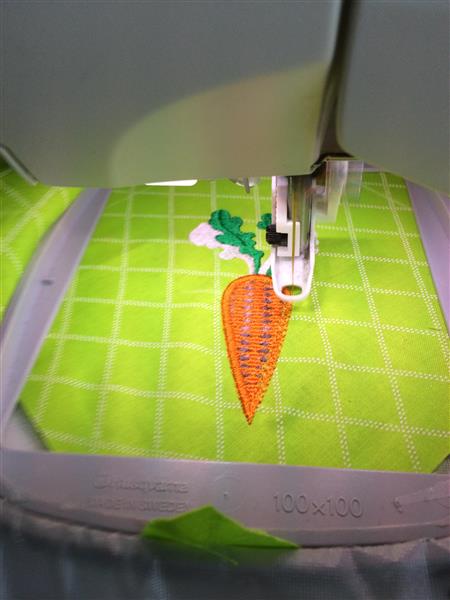
    Put the hoop back onto your machine and stitch out color #5.

    (Click Image to Enlarge)


    Step 10:
    Repeat steps 3-9 for the other 3 corners. After all 4 corners have been embroidered, soak the fabric according to the directions on your disolvable stabilizer package, let dry and press.


    Step 11:
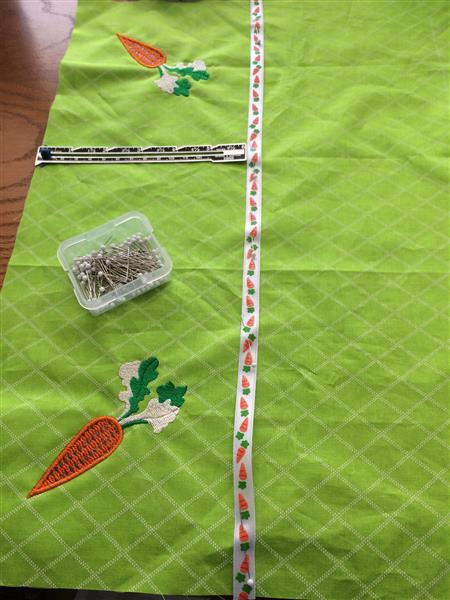
    Measure 6” from one of the edges and pin ribbon to the fabric and sew the ribbon to the fabric.  Do this for all 4 sides.  I sewed down the 2 pieces of ribbon horizontally.  And then sewed the other 2 pieces of ribbon vertically.

    (Click Image to Enlarge)


    Step 12:
    Sew a zig zag stitch along all 4 sides to keep the fabric from raveling and turn under ¼”. Sew down the hems.

    (Click Image to Enlarge)


    Step 13:
    You can also use it as a basket liner!

    (Click Image to Enlarge)

    Meet the Author: Sue Gerhardt
    Sue Gerhardt
    I've been sewing and making clothes from the age of 16 and started machine embroidering 8 years ago. I try to keep up with the latest embroidery trends by attending many classes at my local embroidery shop and just started learning how to quilt. I love to embroider on everything!
    More From This Author
    Link is Broken, Please check the URL
    Exclusive Embroidery Offers!
    Copyright © {{ currentDate | date:'yyyy'}} - EmbroideryDesigns.com
    GET 50% OFF! ×