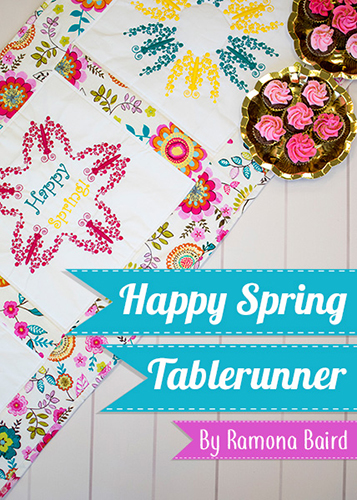
Sometimes a design can be used in a very creative way such as with this project. The butterfly is separated from the text, grouped and changed to a one-color design. The design is then wreathed two different ways for a center block and two blocks to the left and right of center. The designs are stitched in a large embroidery hoop, cut down, then the floral fabric is used to create sashings and borders. The project is backed with fleece batting and fabric then quilted as desired and a binding added to finish the project. Pictures will show the steps in the project and how measurements were done. Adjust measurements for your project based on the instructions.
Step 1:
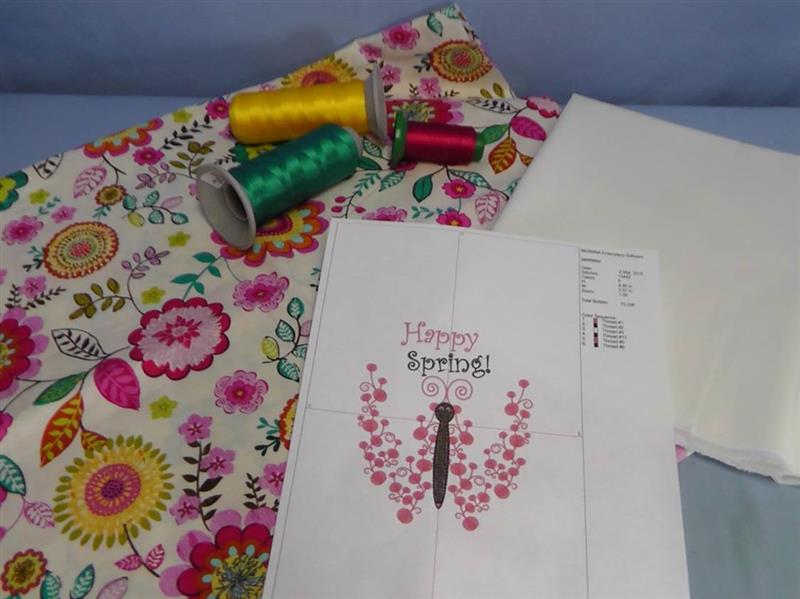
Gather the supplies and print the paper template. Choose embroidery thread colors that will coordinate with the colors in the floral fabric. Press the fabrics well.
(Click Image to Enlarge)
Step 2:
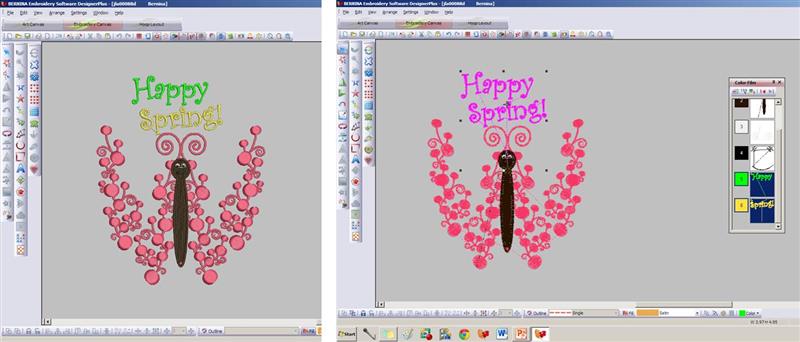
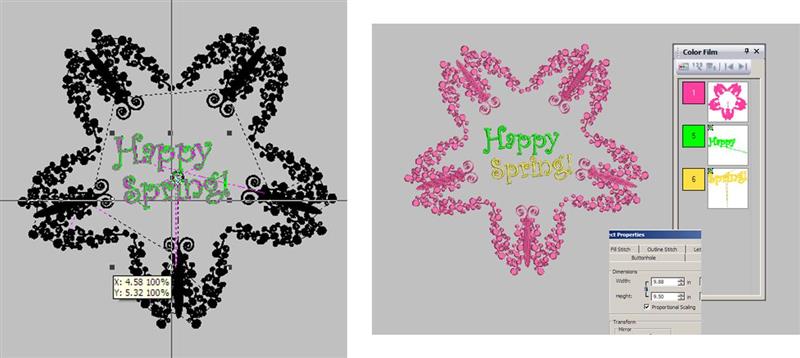
Begin the project by preparing the designs in software. First will be the center design. Load the design “Happy Spring” and Save As a new design. Group the text “Happy Spring”.
(Click Image to Enlarge)
Step 3:
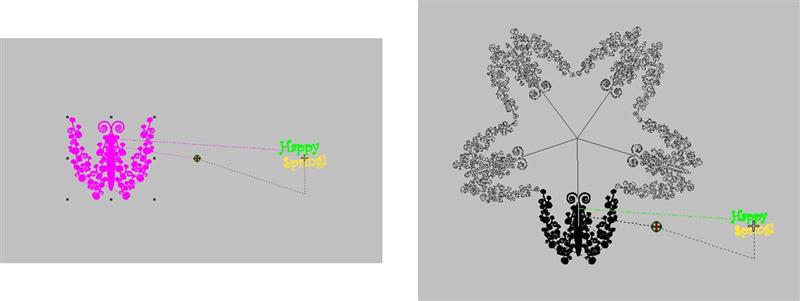
Move the text off to the side of the work area. Select all objects of the butterfly and group them. Change them to one color (black was used so it would show up in the photos). Using the wreathing tool in the software, select 5 and move the objects in and out so the heads of the butterflies are pointing toward the center. The edges of the butterflies should just touch.
(Click Image to Enlarge)
Step 4:
Move the text “Happy Spring” to the center of the wreathed butterflies. Resize the text to fill the center area. Select the butterflies and change them to a single color. Open the object properties. Be sure the finished design will fit within the largest hoop for the machine. Note: if you need a smaller overall design, rescale the single butterfly design smaller before wreathing. Save the file and test stitch.
(Click Image to Enlarge)
Step 5:
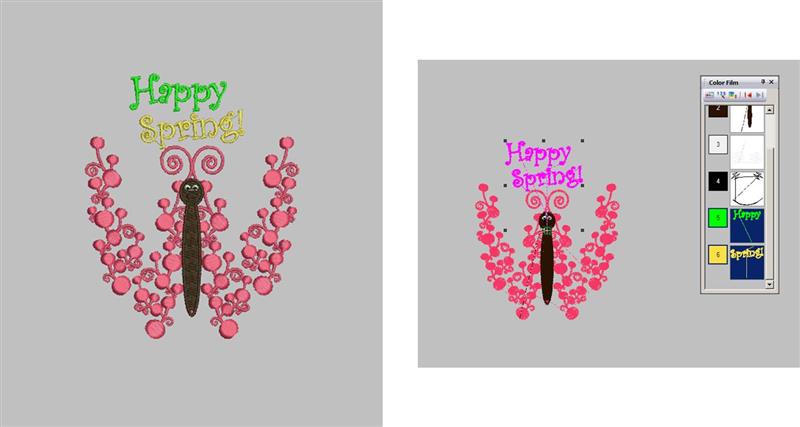
Now prepare the design for the blocks to the left and right of center. Open the “Happy Spring” design. Save the design as a new file. Select the text “Happy Spring” and delete it.
(Click Image to Enlarge)
Step 6:
Select the remaining object of the butterfly and then change all the objects to a single color; group the butterfly objects together.
(Click Image to Enlarge)
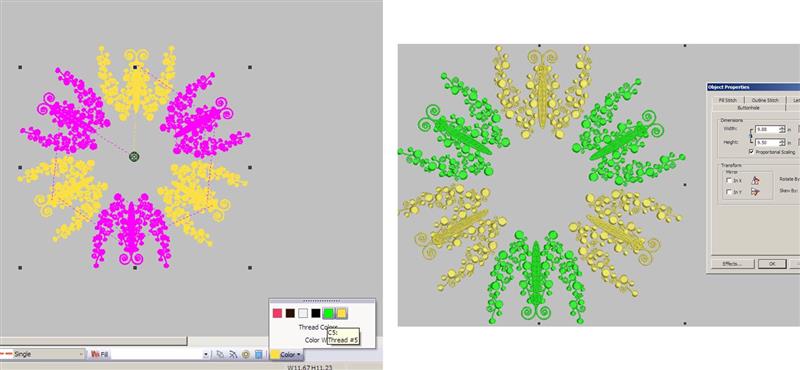
Step 7:
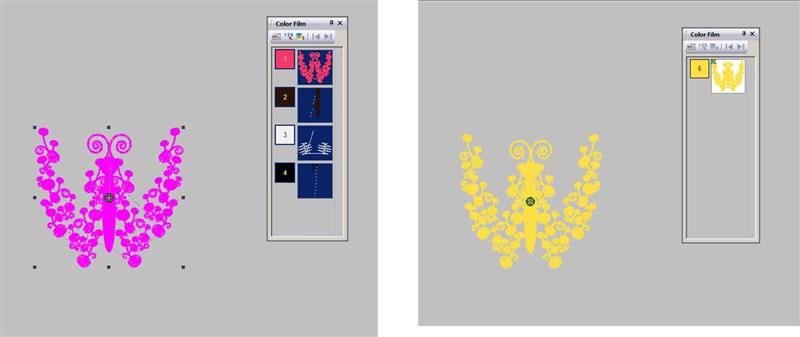
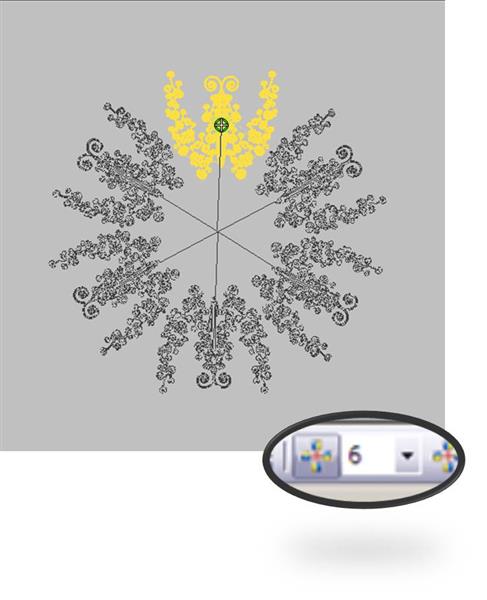
Select the butterfly and then use the wreathing tool with a count of six (6). Move the butterflies around on screen so the heads face outward and the edges touch as shown.
(Click Image to Enlarge)
Step 8:
Select every other butterfly and change the three butterflies selected to the second color to match the fabric. Select all the objects and check to be sure the entire design will fit within the largest hoop of the machine. If needed, resize the butterfly smaller at the beginning before wreathing
(Click Image to Enlarge)
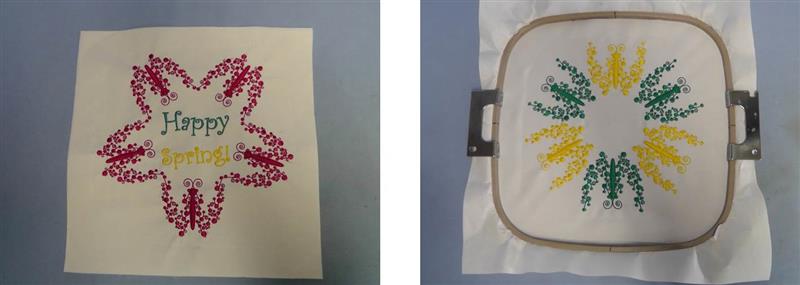
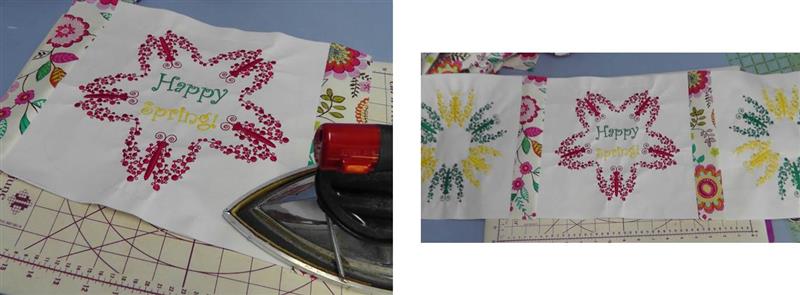
Step 9:
Hoop the fabric with the chosen stabilizer and stitch the center design following the color sequence.
(Click Image to Enlarge)
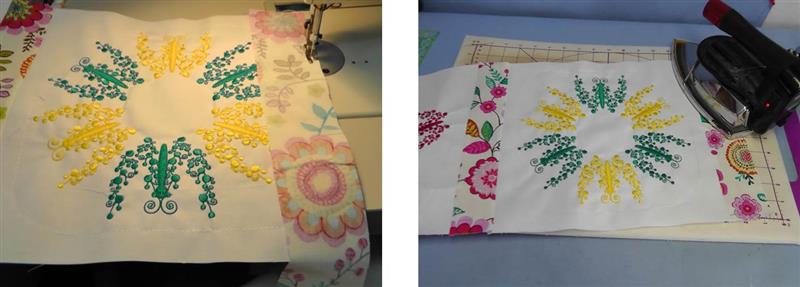
Step 10:
Remove the fabric from the hoop and set aside. Hoop another piece of white fabric with the chosen stabilizer and stitch the left and right blocks with the second prepared design.
(Click Image to Enlarge)
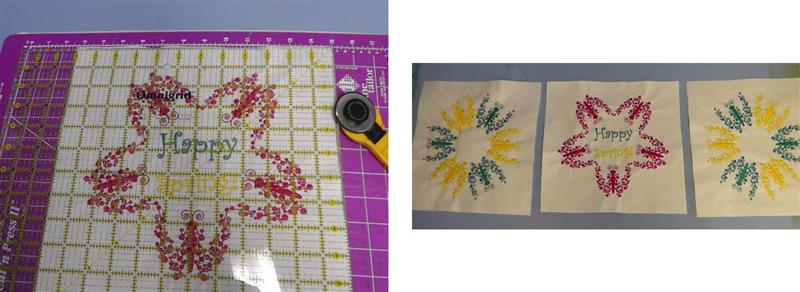
Step 11:
Using a rotary cutter and mat, cut each block leaving 1 ¼” beyond the outer edges of each embroidery design. Place the blocks on a flat surface aligning as shown.
(Click Image to Enlarge)
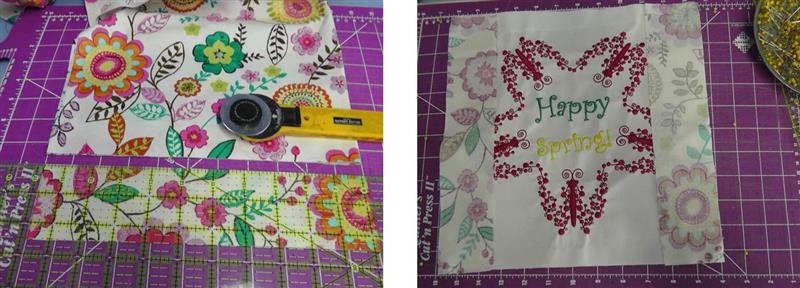
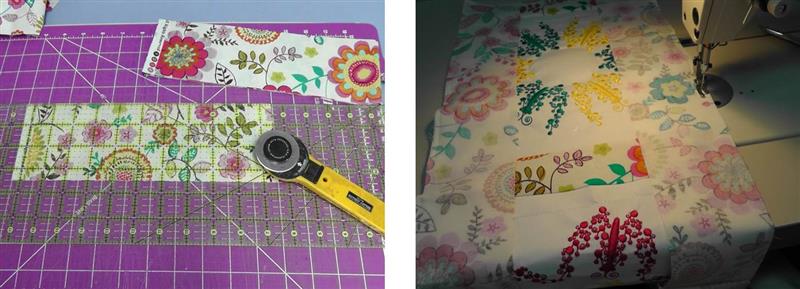
Step 12:
Cut strips of the floral fabric 2 ½” wide. Cut each strip the length of the left and ride sides of the center block. Pin the strips to the left and right side of the center block placing right sides together.
(Click Image to Enlarge)
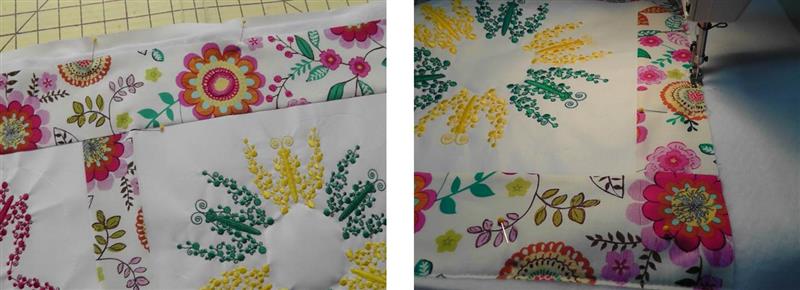
Step 13:
Sew the sashing pieces to the center block using a ¼” seam. Press the seam toward the sashing. Sew the left and right blocks to the center sashing strips using a ¼” seam allowance and press the seams.
(Click Image to Enlarge)
Step 14:
Cut and sew sashing strips to the end of the left and right blocks using a ¼” seam allowance. Press the seams toward the sashing.
(Click Image to Enlarge)
Step 15:
Cut top and bottom border strips the length of the block and sashings and 3 1/2'” wide. Place the border pieces right sides together at the top and bottom; sew using a ¼” seam allowance.
(Click Image to Enlarge)
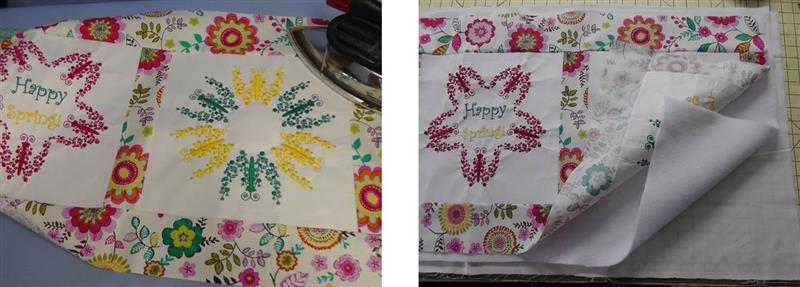
Step 16:
Press the seams toward the borders. Cut the backing and fleece batting larger than the embroidered tablerunner top. Layer the quilt sandwich as shown.
(Click Image to Enlarge)
Step 17:
Pin all the layers together and quilt as you’d like. For the project, the edges were basted together and the blocks were stitched ¼” inside the quilt blocks.
(Click Image to Enlarge)
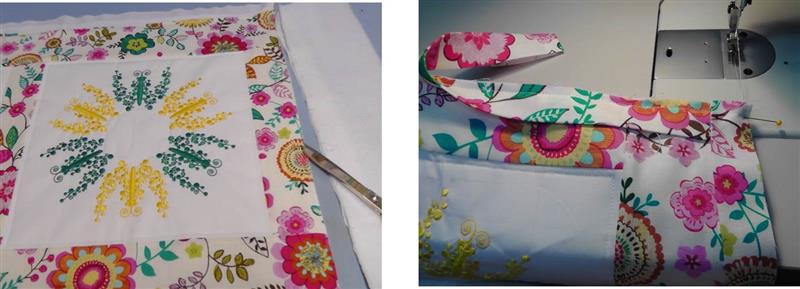
Step 18:
Trim the backing and batting even with the edge of the table runner top. Cut 2 ¼” strips of fabric and piece them together for the binding, piecing as needed. Fold the binding lengthwise and press meeting cut edges. Use your favorite technique for sewing on the binding.
(Click Image to Enlarge)
Step 19:
Miter the corners and stitch the binding in place.
(Click Image to Enlarge)
Step 20:
Congratulations on creating your “Happy Spring” Tablerunner.
Ramona Baird has been in the embroidery industry for over 23 years. She and her husband owned a commercial and retail embroidery store in Arizona for many years. She is an experienced digitizer having been mentored by award-winners Pat Williams and Lindee Goodall. Ramona is a contributor to “Creative Machine Embroidery” magazine having 5 covers to her credit. Ramona has worked for Wilcom America and served many years as Education Director for the American Sewing Guild. With a degree in fashion design, she is able to design and execute patterns which Pat Williams says are “out of the box” in creativity and application. Ramona likes to challenge the boundaries of embroidery and bring new and exciting designs, ideas, and projects to EmbroideryDesigns.com. She wants embroiderers of all levels to increase their skills and enjoyment in using their embroidery machine for gift-making and personal pleasure.