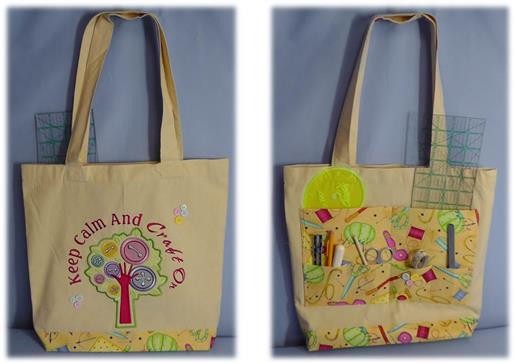
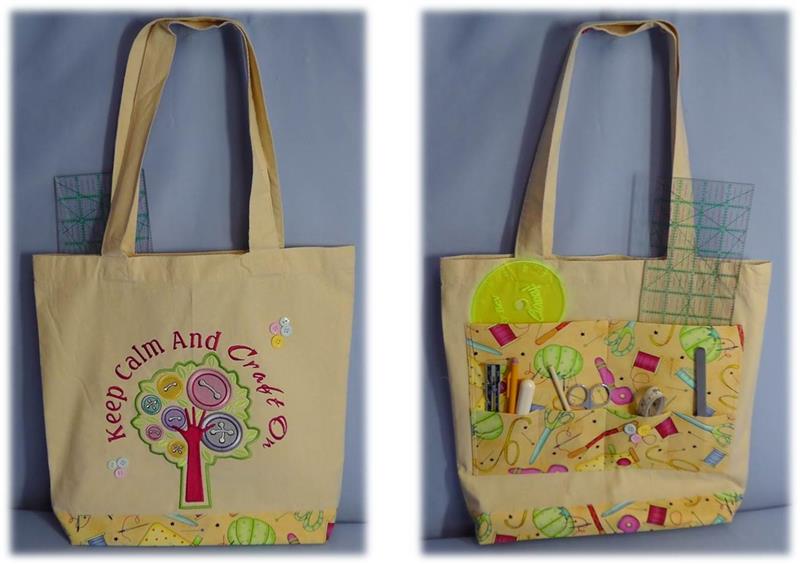
Expect compliments when carrying this "Craft On" tote to your next class. With a purchased tote as the base and the addition of embroidery and pockets, you'll be ready to "Craft On"!
This project begins with a purchased tote. It is embroidered, pockets and a base are added and then it is embellished with craft buttons. The tote you purchase will be different dimensions than the one used in the project. Purchase the supplies you will need according to the tote size and how many pockets you wish to add. The pockets are sized to the tools intended to be put in the tote. The back pocket is made firm with heavy craft stabilizer and a bottom insert is also made with heavy craft stabilizer then covered with the sewing-themed fabric.
Note: This "Craft on Button Tree" design is very large and require a very large hoop for stitching. Check the dimensions for the hoop before purchasing the design.
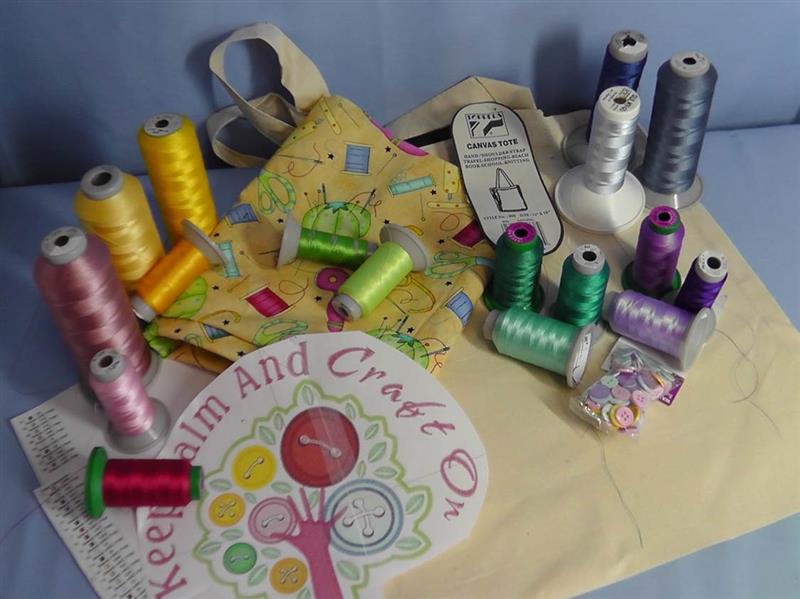
Step 1:
Gather the supplies and read through the instructions before beginning.
(Click Image to Enlarge)
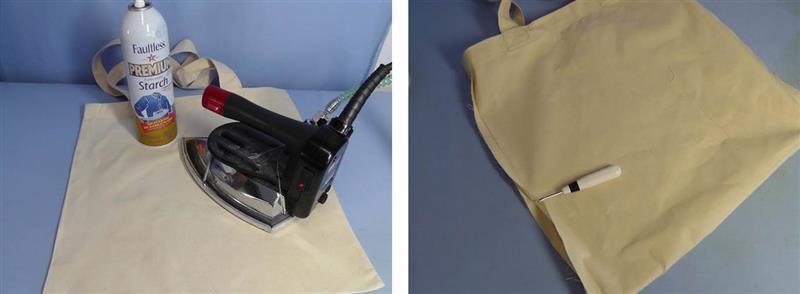
Step 2:
Press the tote bag well and then remove the stitching from the side seams.
(Click Image to Enlarge)
Step 3:
Depending on how the tote is constructed, you may or may not be able to remove the stitching all the way up to the top. For this tote, the side seam was opened to within about an inch of the top band. If there is no seam at the bottom, cut the tote apart at the bottom.
(Click Image to Enlarge)
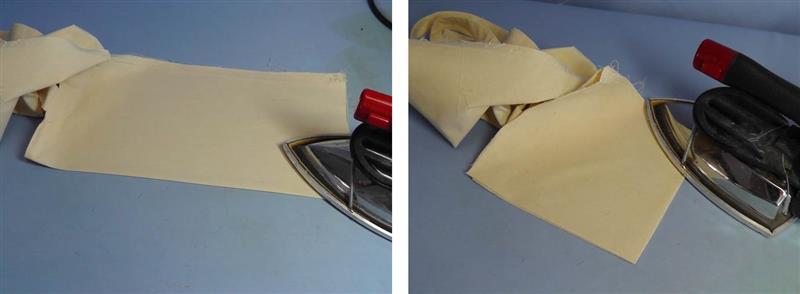
Step 4:
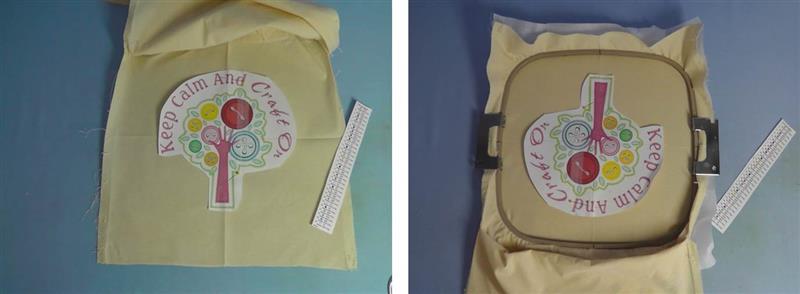
Press the tote front in half lengthwise and also width wise to find the center front.
(Click Image to Enlarge)
Step 5:
Place the printed embroidery template on the front of the tote aligning the crosshairs on the template to the center marks on the tote front. Depending on the machine, the design may need to be rotated; do this in software or at the machine. Hoop the tote front with two pieces of tearaway stabilizer.
(Click Image to Enlarge)
Step 6:
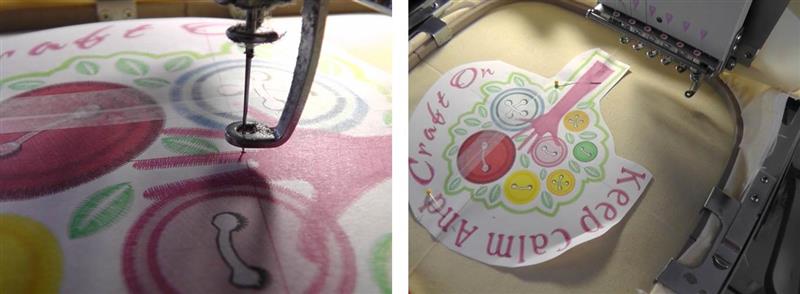
Load the design "Craft On Button Tree" on the machine. Align the center of the design to the center of the template. Be sure to do a check to be sure the presser foot will clear the hoop safely.
(Click Image to Enlarge)
Step 7:
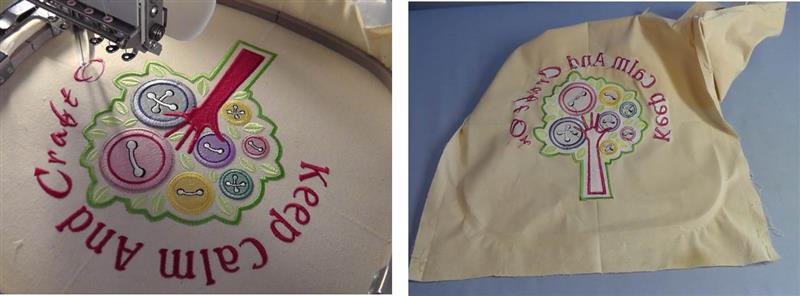
Stitch the design following the color sequence. When the stitching is done, remove the fabric from the hoop and remove the excess stabilizer.
(Click Image to Enlarge)
Step 8:
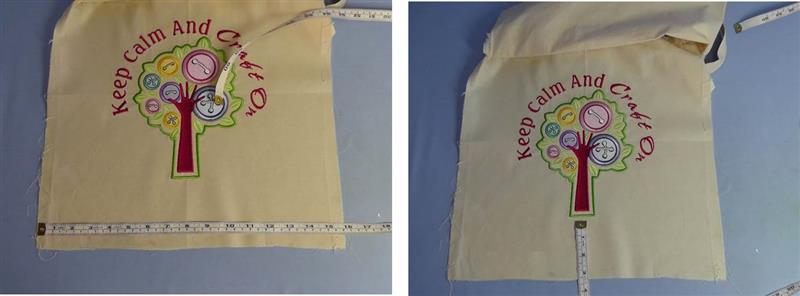
Now it is time to place fabric at the bottom edge on both the tote front and tote back. Measure the length and width of the tote bottom area.
(Click Image to Enlarge)
Step 9:
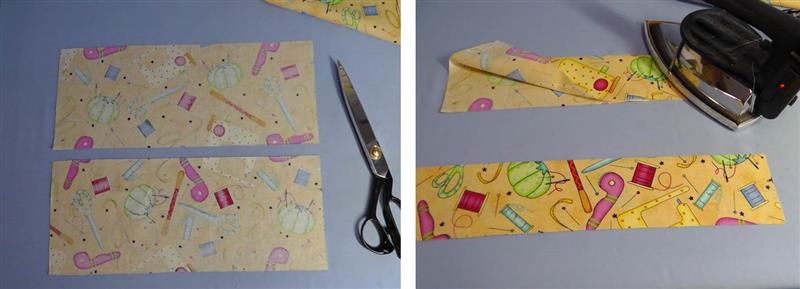
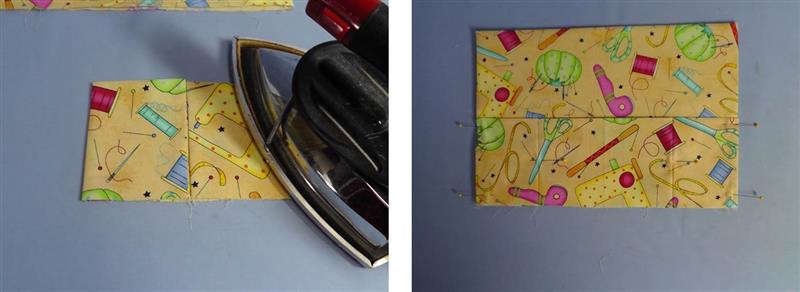
Cut two pieces of fabric from the measurements in Step 8 twice as deep, by the length and add seam allowances. Press the fabric in half lengthwise. One will be for the tote front and one for the tote back.
(Click Image to Enlarge)
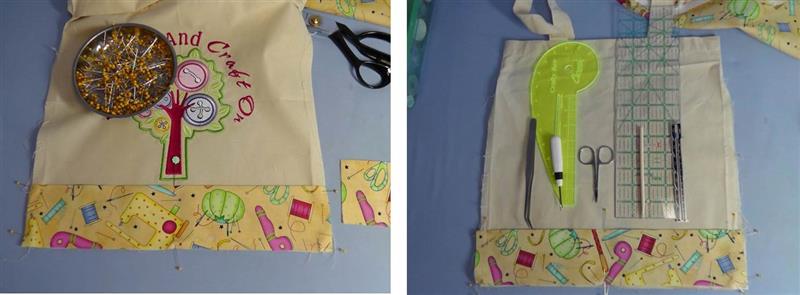
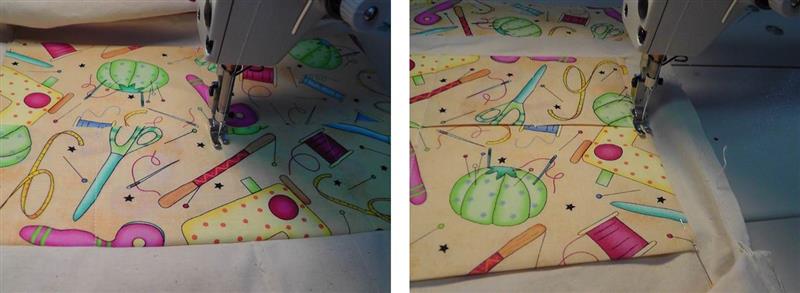
Step 10:
Position and pin one piece of fabric to the tote front, matching cut edges. Repeat for the tote back. Generally place the tools for the tote pockets on the tote back. Decide which tools will be in the pocket back and which will be in the pocket front. Here, the rulers will be in the pocket back.
(Click Image to Enlarge)
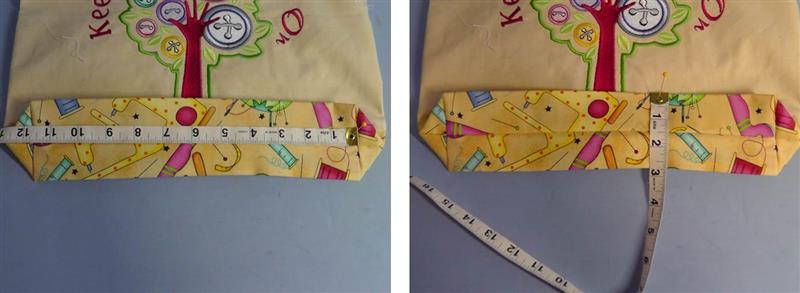
Step 11:
Measure the dimensions for the width and depth of both pockets. Double the depth (the pockets are doubled with a fold at the top) and add seam allowances to the sides and bottom.
(Click Image to Enlarge)
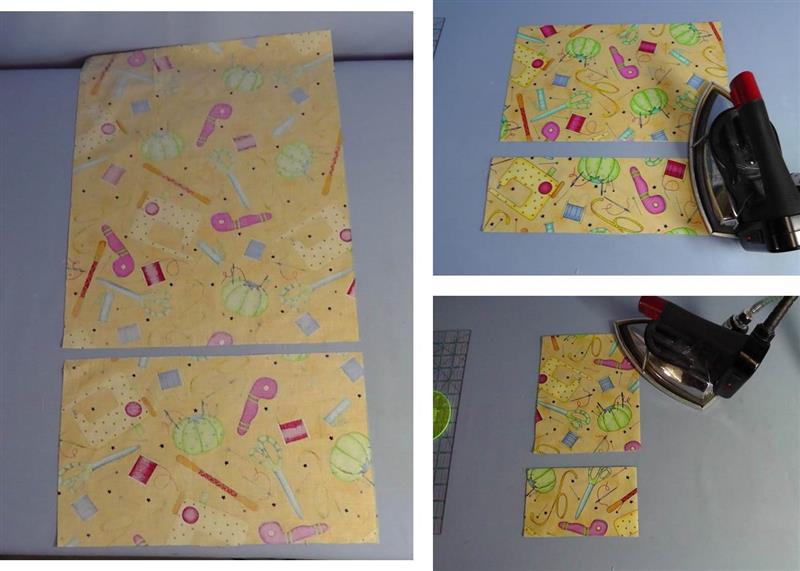
Step 12:
Cut the fabric to the dimensions needed. Press the fabric in half, creating a fold for the top of each pocket. Fold the pockets in half, meeting side seams and crease well.
(Click Image to Enlarge)
Step 13:
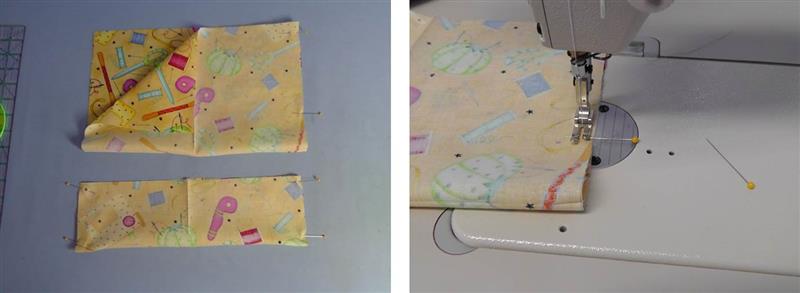
To sew the side seams for each pocket, place right sides together and stitch the seam. Press the seams open and turn the pockets right side out.
(Click Image to Enlarge)
Step 14:
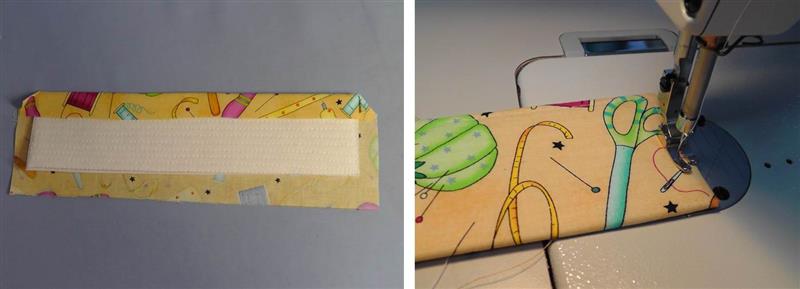
For the pocket back, cut a piece of stiff craft stabilizer about ¼” shorter in the width and ½” shorter in the depth (it doesn’t go in the bottom seam allowance). Slide the stabilizer inside the back pocket.
(Click Image to Enlarge)
Step 15:
To sub-divide the front pocket, fold the sides to the center crease creating quarter folds. Press well. Place the pocket front on top of the pocket back matching lower cut edges and side seams; the center creases should align. Pin the pockets together.
(Click Image to Enlarge)
Step 16:
Stitch the front pocket to the back pocket along the outer crease lines (the center will be done later).
(Click Image to Enlarge)
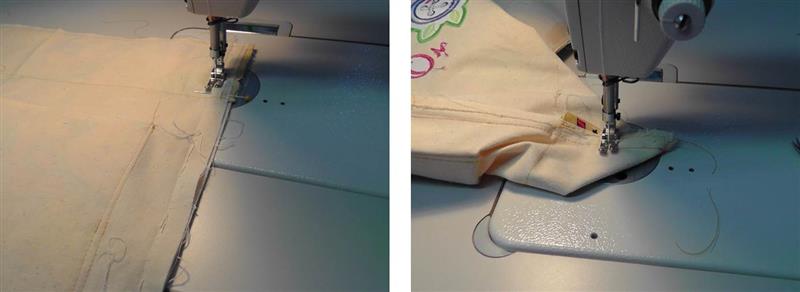
Step 17:
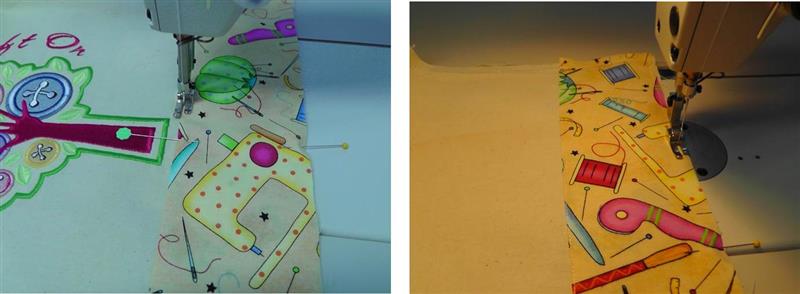
Topstitch the front and back tote bottom fabric pieces in place by edge stitching along the fold and basting the remaining three edges together.
(Click Image to Enlarge)
Step 18:
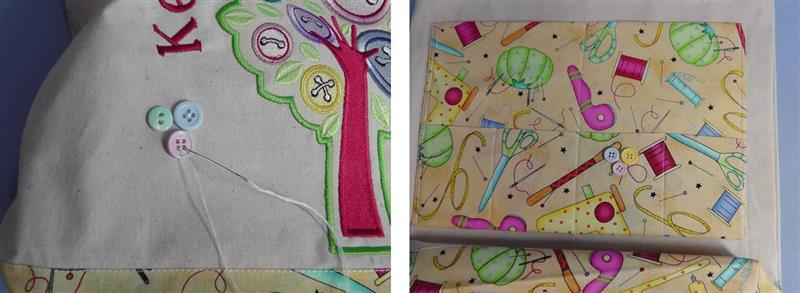
Fold the tote back in half lengthwise to find the center. Align the center creases of the pockets to the center crease of the tote back, positioning the pockets as desired.
(Click Image to Enlarge)
Step 19:
Now flip the pocket down, keeping the centers aligned. Stitch the bottom of the pocket in place.
(Click Image to Enlarge)
Step 20:
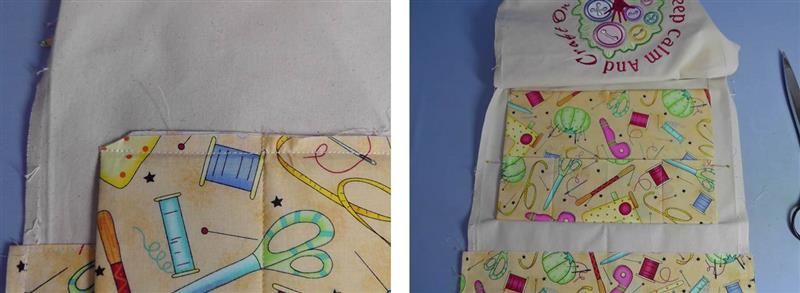
Clip the corners of the seam at an angle and then flip the pocket up and pin in place keeping the center of the pockets aligned with the center crease of the tote back.
(Click Image to Enlarge)
Step 21:
Stitch along the crease on the pocket from the top to the bottom stitching through all layers. Reinforce with a second row of stitching if desired. Stitch the side seams of the pockets to the tote back
(Click Image to Enlarge)
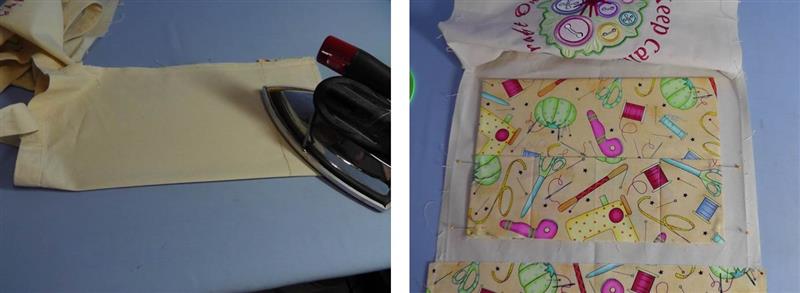
Step 22:
With right sides together, pin the tote front to the tote back matching cut edges and stitch the tote together along the original seam line. Match the adjoining bottom and side seams together, to box the bottom of each side. Trim the seams and turn the tote right side out. Finish the seams as desired.
(Click Image to Enlarge)
Step 23:
Press a crease along each long edge from corner to corner to form the bottom edge of the tote. Measure the bottom length and width.
(Click Image to Enlarge)
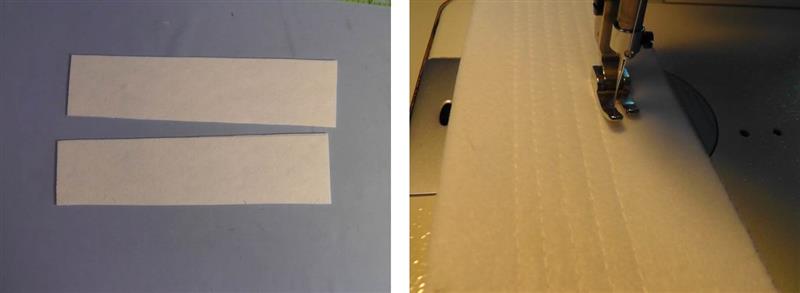
Step 24:
Cut two pieces of heavy craft stabilizer slightly smaller than the dimensions measured in Step 23. Stack the two pieces of stabilizer one atop the other and channel stitch to join the two pieces and stiffen them further
(Click Image to Enlarge)
Step 25:
Cut a piece of sewing-themed fabric 1” larger all the way around than the heavy craft stabilizer bottom piece. Center and wrap the bottom piece with the fabric and fold the edges to the underside. Top stitch around all four edges to secure the fabric to the bottom piece.
(Click Image to Enlarge)
Step 26:
Decide on button placement. Hand sew the buttons in groups to the tote front and pockets. Note: if planned ahead, this step may be done with the sewing machine and a button sewing foot.
(Click Image to Enlarge)
Step 27:
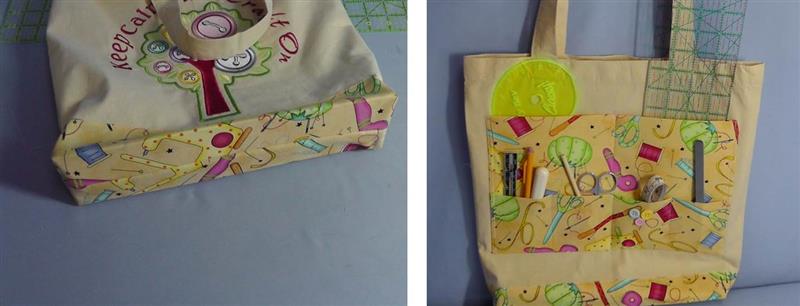
Place the bottom piece into the bottom of the tote and place the sewing tools in the pockets.
(Click Image to Enlarge)
Step 28:
Congratulations on completing the “Craft On” Tote. This tote is ready for years of enjoyment for sewing retreats and classes.
Ramona Baird has been in the embroidery industry for over 23 years. She and her husband owned a commercial and retail embroidery store in Arizona for many years. She is an experienced digitizer having been mentored by award-winners Pat Williams and Lindee Goodall. Ramona is a contributor to “Creative Machine Embroidery” magazine having 5 covers to her credit. Ramona has worked for Wilcom America and served many years as Education Director for the American Sewing Guild. With a degree in fashion design, she is able to design and execute patterns which Pat Williams says are “out of the box” in creativity and application. Ramona likes to challenge the boundaries of embroidery and bring new and exciting designs, ideas, and projects to EmbroideryDesigns.com. She wants embroiderers of all levels to increase their skills and enjoyment in using their embroidery machine for gift-making and personal pleasure.