Upholstery leather type fabric that will not ravel (amount depends on size of frame and pockets to be added; approx. 1/3 yard was used for this project.)
By using a simple acrylic frame, a holder for tea bags can be made in a short amount of time. The frame is measured and pocket size and placement are determined. The base fabric for the base and pockets is cut, the “Tea Time” embroidery done, and then the pockets are sewn to the front side of the base fabric and it is completed by sewing up the sides. Non-ravel upholstery fabric that is leather-like was used in this project. Real leather could also be used as could fabric (adjust seam allowances for turning under the fabric since it ravels). This would make a perfect gift for a desk at work or to sit on the counter at home to have everything ready when it is “Tea Time”.
Step 1:
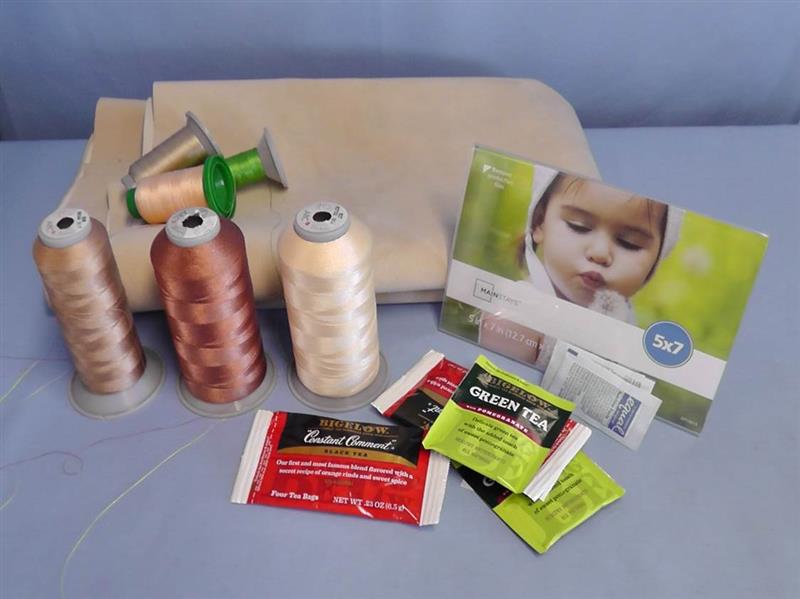
Gather the supplies and read through the instructions before beginning.
(Click Image to Enlarge)
Step 2:
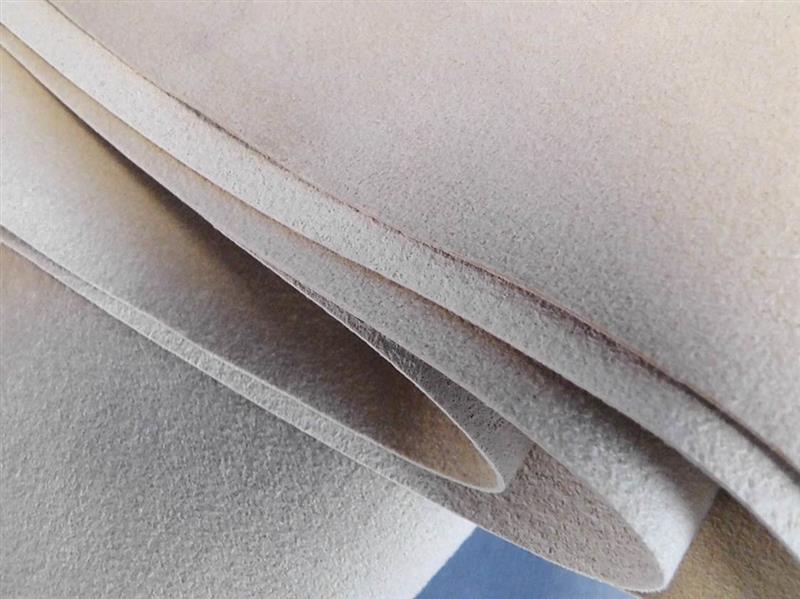
The fabric used for the project was purchased at a fabric store that sells quality upholstery; the sales clerk called it “faux leather”. It has a nice back on it, the front of the fabric has a slight nap and it does not ravel making it perfect for this project.
(Click Image to Enlarge)
Step 3:
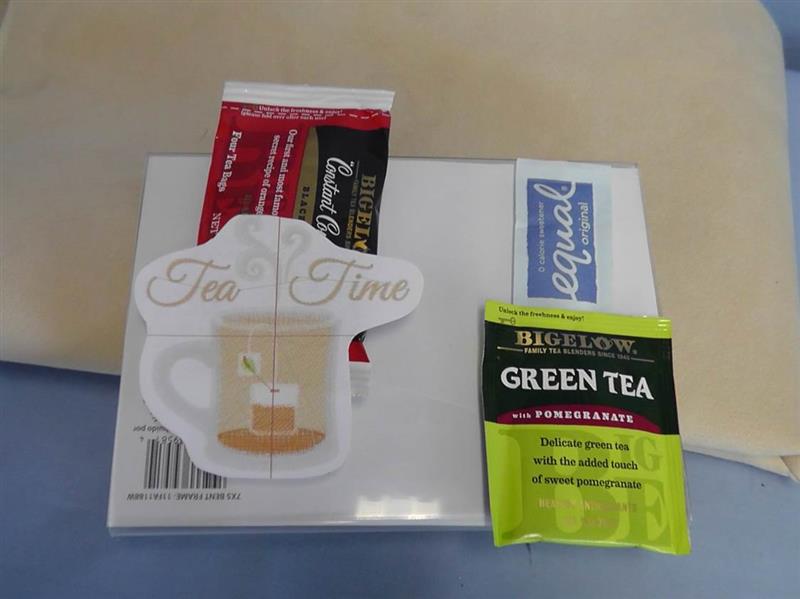
Use the frame to do a general layout to determine how the items will be placed in the pockets and where the pockets will be placed.
(Click Image to Enlarge)
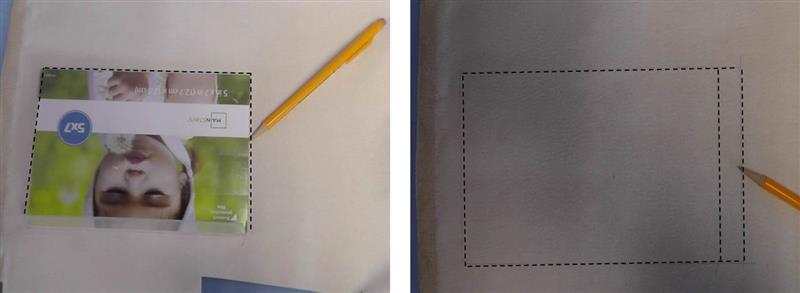
Step 4:
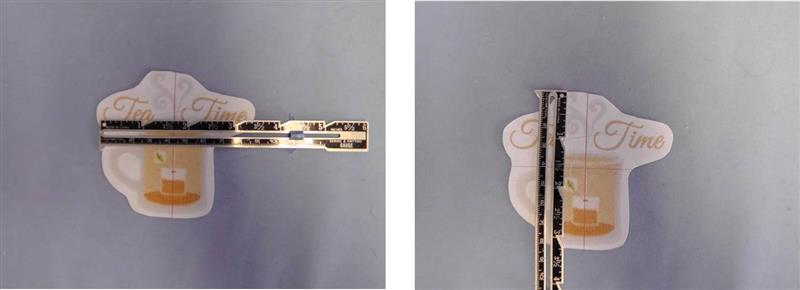
Print the template at actual size. Measure the width and height to determine the dimensions to cut the pocket fabric. For this project, the pocket fabric was cut 4” x 4” and will be cut down after the embroidery is finished.
(Click Image to Enlarge)
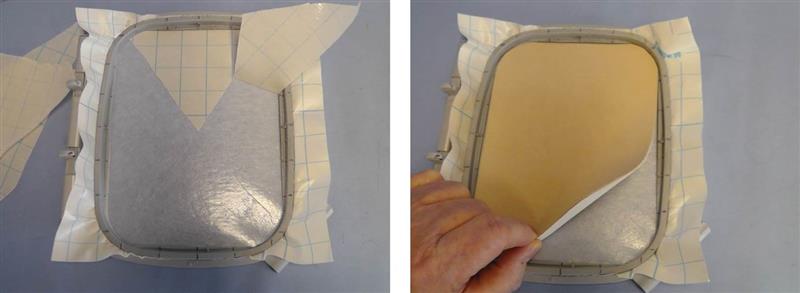
Step 5:
Hoop a piece of adhesive tearaway stabilizer then remove the protective paper. Place the piece of fabric in the hoop that will be embroidered.
(Click Image to Enlarge)
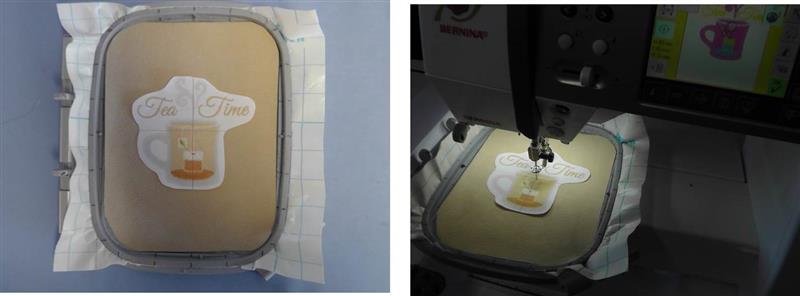
Step 6:
Load the “Tea Time” embroidery design on the machine. Place the hooped fabric on the machine and align the center of the design to the center of the fabric.
(Click Image to Enlarge)
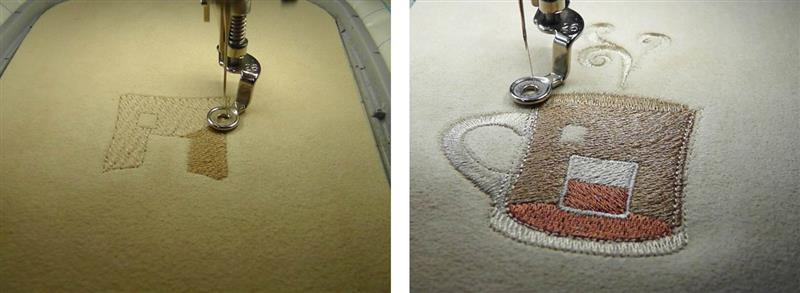
Step 7:
Stitch the design following the color sequence.
(Click Image to Enlarge)
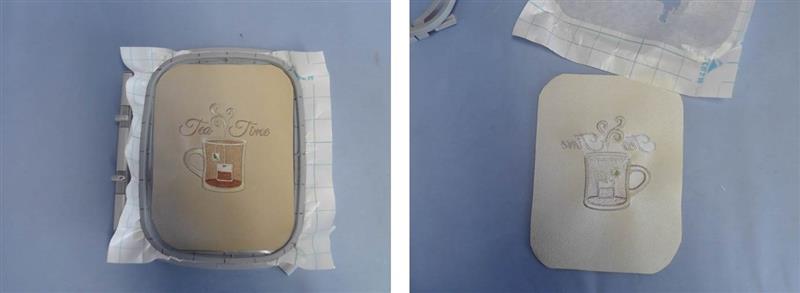
Step 8:
After the design finishes stitching, remove the fabric from the hoop and remove the excess stabilizer.
(Click Image to Enlarge)
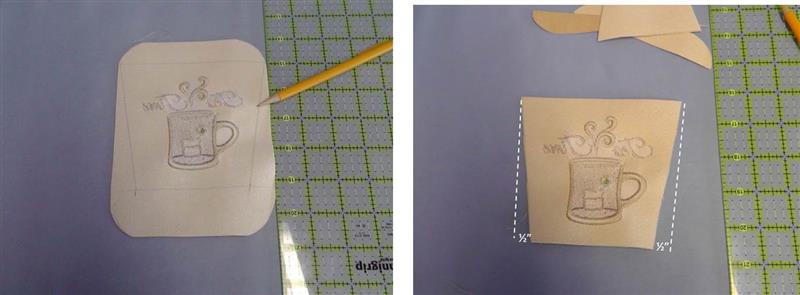
Step 9:
Cut the pocket to size. This pocket was cut leaving ½” outside the top and bottom of the design and 1” at the sides. The pocket was further cut by measuring in ½” at the bottom and then truing from that mark to the top. Make adjustment for the pocket size needed to fit the tea bags being used in your project.
(Click Image to Enlarge)
Step 10:
Measure and cut the fabric or make it simple and just trace around the frame on the wrong side of the fabric (if it will not show to the right side of the fabric). Add ½” to the width for a seam allowance and ease. This may need to be adjusted depending on the thickness of the fabric used. This is ½ the fabric needed to cover the frame.
(Click Image to Enlarge)
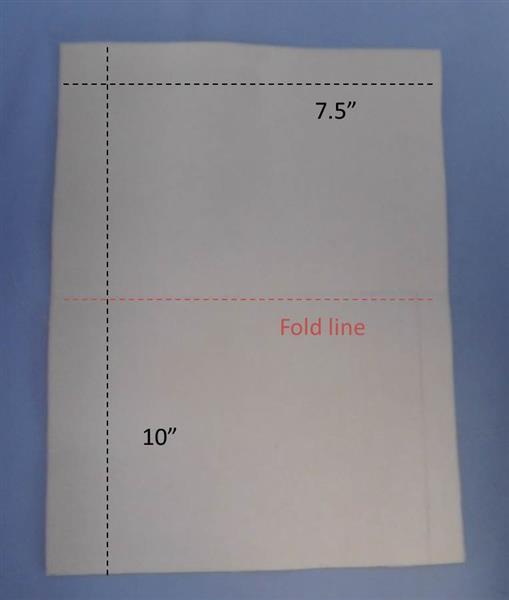
Step 11:
Fold the fabric in half along the top edge and cut along the outside pencil lines creating a piece double in size from what was drawn. For this 5” x 7” frame, the fabric was cut 10” tall by 7.5” wide.
(Click Image to Enlarge)
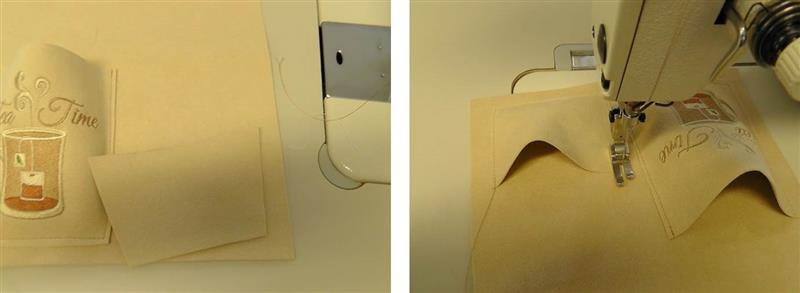
Step 12:
Keep the fabric folded in half and place the pockets as they were planned. Beginning with the embroidered pocket, align the bottom of the pocket about ¼” above the bottom cut edge. When the pocket is sewn on, these lines must be parallel. The pocket side edges will be parallel to the cut edge. Open up the fabric to sew on the pocket.
(Click Image to Enlarge)
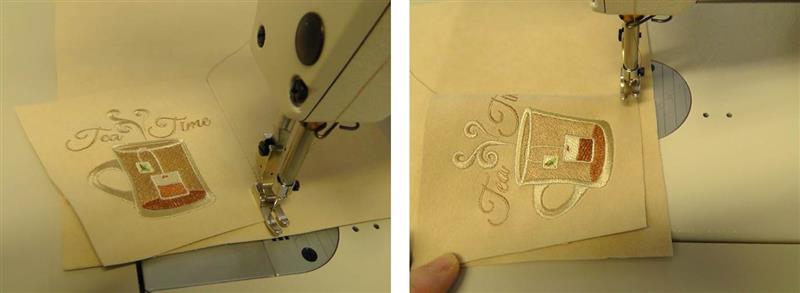
Step 13:
While sewing the pocket on the fabric front, rotate the right edge of the pocket so it is parallel to the fabric cut edge; topstitch the right side of the pocket in place. Stop at the bottom of the pocket with the needle in the fabrics. Pivot the fabrics then align the bottom of the pocket parallel to the bottom of the fabric.
(Click Image to Enlarge)
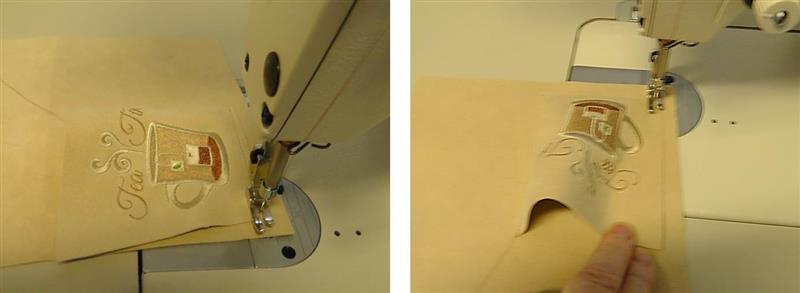
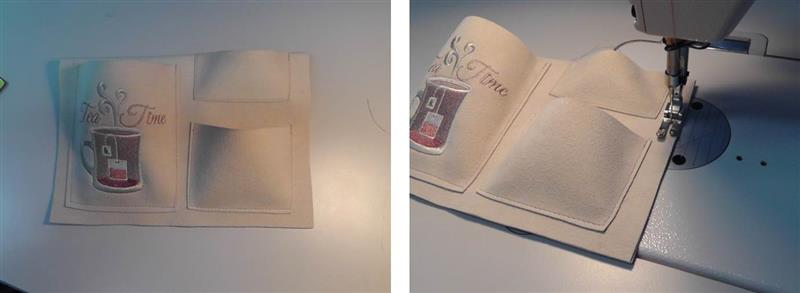
Step 14:
Sew across the bottom of the pocket attaching it to the fabric. Stop at the next corner with the needle in the fabrics. Pivot the fabrics again. Position the remaining side of the pocket parallel to the fabric edge. By doing this, the inside of the pocket opens up as shown.
(Click Image to Enlarge)
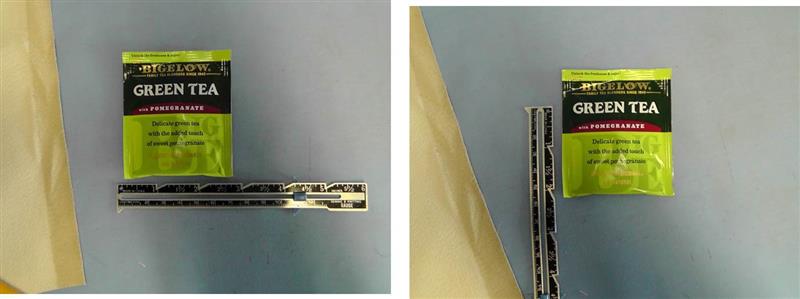
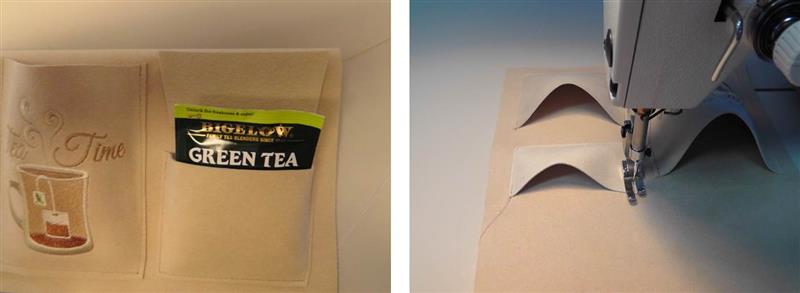
Step 15:
Measure the tea bag to determine the size to cut the pocket.
(Click Image to Enlarge)
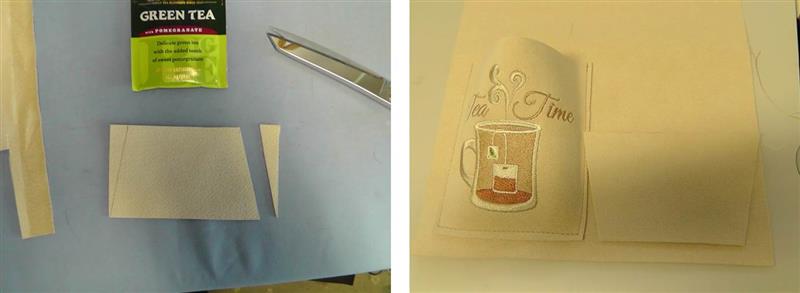
Step 16:
Cut one piece of fabric for this pocket, decreasing the bottom edge ¼” and truing to the top edge like was done for the embroidered pocket. Align the pocket on the fabric, keeping the lower edges parallel.
(Click Image to Enlarge)
Step 17:
Sew this pocket on like was done for the embroidered pocket, pivoting at the corners and rotating the fabric.
(Click Image to Enlarge)
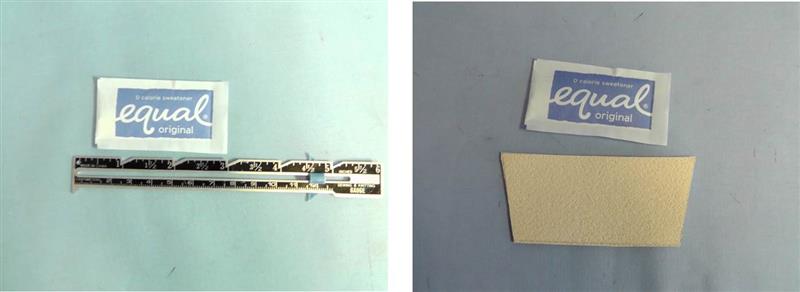
Step 18:
Measure the sweetener packet and cut one pocket, angling in the bottom like the others.
(Click Image to Enlarge)
Step 19:
Determine the placement of this pocket above the second pocket and sew it on like the others.
(Click Image to Enlarge)
Step 20:
To finish the “Tea Time” caddy, fold the fabric wrong sides together meeting the cut edges. Sew along the two outside edges, topstitching scant ¼” from the cut edge.
(Click Image to Enlarge)
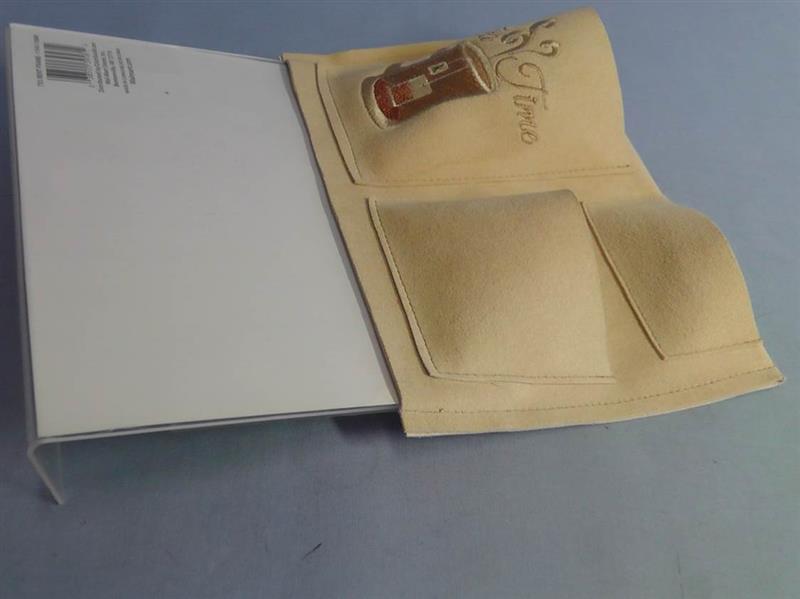
Step 21:
Slide the tea caddy onto the frame with the back side of the caddy to the back side of the frame.
(Click Image to Enlarge)
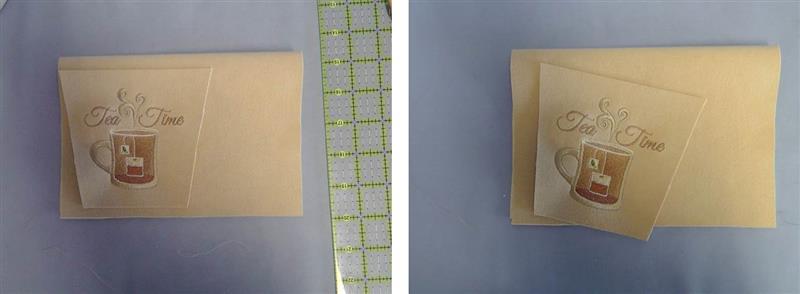
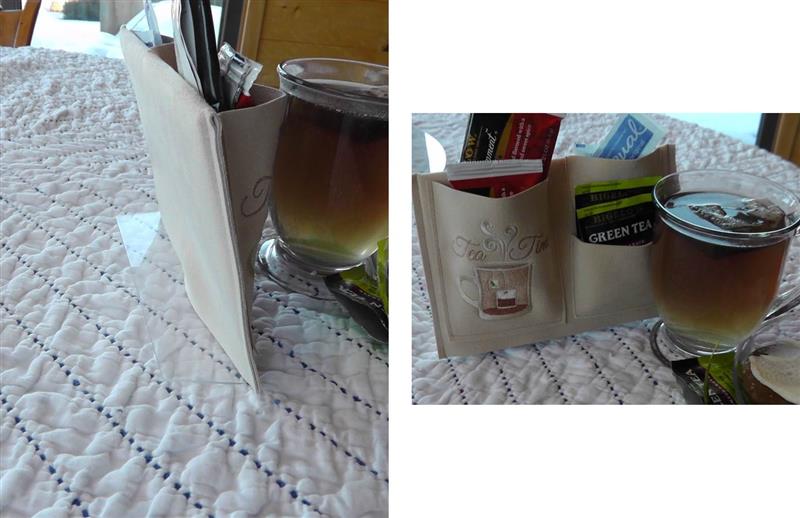
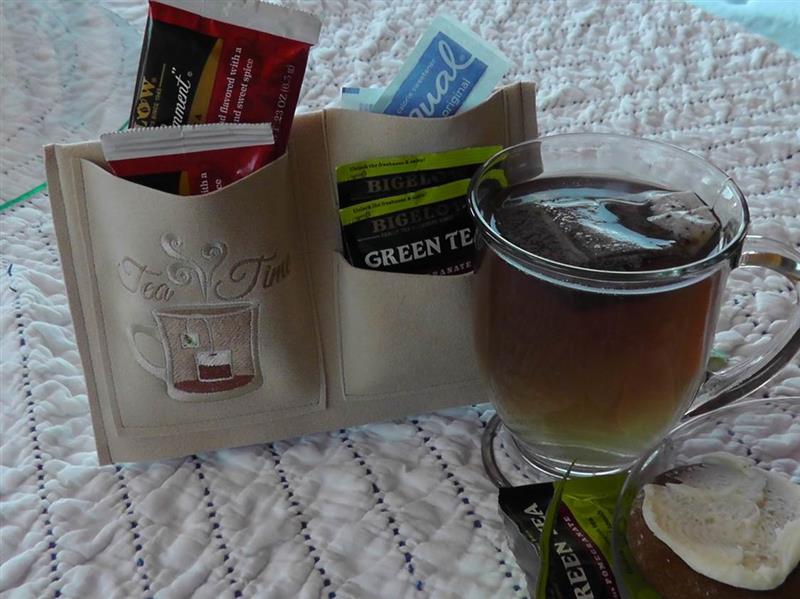
Step 22:
The frame with the caddy from the side view and from the front. Place the teas and sweetener in the caddy pockets.
(Click Image to Enlarge)
Step 23:
Brew a cup of tea and enjoy your new “Tea Time” caddy.
Ramona Baird has been in the embroidery industry for over 23 years. She and her husband owned a commercial and retail embroidery store in Arizona for many years. She is an experienced digitizer having been mentored by award-winners Pat Williams and Lindee Goodall. Ramona is a contributor to “Creative Machine Embroidery” magazine having 5 covers to her credit. Ramona has worked for Wilcom America and served many years as Education Director for the American Sewing Guild. With a degree in fashion design, she is able to design and execute patterns which Pat Williams says are “out of the box” in creativity and application. Ramona likes to challenge the boundaries of embroidery and bring new and exciting designs, ideas, and projects to EmbroideryDesigns.com. She wants embroiderers of all levels to increase their skills and enjoyment in using their embroidery machine for gift-making and personal pleasure.