






PROJECT INSTRUCTIONS


PROJECT INSTRUCTIONS

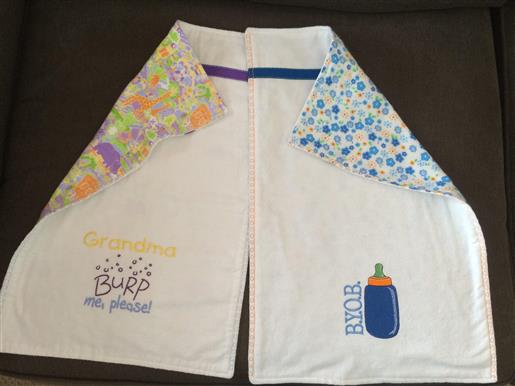
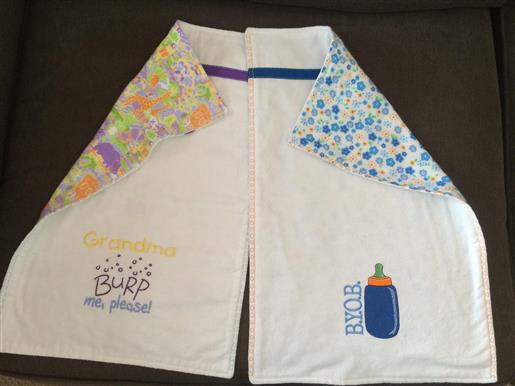
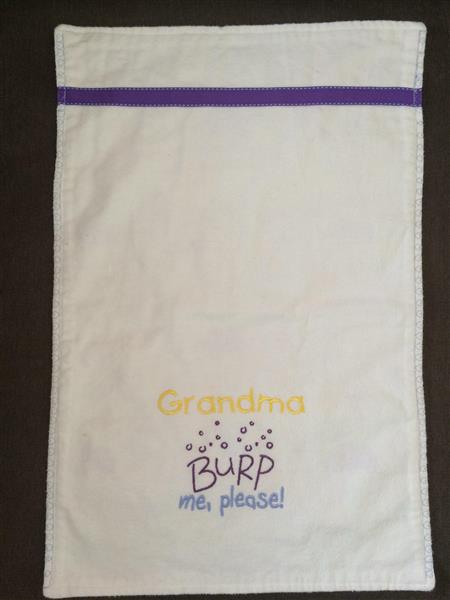
Homemade Burp Cloths Embroidery Project
By
Sue Gerhardt
on
February 27, 2015
Description
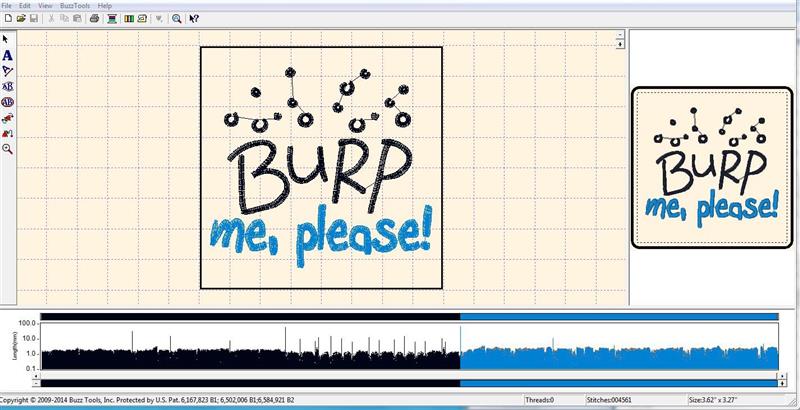
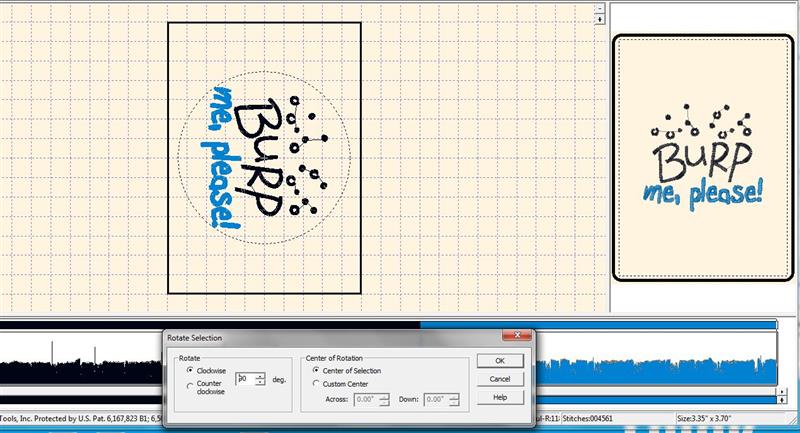
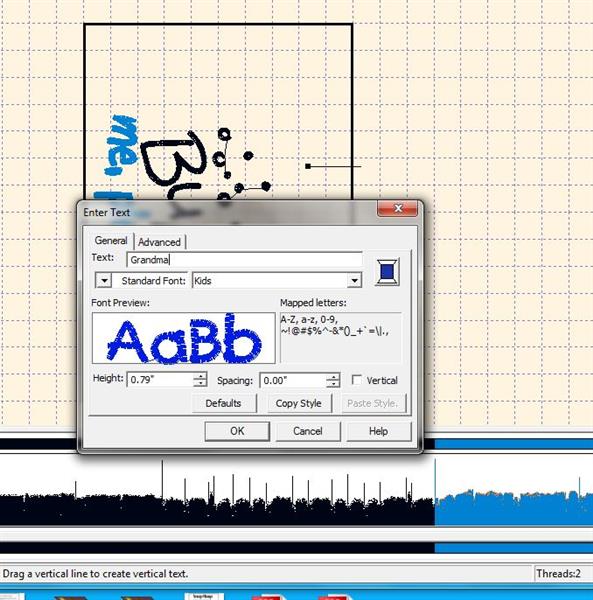
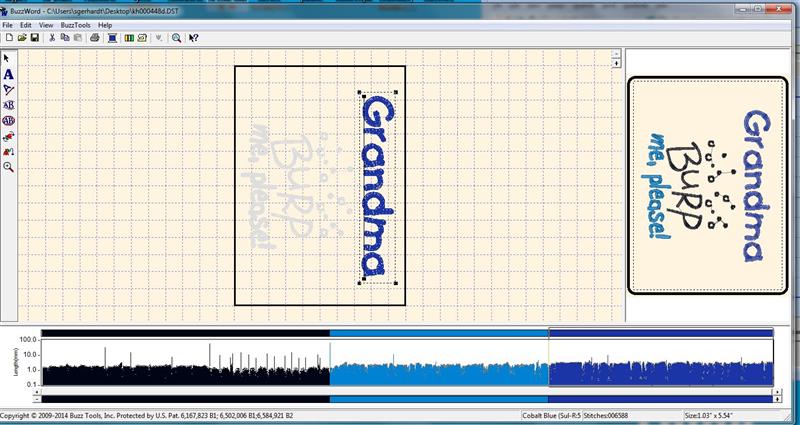
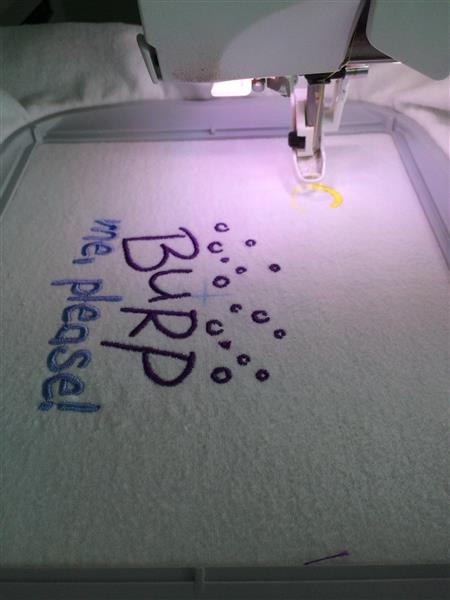
These cute burp cloths are made of flannel and are perfect for a baby shower or a 'welcome to the world' gift. I will also be showing you how to add lettering to a design using the embroidery software called BuzzWord.
Step
of
Materials
Project Preview Video

Burp Me Please
$4.39
Circle Price: $3.29

B.Y.O.B.
$5.49
$2.75
Circle Price: $2.60

Cut Away Stabilizer - 2.5 Oz wt.
$8.94
Circle Price: $8.05

Cut Away Stabilizer - 2 oz wt.
$8.52
Circle Price: $7.67


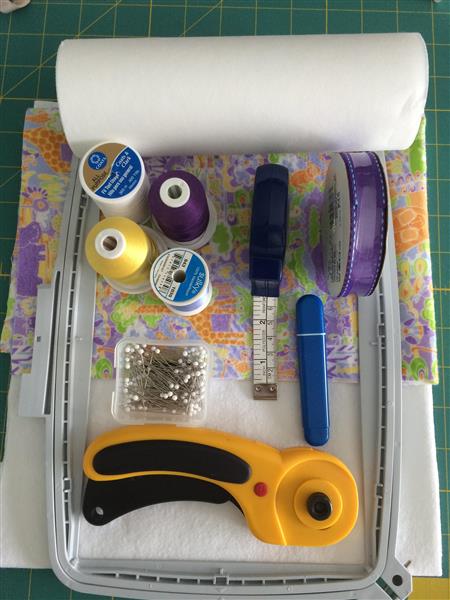
| Materials 1 piece of pre-washed printed flannel 14” wide by 21” long 1 piece of pre-washed white flannel 14” wide by 21” long 1 piece of ribbon 14” long by 5/8” wide White sewing thread 3 Embroidery thread colors and bobbin thread 5” x 7” or 180mm x 130mm hoop Tear away stabilizer Tape measure Pins Marking tool |
| Designs used in this project |
| Final Product: What You Will Create |
 |
|

Projects You May Like
Meet the Author:
Sue Gerhardt

I've been sewing and making clothes from the age of 16 and started machine embroidering 8 years ago. I try to keep up with the latest embroidery trends by attending many classes at my local embroidery shop and just started learning how to quilt. I love to embroider on everything!
Feedback
Characters Remaining
Please Login to Submit a Feedback
Invalid Characters, Please enter a valid Comment
Please enter a valid Comment
Reviewed On
Link is Broken, Please check the URL