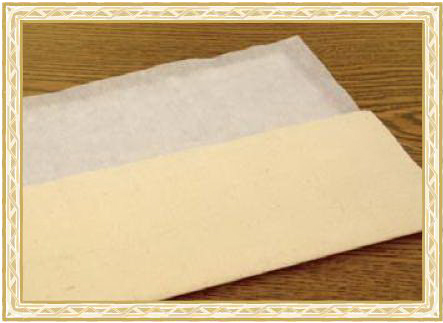
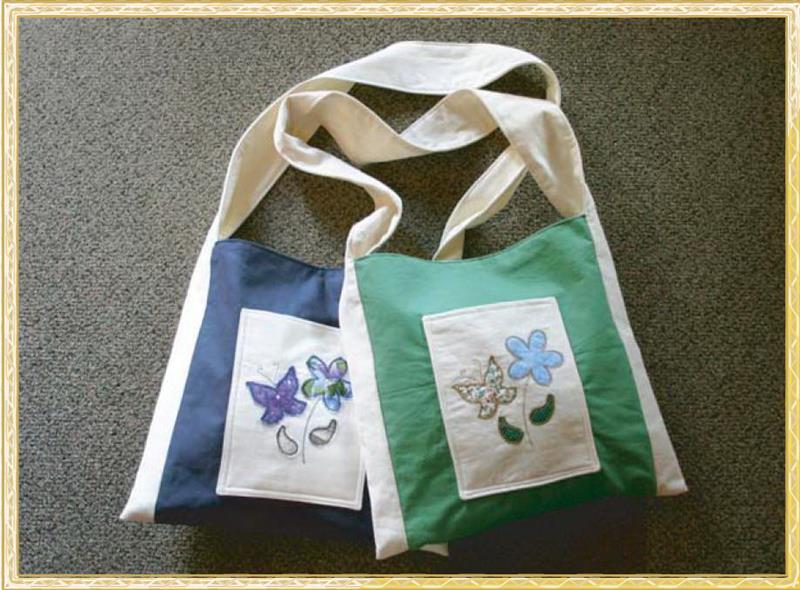
| Preface: | | Shopping anyone? This stylish and roomy tote bag is perfect for holding all of your shopping finds. It is fully lined, has an inside organizer pocket and a magnetic snap closure at top. The large outer pocket is perfect to keep your cell phone handy and is embroidered with beautiful, open edge appliques. Our fabric requirements make a finished bag of 15" wide x 14" high with a 42" long x 3" wide handle. The outer pocket measures 6.5" wide x 9" high. |
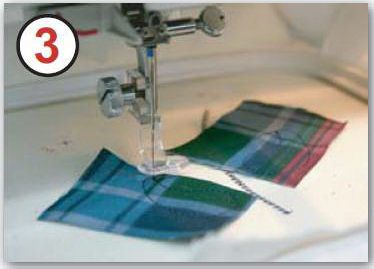
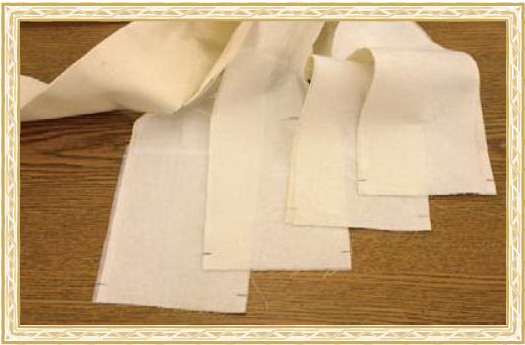
Step 1: | Embroidery Prepare machine for embroidery. Iron fusible interfacing to wrong side of pocket fabric following manufacturers directions. The designs for this tote bag have been supplied in 2 different ways: If you have an embroidery hoop 5.5" x 5.5" or larger, you can embroider the design in one hooping. You will follow the steps for One Hooping. If you have an embroidery hoop 3.5" x 4", you will embroider the design in 3 hoopings. You will follow the steps for Three Hoopings. |
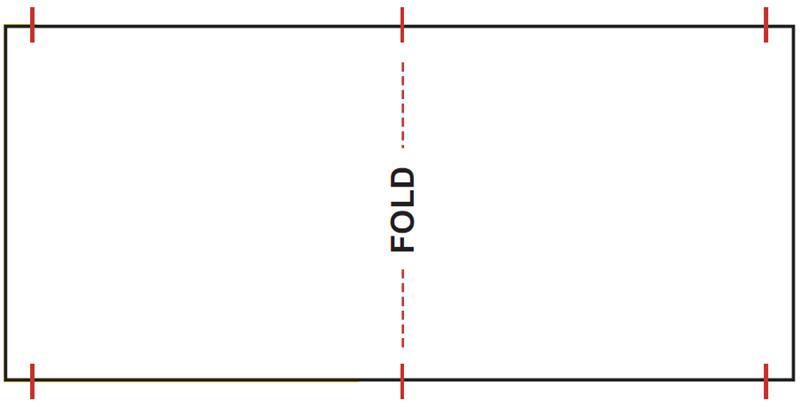
Step 2: | One Hooping To mark the pocket fabric for embroidery placement, fold the fabric lengthways (long edges together). Hand press a seam on the fold. Line up fabric corners only, not the fusible. | 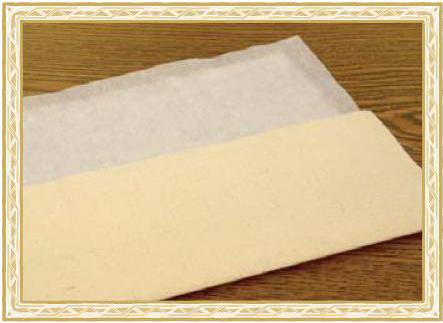 |
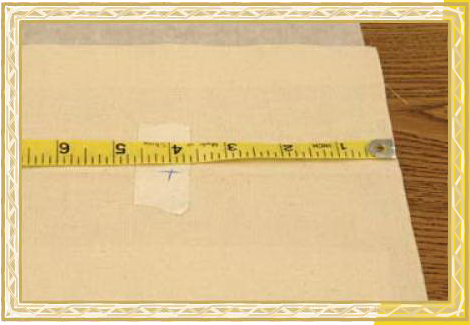
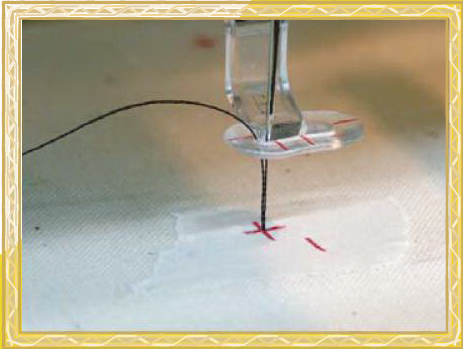
Step 3: | Open fabric, measure and mark 4.75" from a short edge (along the fold) on a piece of masking tape. Refold the fabric and squeeze the masking tape fold area. Reopen and mark on the fold to make a crosshair. |  |
Step 4: | With the excess of fabric to the top of your hoop, position fabric so that it is straight in the hoop. The grid on the plastic insert will also aide in aligning fabric so that it is straight. The marked masking tape will not be at exact center and there will only be a small amount of fabric at the bottom of the hoop. | 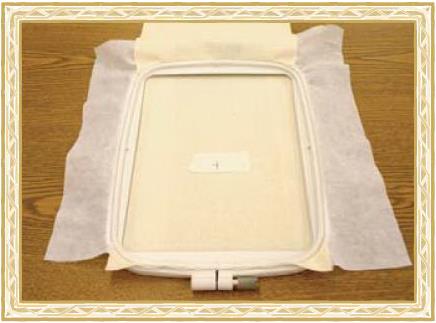 |
Step 5: | | Tip: If you require a little extra fabric at the bottom of the hoop to secure in the hoop, iron an extra strip of fusible stabilizer to the bottom of the fabric. |
Step 6: | Slide a piece of lightweight tear-away stabilizer under the hoop. Prepare your machine to sew Bee007Complete. Use your jog keys to line the needle up with the marked crosshair. | 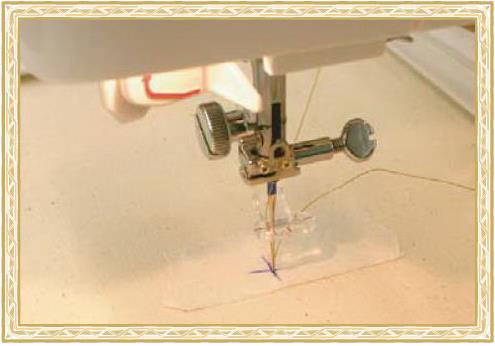 |
Step 7: | | Remove the tape and sew the design following this sewing sequence. |
Step 8: | Sewing Sequence for Bee007Complete Note: Our sample uses the same color for every stop in this design. If you are using several colors for your embroidery, the placement line and cutline for each applique can be sewn in the same color as the border for that applique. They do not need a separate color as they are not visible in the finished embroidery. |
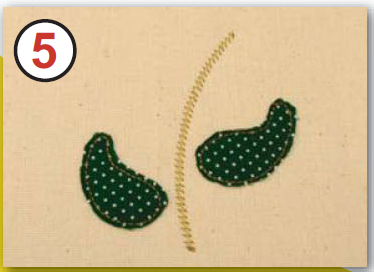
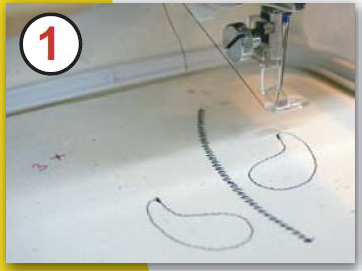
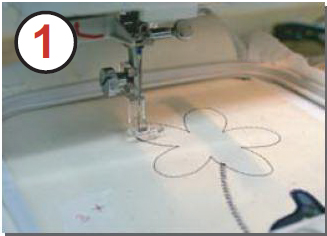
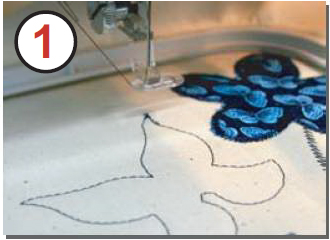
Step 9: | Stem and Leaf placement lines. | 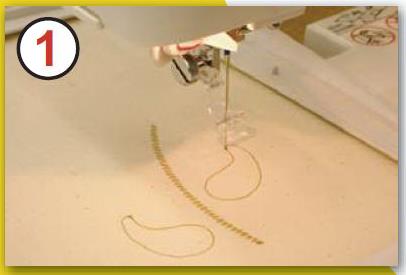 |
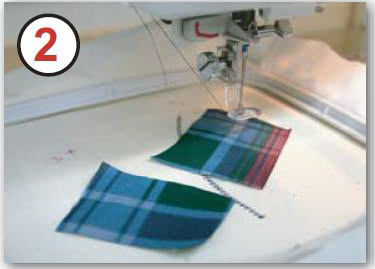
Step 10: | 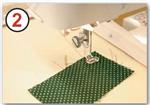 (Click Image to Enlarge) Place Leaf applique fabric over placement line to completely cover the placement line stitches. |
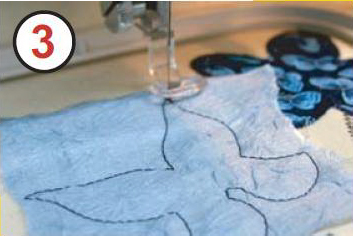
Step 11: | 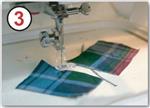 (Click Image to Enlarge) Leaf cutlines. |
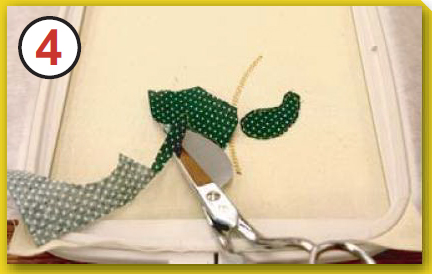
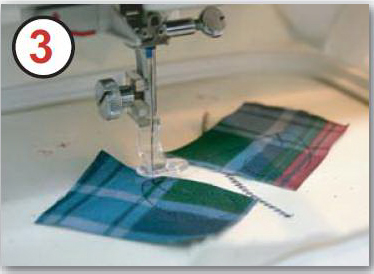
Step 12: | Remove hoop from machine and carefully cut around cutlines leaving approx. 2mm of fabric. It is important that you do not cut the stitches in the cutlines. Applique scissors are very useful here as they have a guard to stop you from cutting the cutline stitches. | 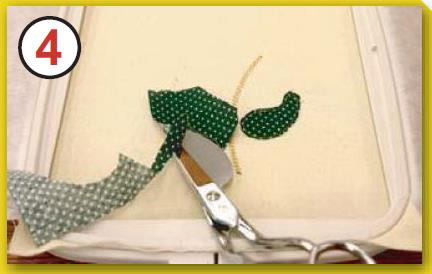 |
Step 13: | 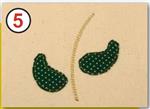 (Click Image to Enlarge) Reattach hoop to machine. |
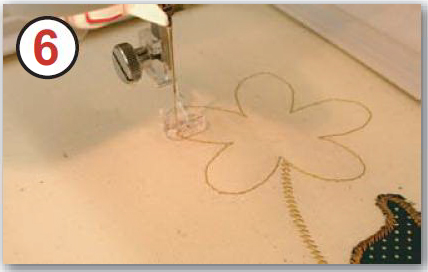
Step 14: | Leaf borders and Flower placement line. | 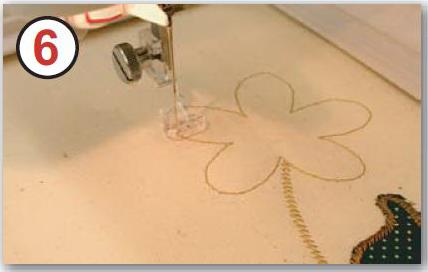 |
Step 15: | 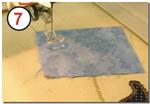 (Click Image to Enlarge) Place Flower applique fabric over placement line to completely cover the placement line stitches. |
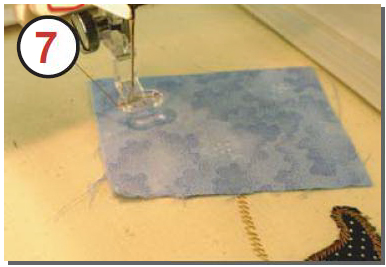
Step 16: | 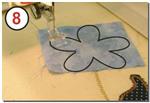 (Click Image to Enlarge) Flower cutline. |
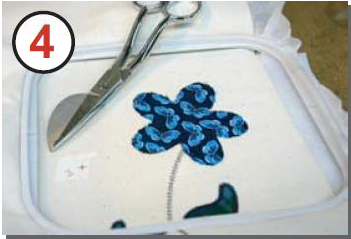
Step 17: | 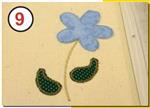 (Click Image to Enlarge) Remove hoop from machine and carefully cut around cutline leaving approx. 2mm of fabric. Reattach hoop to machine. |
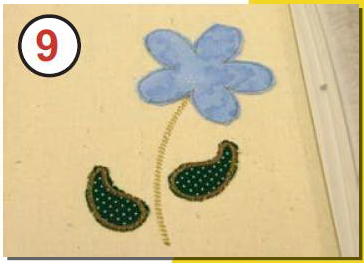
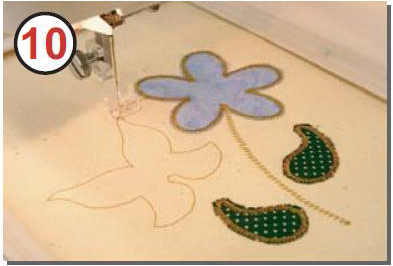
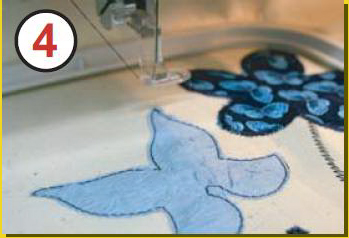
Step 18: |  (Click Image to Enlarge) Flower border and Butterfly placement line. Place Butterfly applique fabric over placement line to completely cover the placement line stitches. |
Step 19: | Butterfly cutline. | 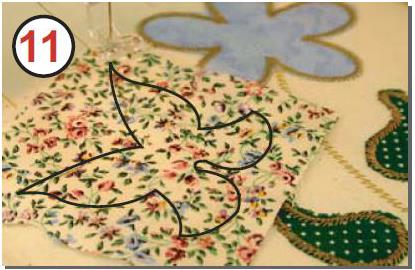 |
Step 20: | 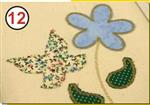 (Click Image to Enlarge) Remove hoop from machine and carefully cut around cutline leaving approx. 2mm of fabric. Reattach hoop to machine. |
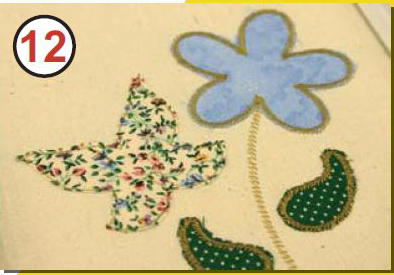
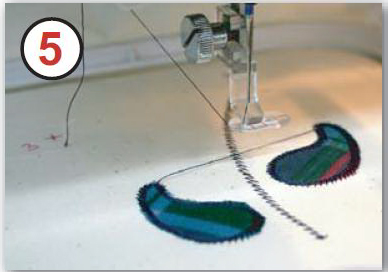
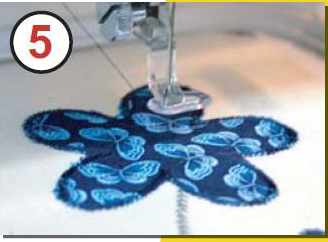
Step 21: |  (Click Image to Enlarge) Butterfly border & antennae. |
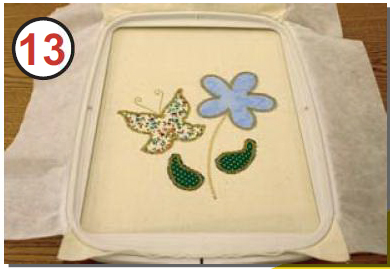
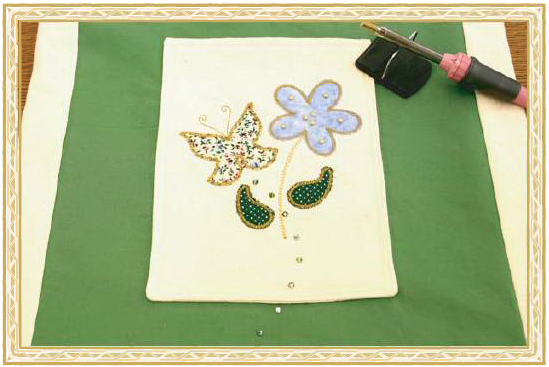
Step 22: |  (Click Image to Enlarge) When embroidery is complete, remove fabric from hoop and gently pull all tear-away from back of design. Trim excess iron-on fusible so that it is even with fabric edges. Trim any loose threads from front and back of embroidery. For a frayed applique edge, gently run your finger nail around the edges of the appliques to expose any loose threads. Trims extra long threads that may appear. |
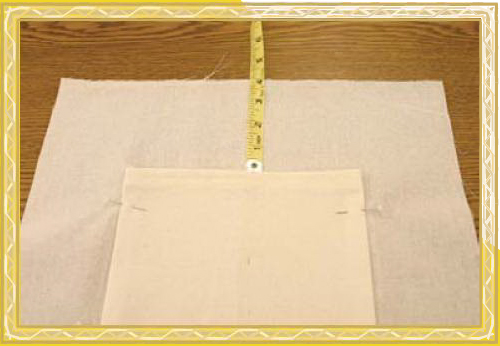
Step 23: | Three Hoopings To mark the pocket fabric for three embroidery placements you will first need to find the common center of all three placements. Fold the fabric lengthways (long edges together). Hand press a seam on the fold. Line up fabric corners only, not the fusible. |  |
Step 24: | Open fabric, measure and mark 4.75" from a short edge (along the fold) on a piece of masking tape. Refold the fabric and squeeze the masking tape fold area. Reopen and mark on the fold to make a crosshair. This is the common center mark for all three embroidery designs. | 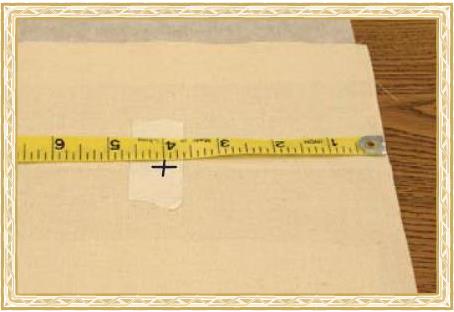 |
Step 25: | Cut out Bee007 - 3Hoop Template on outer line. Poke a pin through the Common Center Crosshair and line the pin tip up with the crosshair on the masking tape. | 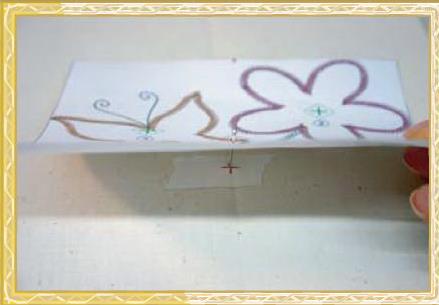 |
Step 26: | Line up the top and bottom center lines on the template with the center fold marks on the fabric. Place a piece of tape at the bottom center mark to briefly secure the template. |  |
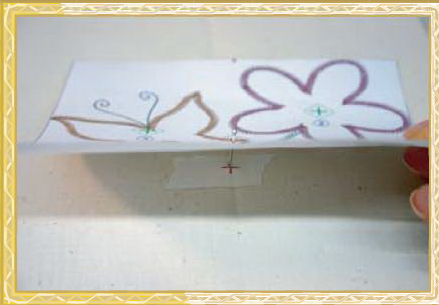
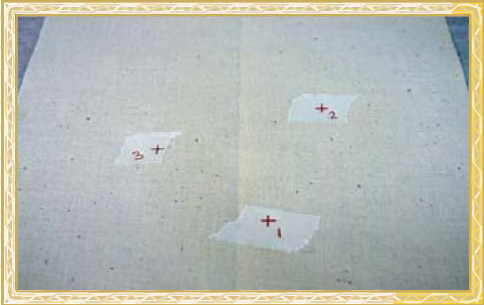
Step 27: | Place 3 pieces of tape on the fabric at the approximate areas of the other 3 crosshairs on the template. | 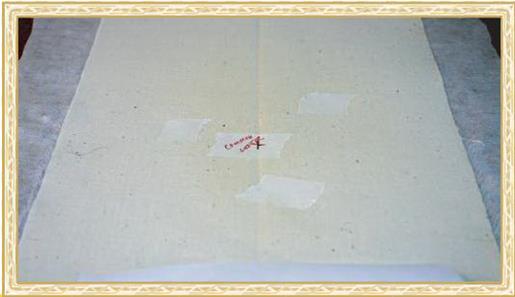 (Click Image to Enlarge) |
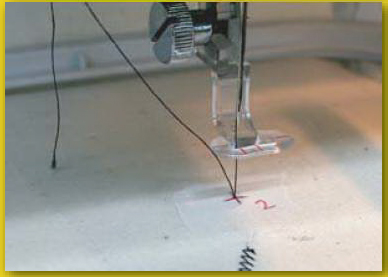
Step 28: | Poke a pin through crosshair #1 and partly through the masking tape at that point. Lift paper slightly to be sure that you can see a tiny hole in the masking tape. Repeat for crosshair #2 and 3. | 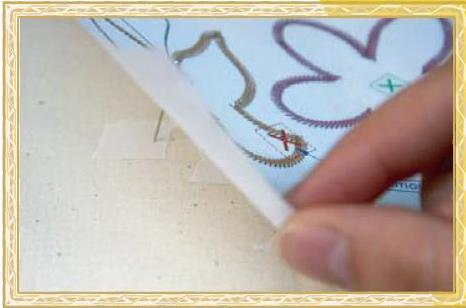 |
Step 29: | Fold paper back at bottom, draw a crosshair at each of the 3 pin holes on masking tape. Label them 1, 2 and 3 accordingly. These are your 3 start points for embroidery. | 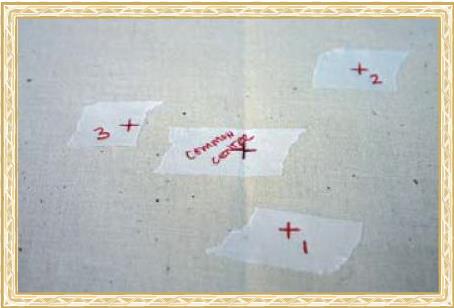 |
Step 30: | Remove Common Center masking tape and paper template. | 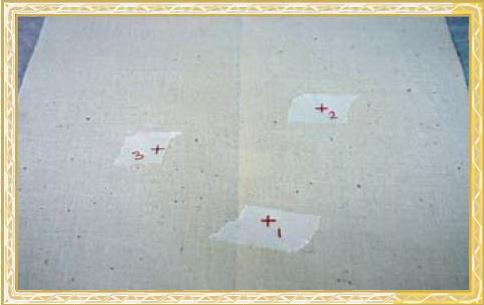 |
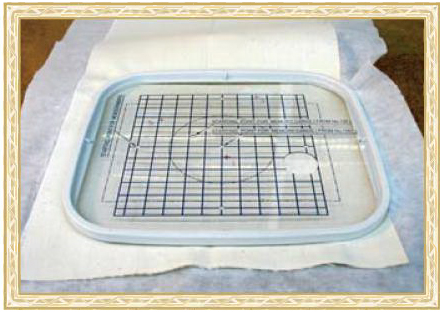
Step 31: | With the excess of fabric to the top of your hoop, position and hoop fabric with the crosshair #1 as close to center as possible. Use your plastic hoop insert to help find center. The grid on the insert will also aide in aligning fabric so that it is straight. |  |
Step 32: | Attach hoop to machine, slide a piece of lightweight tear-away stabilizer under the hoop. Prepare your machine to sew Bee007Stem&Leaves. Use your jog keys to line the needle up with the marked crosshair. |  |
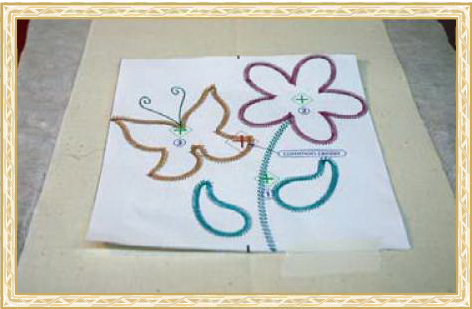
Step 33: |  (Click Image to Enlarge) Sewing Sequence for Bee007 - Stem & Leaves Stem and Leaf placement lines. |
Step 34: |  (Click Image to Enlarge) Place Leaf applique fabric over placement line to completely cover the placement line stitches. |
Step 35: | 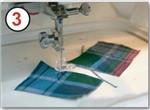 (Click Image to Enlarge) Leaf cutlines. |
Step 36: | 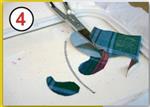 (Click Image to Enlarge) Remove hoop from machine and carefully cut around cutlines leaving approx. 2mm of fabric. It is important that you do not cut the stitches in the cutlines. Applique scissors are very useful here as they have a guard to stop you from cutting the cutline stitches. Reattach hoop to machine. |
Step 37: | 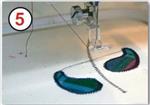 (Click Image to Enlarge) Leaf borders. |
Step 38: | | When embroidery is complete, remove fabric from hoop and gently pull all tear-away from back of design. Trim any loose threads from front and back of embroidery. |
Step 39: |  (Click Image to Enlarge) Sewing Sequence for Bee007 - Flower Repeat hooping steps for second placement. (crosshair #2). Prepare your machine to sew Bee007Flower. Use your jog keys to line the needle up with the marked crosshair. Remember to slide a piece of tear-away stabilizer under the hoop. Remove the tape and sew the design following this sewing sequence. |
Step 40: | 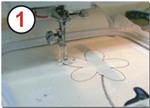 (Click Image to Enlarge) Flower placement line. |
Step 41: | 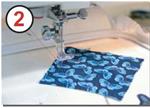 (Click Image to Enlarge) Place Flower applique fabric over placement line to completely cover the placement line stitches. |
Step 43: |  (Click Image to Enlarge) Remove hoop from machine and carefully cut around cutline leaving approx. 2mm of fabric. Reattach hoop to machine. |
Step 44: |  (Click Image to Enlarge) Flower border. |
Step 45: | | When embroidery is complete, remove fabric from hoop and gently pull all tear-away from back of design. Trim any loose threads from front and back of embroidery. |
Step 46: | Sewing Sequence for Bee007 - Butterfly Repeat steps to hoop for third placement. (crosshair #3). Prepare your machine to sew Bee007Butterfly. Use your jog keys to line the needle up with the marked crosshair. Remember to slide a piece of tear-away stabilizer under the hoop. Remove the tape and sew the design following this sewing sequence. |
Step 47: | 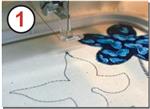 (Click Image to Enlarge) Butterfly placement line. |
Step 48: | 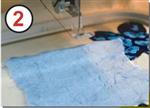 (Click Image to Enlarge) Place Butterfly applique fabric over placement line to completely cover the placement line stitches. |
Step 49: |  (Click Image to Enlarge) Butterfly cutline. |
Step 50: |  (Click Image to Enlarge) Remove hoop from machine and carefully cut around cutline leaving approx. 2mm of fabric. Reattach hoop to machine. |
Step 51: | | Butterfly border and antennae. |
Step 52: | When embroidery is complete, remove fabric from hoop and gently pull all tear-away from back of design. Trim excess iron-on fusible so that it is even with fabric edges. Trim any loose threads from front and back of embroidery. For a frayed applique edge, gently run your finger nail around the edges of the appliques to expose any loose threads. Trims extra long threads that may appear. | 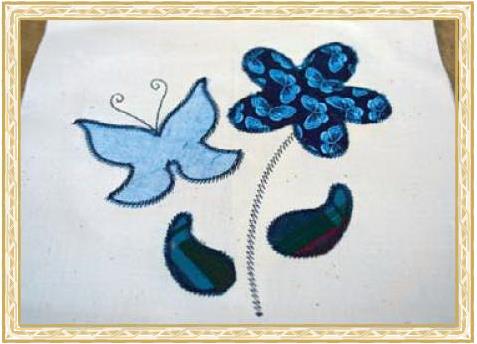 |
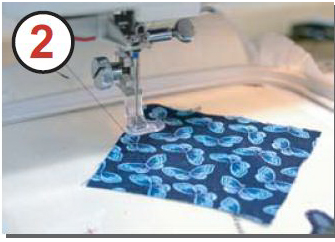
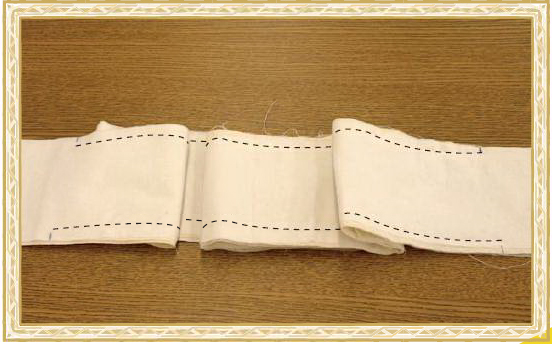
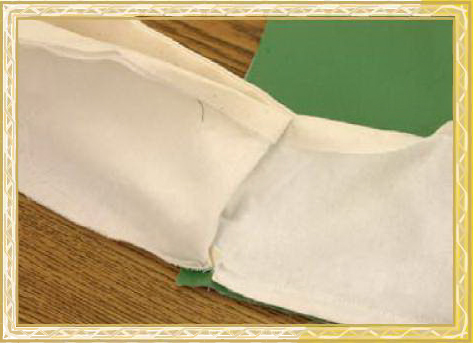
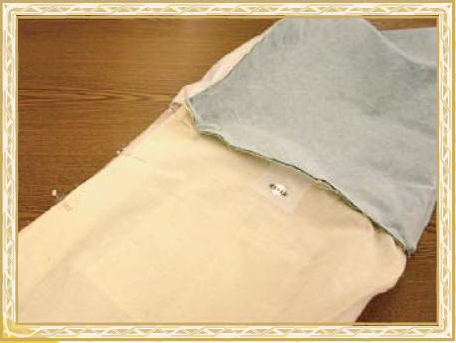
Step 53: | Pocket Construction Outer Pocket
Prepare machine for regular sewing. Insert bobbin and thread machine with matching thread color to Pocket fabric. |
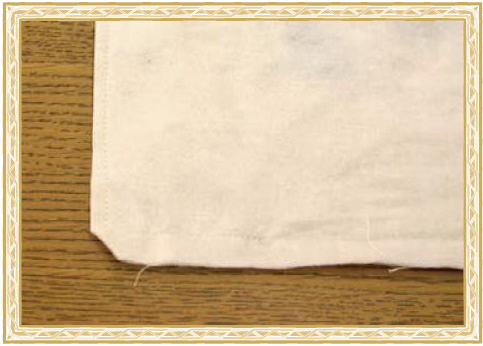
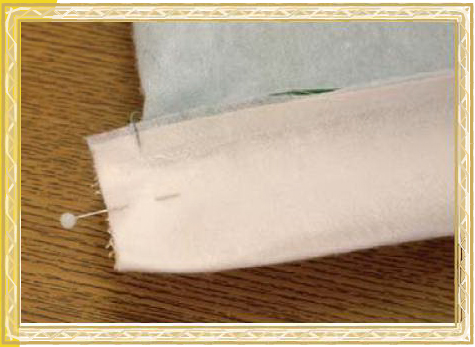
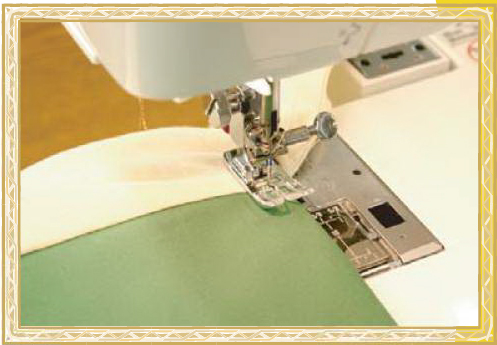
Step 54: | Fold pocket fabric with right sides together, joining short edges. Mark a 3" opening at the center of the short edge. This is the opening to turn the pocket right side out. Pin. | 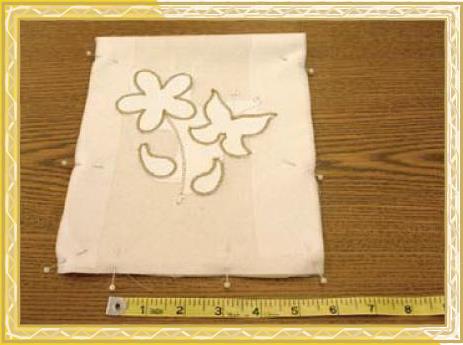 |
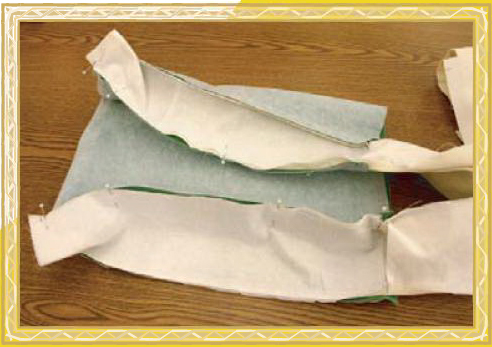
Step 55: | Sew (1/2" seam allowance) from the fold to first opening mark. Backtack here. Move needle position to second opening mark, backtack and sew around to fold. Keep machine in "needle down" position to pivot corners. | 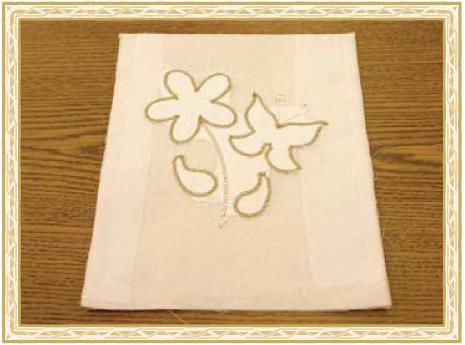 |
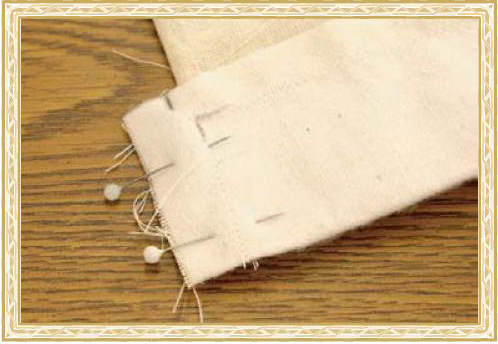
Step 56: | Clip corners and trim seam allowance to 1/4". |  |
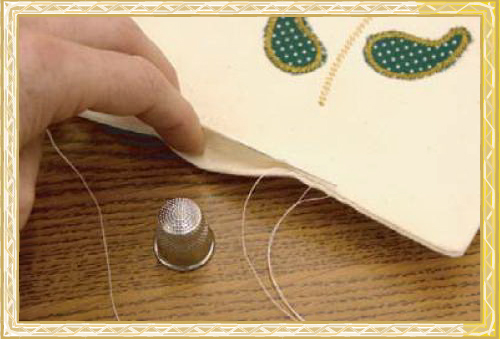
Step 57: | Turn pocket out through opening. Straighten corners and seams with point turner. Press. Slip stitch to close the opening. Press again. |  |
Step 58: | Sew (1/4" S.A.) stitch line across the top of the pocket, from side edge to side edge. |  |
Step 59: | To attach the pocket to the Tote fabric, fold the Outer/face fabric in half lengthways (joining long edges), right sides together. Hand press on fold and reopen. Repeat for embroidered pocket. Place the pocket on the fabric matching up fold lines. Measure and place the top of the pocket 4" down from the Outer fabric top edge. Pin. |  |
Step 60: | Start at the top edge of the pocket and sew (1/8" S.A.) around to opposite top edge. Repeat with a (3/8" S.A.) to create a double stitched finished edge. |  |
Step 61: | Inner Pocket Insert bobbin and thread machine with matching thread color to Lining Pocket fabric. |
Step 62: | Fold one edge, wrong sides together, 1". Press. Open, fold 1/4" and Press again. | 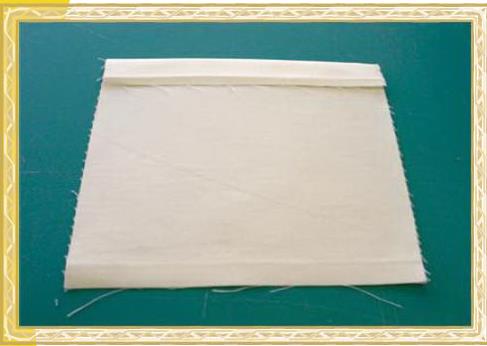 |
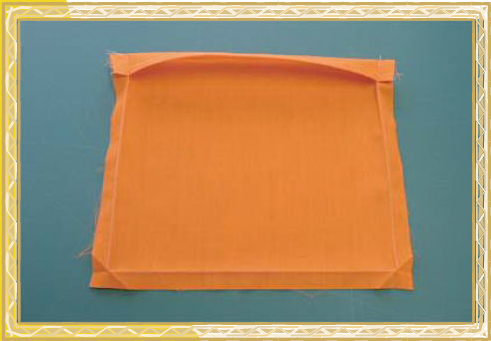
Step 63: | Top stitch (1/4" S.A.) along fold. Note: Sample fabric in orange to show stitches. | 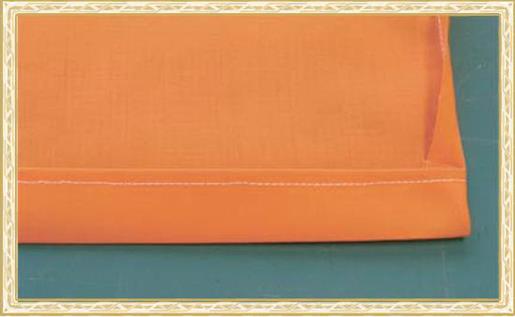 (Click Image to Enlarge) |
Step 64: | Turn pressed edge, right sides together. Stitch along 3 raw edges (1/2” SA) single thickness. Turn 3 edges to wrong side using 1/2” seam as a guide. Press 3 sides. | 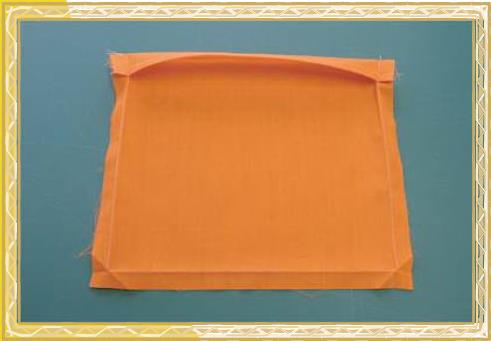 |
Step 65: | To mitre 2 bottom corners, fold to triangle (see close-up) Press. Unfold triangle and refold edges to mitered corners. | 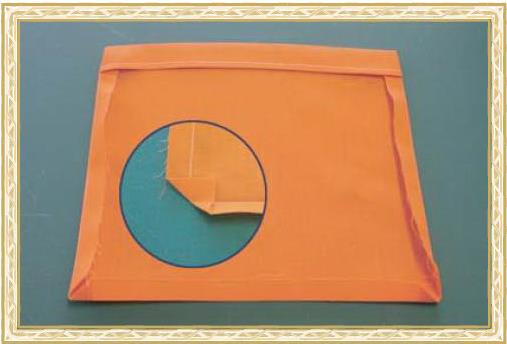 |
Step 66: | To attach the pocket to the Lining fabric, fold the Lining fabric in half lengthways (joining long edges), right sides together. Hand press on fold and reopen. Repeat for inner pocket. Place the pocket on the fabric matching up fold lines. Measure and place the top of the pocket 4" down from the Lining fabric edge. Pin. Start at the top edge of the pocket and sew (1/8" S.A.) around to opposite top edge. Repeat with a (3/8" S.A.) to create a double stitched finished edge. | 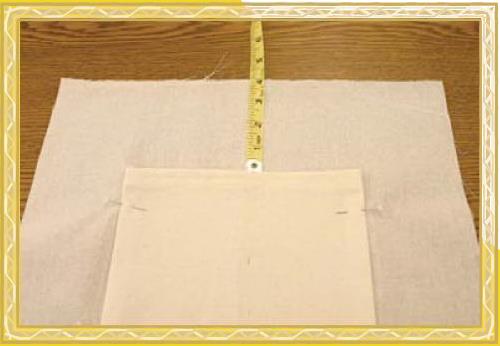 |
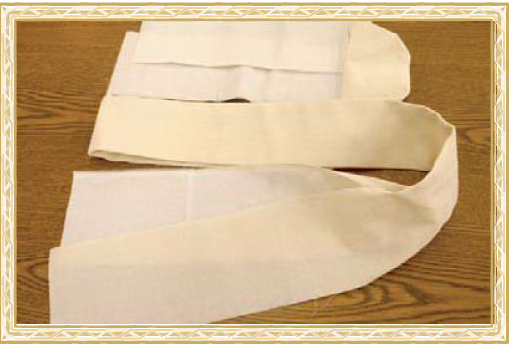
Step 67: | Handle Construction Iron fusible interfacing to wrong side of both handle pieces following manufacturers directions. Insert bobbin and thread machine with matching thread color to Handle fabric. |  (Click Image to Enlarge) |
Step 68: | Measure and mark 14.5" towards center, on the wrong side, from each short end, along each side, of each handle (8 marks). | 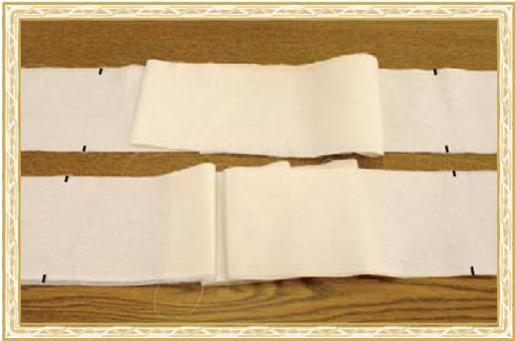 (Click Image to Enlarge) |
Step 69: | Put 2 strips right sides together, matching up marks. Pin at 4 marks. | 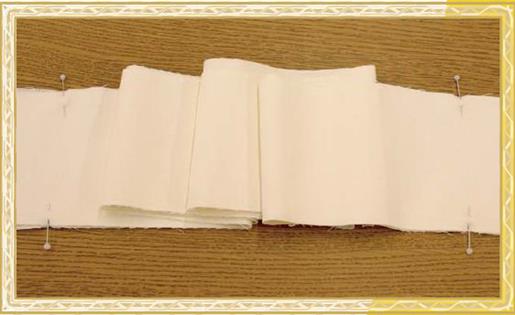 (Click Image to Enlarge) |
Step 70: | Sew (1/2" S.A.) from pinned mark to pinned mark on both edges. Be sure to backtack at pinned marks. | 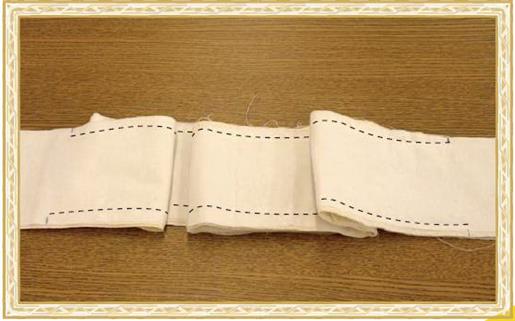 (Click Image to Enlarge) |
Step 71: | Turn handle right side out through one open end. A loop turner is very handy to use here. | 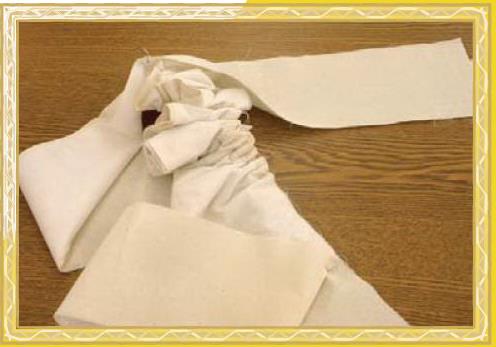 |
Step 72: | Roll seams through fingers to straighten out. Press both seams. You should have 2 flaps at each end. These attach to the outer and lining fabric and become the side panels of the bag and lining. | 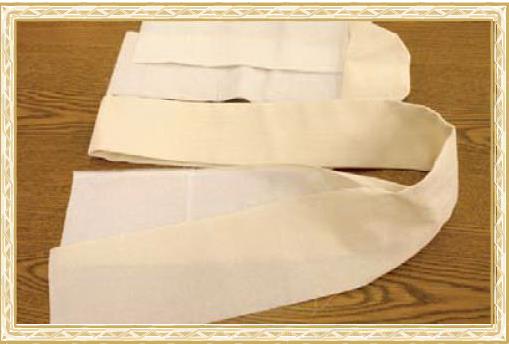 |
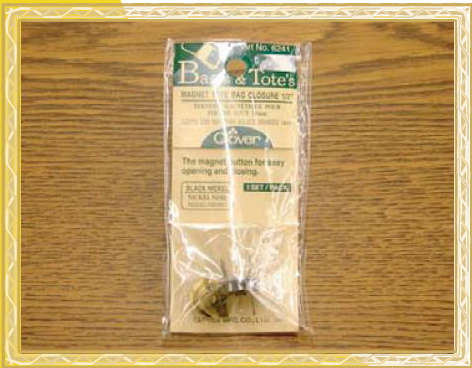
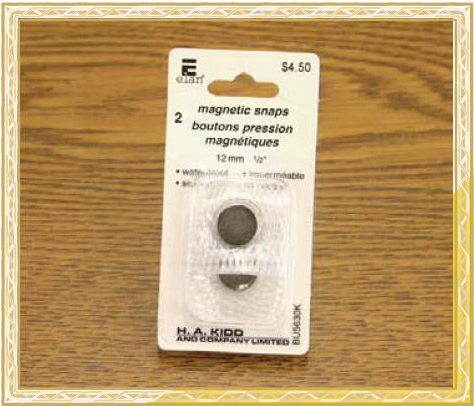
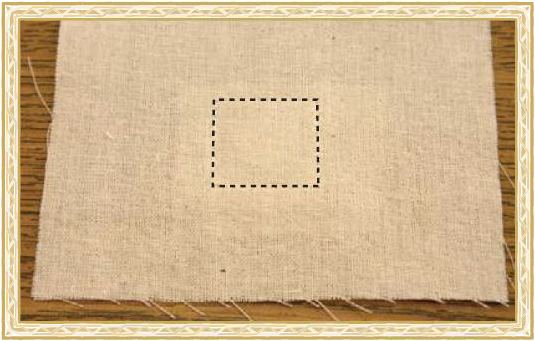
Step 73: | Magnetic Snap Placement * Measure 1.5" down from center of both short edges of Lining fabric, on wrong sides. Iron 1" squares of fusible interfacing at these 2 spots. * Mark a dot at the center/1.5" mark on each piece of fusible. | 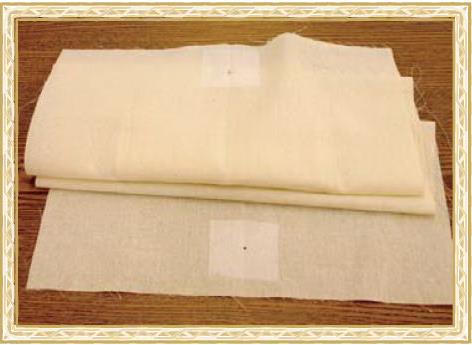 |
Step 74: | Pronged Method. |  |
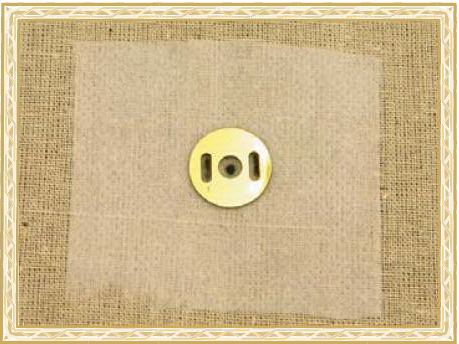
Step 75: | Place the backing pieces from the magnet set with the center hole over the marks. Draw vertical lines through long holes. | 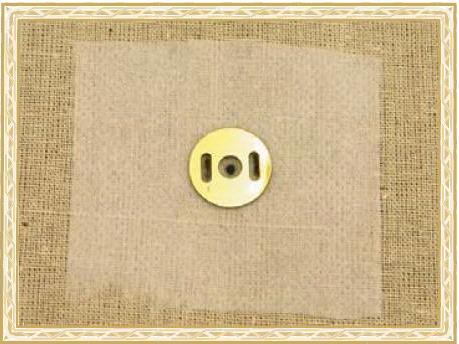 |
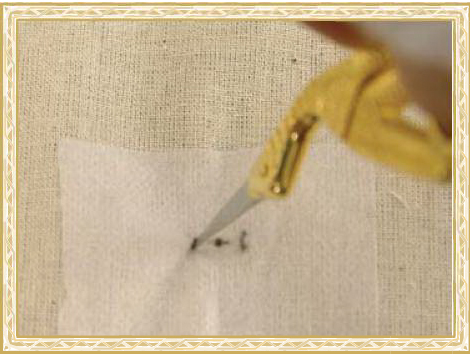
Step 76: | Snip the lines with the tip of your clipping scissors. Very small slits only. |  |
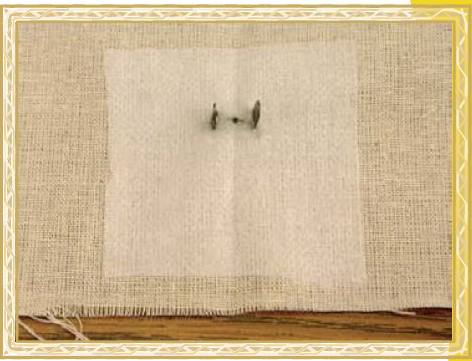
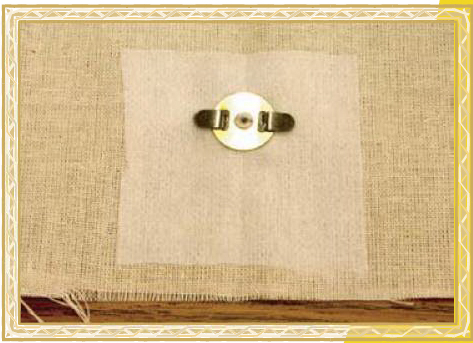
Step 77: | Insert 2 front pieces of the magnet set through the long holes, on the right side of fabric. |  |
Step 78: | Slide back pieces on prongs on the wrong sides. Fold prongs over to secure. | 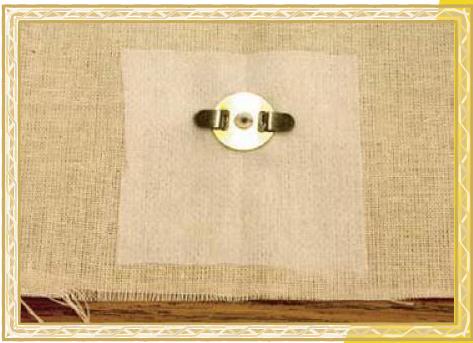 |
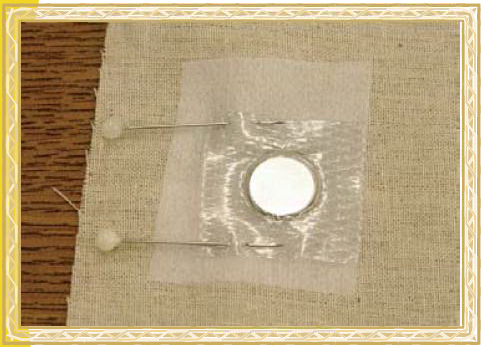
Step 79: | Sew-In Method. | 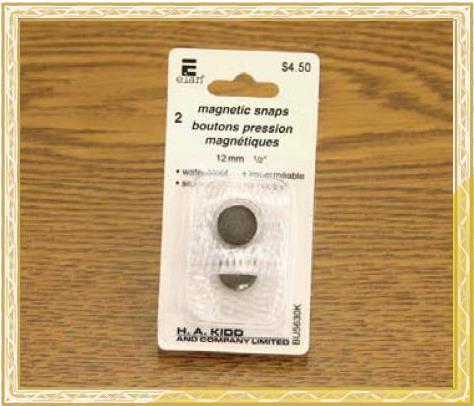 |
Step 80: | | Insert bobbin and thread machine with matching thread color to Lining Pocket fabric. |
Step 81: | Pin magnets at each mark, magnetized side down (test that they line up and the poles are the right way around). | 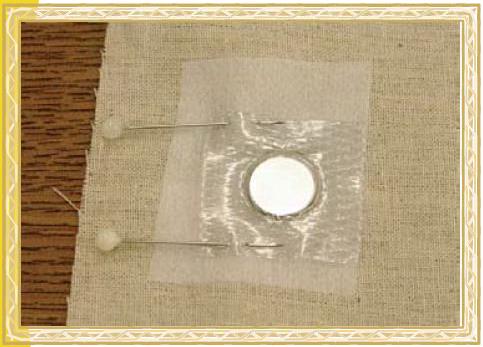 |
Step 82: | With matching thread to the Lining fabric, sew a square around each magnet. Keep machine in "needle down" position to pivot corners. | 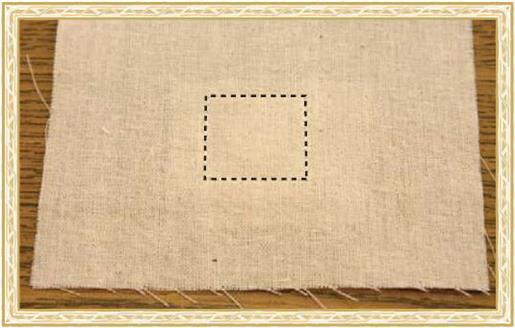 (Click Image to Enlarge) |
Step 83: | Tote Bag Construction Fold Outer fabric in half, right sides together, lengthways (joining short sides). Mark at the fold on both edges, on the wrong side of fabric. Measure 1/2" from 4 corners, on long sides, toward fold marks. Mark at these 4 spots. | 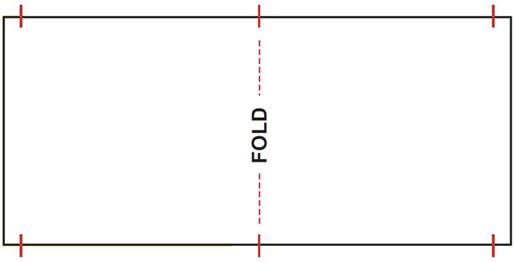 (Click Image to Enlarge) |
Step 84: | | Repeat step 1 for Lining fabric. |
Step 85: | Mark 1/2", on long sides, from all 8 corners on Strap flap ends. |  (Click Image to Enlarge) |
Step 86: | Fold 2 inner flaps in toward center of strap and pin to secure. We need these out of the way for now. | 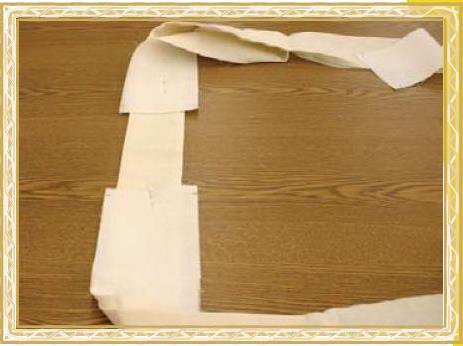 |
Step 87: | With right sides together, match up mark at top of Outer fabric with mark at strap seam. Pin. Marks at strap end and bag fold should line up. | 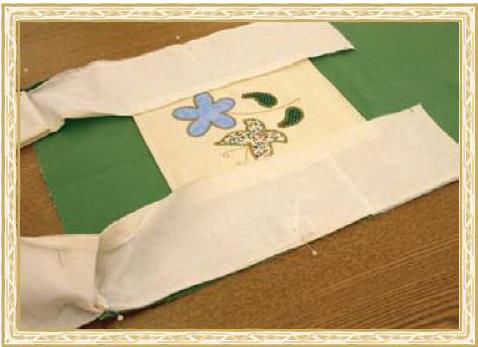 |
Step 88: | Clip 1/4" into S.A. on strap mark only. | 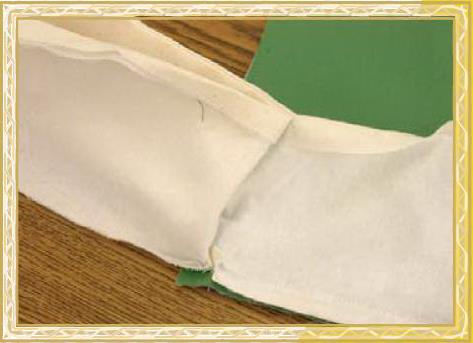 |
Step 89: | Sew (1/2" S.A.) from top mark to bottom mark. Do not sew past marks. Backtack at marks. |  |
Step 90: | | Repeat steps 5 -7 for other seam on this side panel and for both seams on opposite side of bag. |
Step 91: | To close the bottom seams at corners, start in "needle down" position with needle exactly on the last stitch of side seam. Sew across bottom (approx. 1.5") Backtack at start position and at fold. |  |
Step 92: | Do not sew past side seam stitches or you will "pinch" the bottom of the bag. | 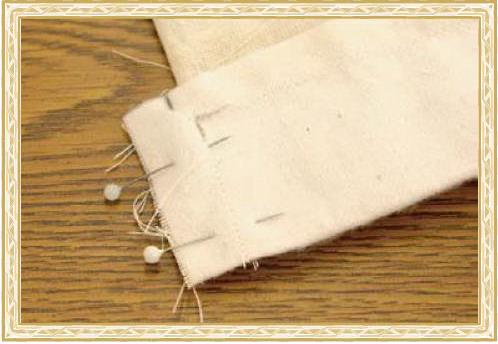 |
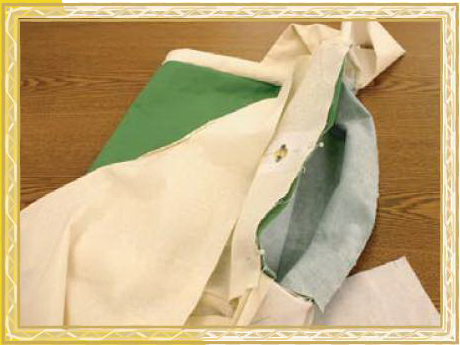
Step 93: | Turn bag right side out. Tuck strap into outside pocket. Lay Lining fabric around bag, right sides together, with pockets on opposite sides. Line up Outer fabric and Lining corners. Pin both sides. |  |
Step 94: | Sew (1/2" S.A.) across top on both sides. | 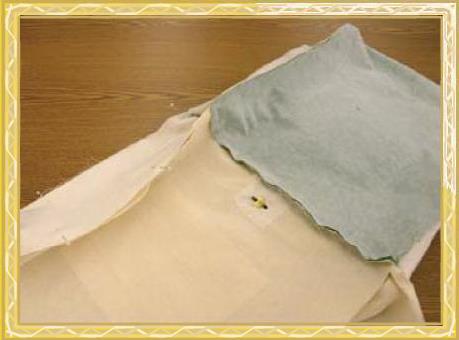 |
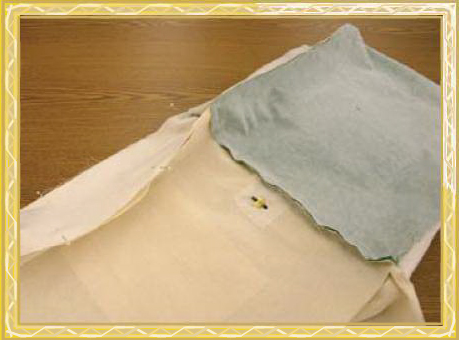
Step 95: | Pull Lining over bag so that both bag and lining are exposed, inside out. Repeat steps 5 - 9 to attach strap ends to lining sides.You must leave a 5" opening in the center of one of your seams to pull the bag out through. Be sure to backtack at both sides of opening. |  |
Step 96: | Turn bag out through the opening in the Lining. Slip stitch the opening closed (or sew a 1/8" seam to close). | 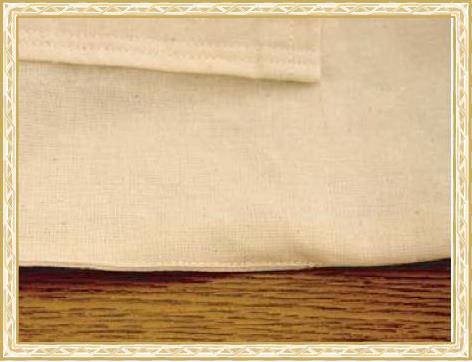 |
Step 97: | Starting at edge of outer fabric, with machine in "needle down" position, sew (1/4" S.A.) along top of bag and around each side of strap to finish the edges. Pivot at the corners. |  |
Step 98: | Finished! |  (Click Image to Enlarge) |
Step 99: | Tips & Extras* Jewels, sequins, buttons and other embellishments can be attached to the bag or embroidery to add some sparkle. * The inner pocket can be monogrammed before attaching to lining to personalize the tote bag. * A matching wallet or glass case can be made and embroidered with the butterfly or flower only (the designs have been supplied separately) * A decorative stitch can be used to finish the pocket edges, edge of the strap and top of bag. * The strap length can be adjusted to suit height. * If sew-in snaps are used this bag becomes reversible! * WonderFil ACCENT (12 wt.) thread will give you a beautiful, bold applique border. |  (Click Image to Enlarge) |
|