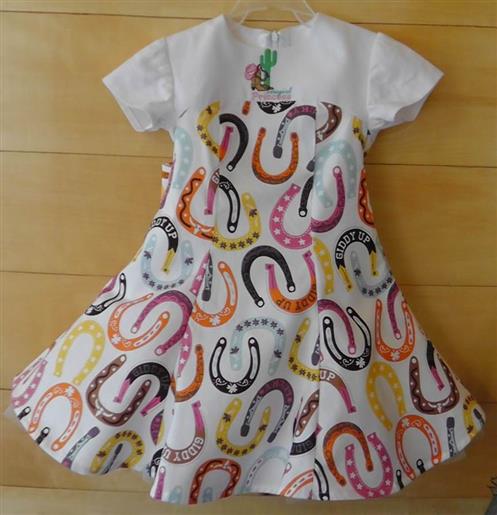
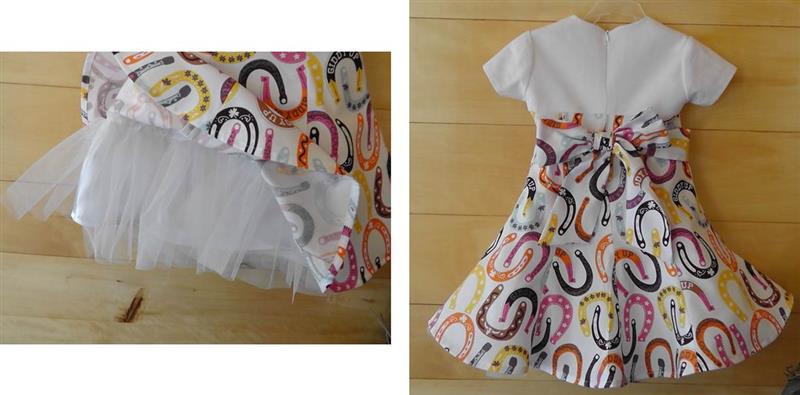
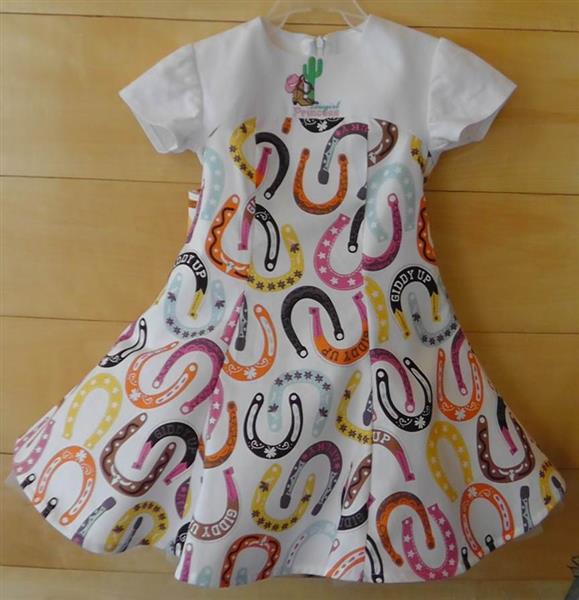
A commercial pattern was used for this project. Choose a pattern that you would like and adopt these instructions to work. Purchase the fabric and notions for the pattern size being used. For this pattern, the bodice fabric was interfaced with fusible tricot interfacing, embroidered and the dress constructed following the pattern instructions. For advanced sewers: The bodice was lined and the slip with the net was constructed separately so the dress could be worn without the net if desired (this is not shown in these instructions as it is presumed with advanced sewing skills the reader will know how to do this.) This dress was created for a little girl for La Fiesta de los Vaqueros® where at the end of February each year in Tucson, AZ hosts the world’s longest non-mechanized parade as well as a full schedule of rodeo events.
Step 1:
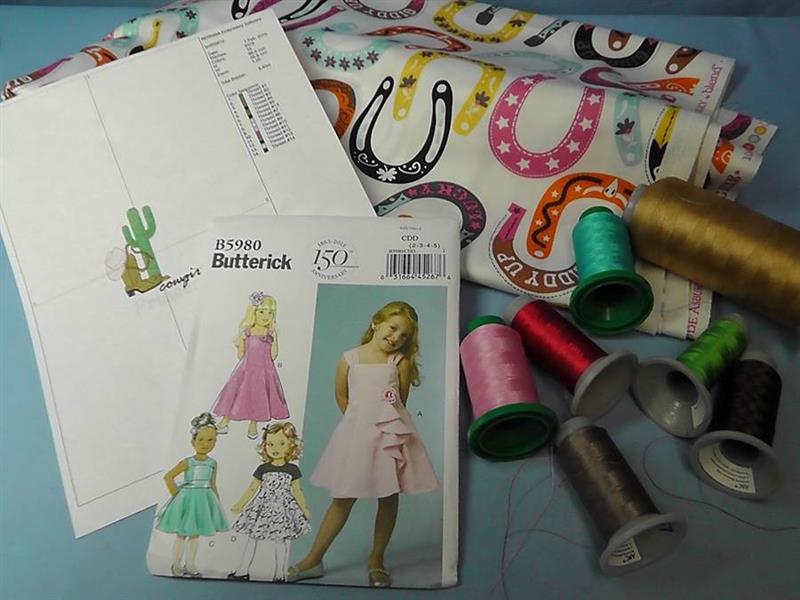
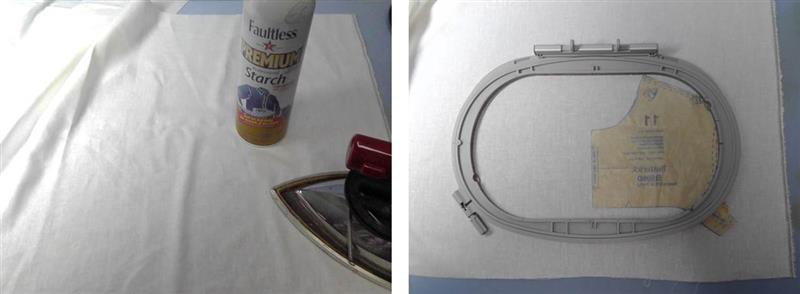
Gather the supplies and read through these instructions and the pattern instructions before beginning. Choose the pattern size and purchase the fabric and notions suggested on the back of the pattern envelope. Print the paper template of the design “Cowgirl Princess” at actual size. Choose embroidery thread colors to compliment the colors in the chosen fabric.
(Click Image to Enlarge)
Step 2:
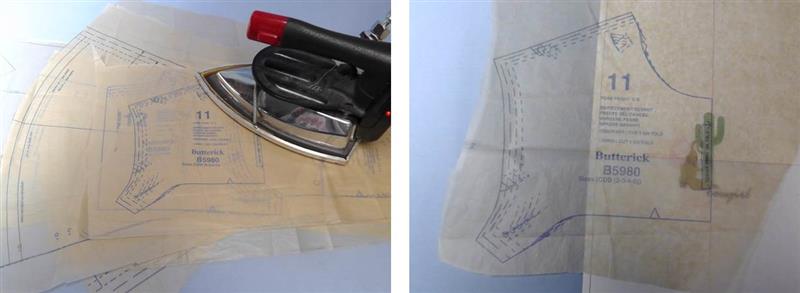
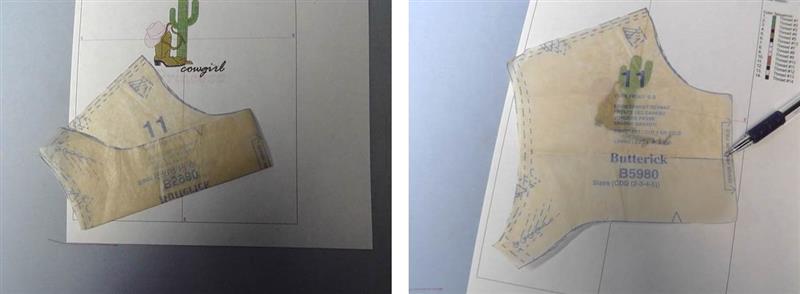
Cut apart and press the pattern pieces. Locate the bodice front pattern piece. The design will be stitched so that it will be centered on the full front bodice piece.
(Click Image to Enlarge)
Step 3:
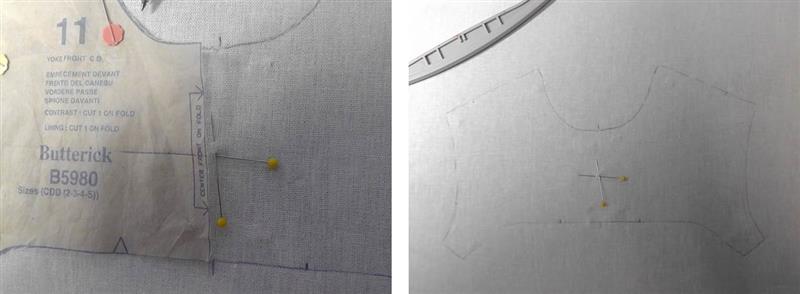
Fold the pattern piece meeting the bottom to the neckline; fold and mark the horizontal center line.
(Click Image to Enlarge)
Step 4:
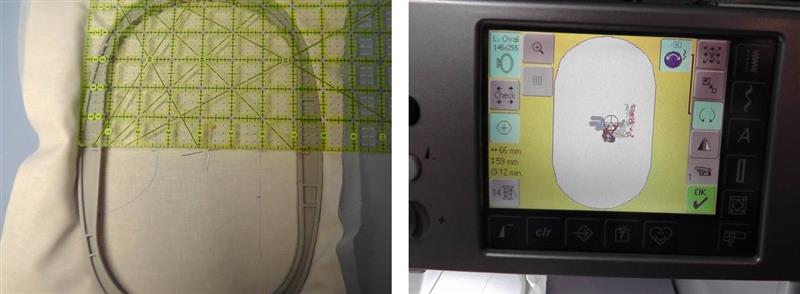
Press the fabric well. The entire bodice piece needs to be hooped so the fabric needs to be cut larger than the pattern piece.
(Click Image to Enlarge)
Step 5:
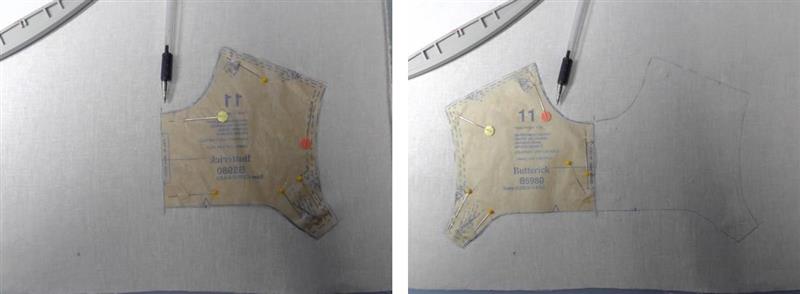
Draw half the bodice on the fabric by tracing around the pattern piece. Place marks above the neckline and below the bottom to note the fold line. Flip the pattern piece, align the fold line to the marks and draw the other half of the bodice.
(Click Image to Enlarge)
Step 6:
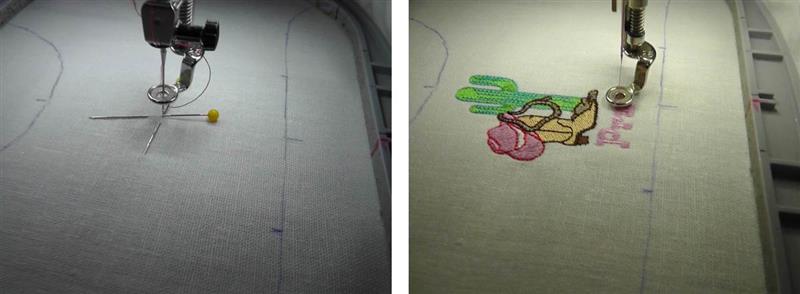
Use the fold line and horizontal center line to mark the center of the bodice. Place pins to mark the center.
(Click Image to Enlarge)
Step 7:
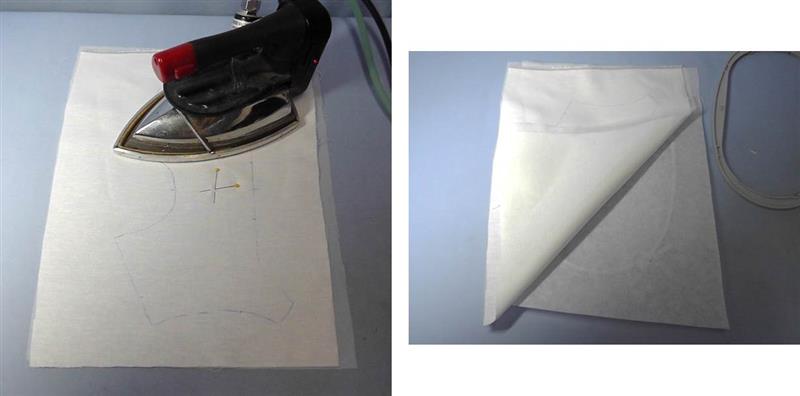
Press a piece of fusible tricot interfacing to the back of the bodice fabric following the manufacturer’s directions. Cut a piece of tearaway stabilizer and center and hoop the fabric in the hoop.
(Click Image to Enlarge)
Step 8:
Be sure the fold line is straight in the hoop. Load the “Cowgirl Princess design in the hoop, rotating the design to fit if necessary.
(Click Image to Enlarge)
Step 9:
Align the needle to the center mark on the fabric and stitch the design following the color sequence.
(Click Image to Enlarge)
Step 10:
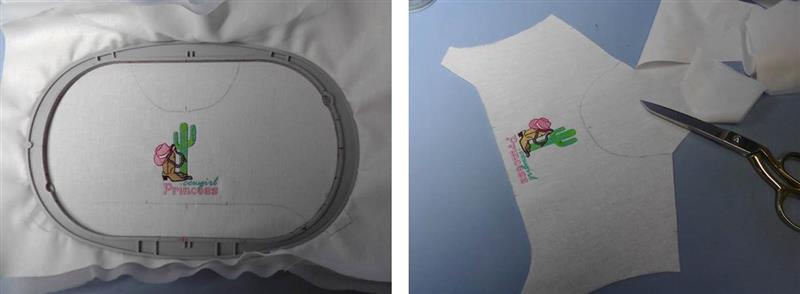
After the design has stitched, cut out the bodice along the drawn lines.
(Click Image to Enlarge)
Step 11:
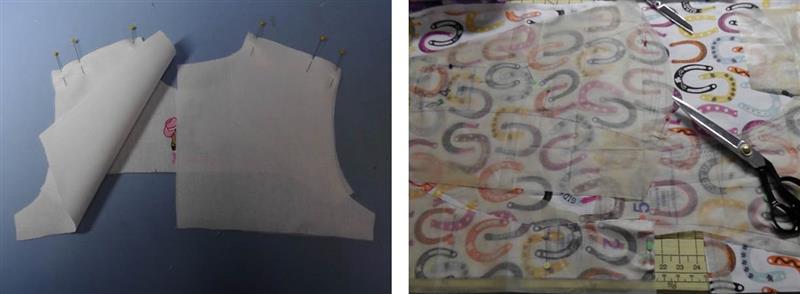
Cut out the bodice back pieces, pin them to the bodice front at the shoulders. Cut out the remaining dress pieces following the instruction guide. Sew the shoulder seams for the bodice and lining.
(Click Image to Enlarge)
Step 12:
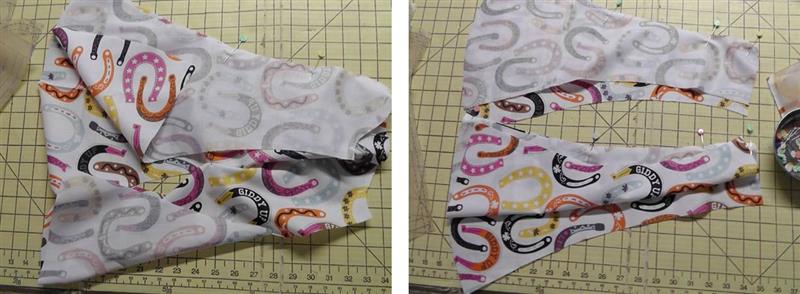
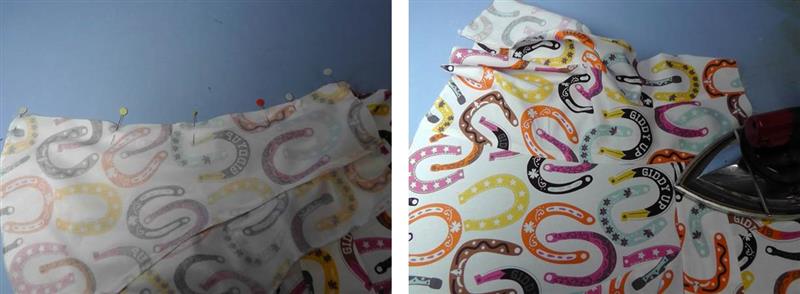
Construct the dress. Meet and pin the side fronts to the dress center front and the side back pieces to the back pieces and pin those together.
(Click Image to Enlarge)
Step 13:
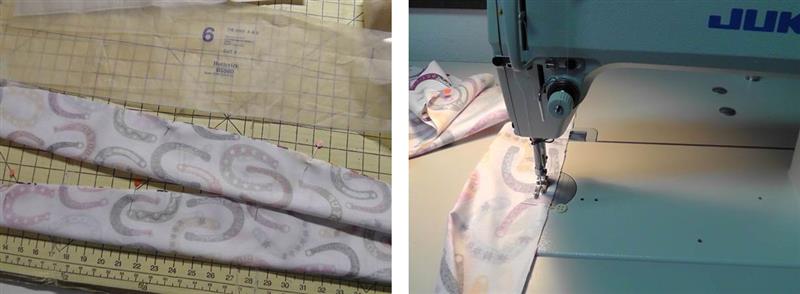
Pin the ties and then sew all the seams using the seam allowance indicated in the pattern instructions.
(Click Image to Enlarge)
Step 14:
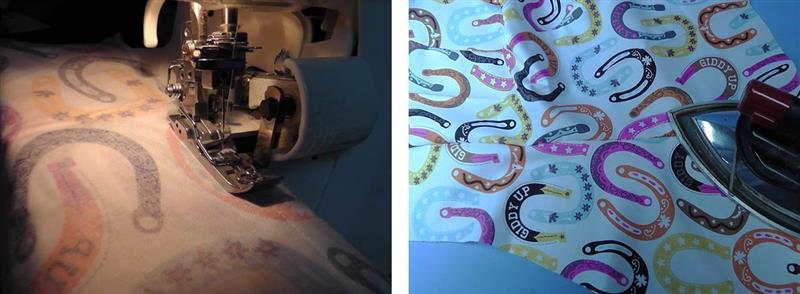
Finish the edges as desired and press the seams as you sew.
(Click Image to Enlarge)
Step 15:
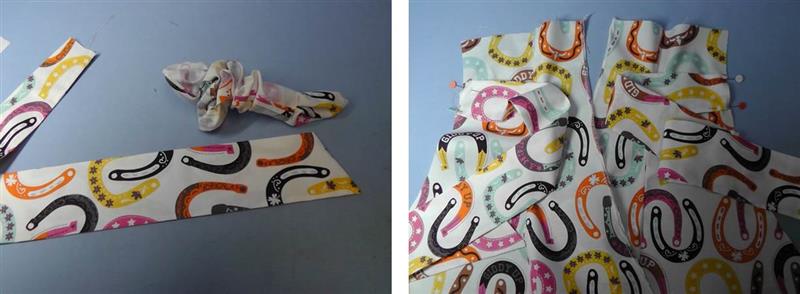
Turn the ties right side out and press well. Pin the ties in place to the dress back.
(Click Image to Enlarge)
Step 16:
Pin and stitch the side seams together, and press well.
(Click Image to Enlarge)
Step 17:
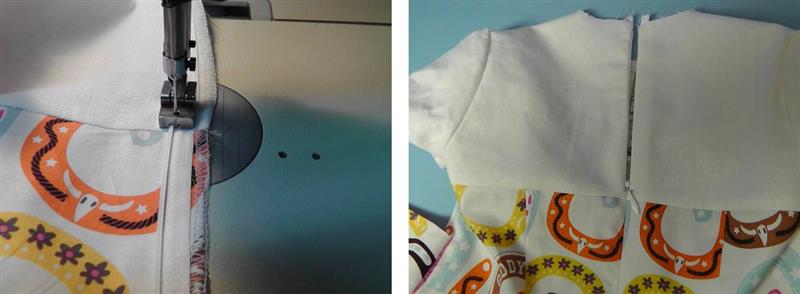
Set the sleeves then insert the zipper; be sure the bodice seam at the center back aligns.
(Click Image to Enlarge)
Step 18:
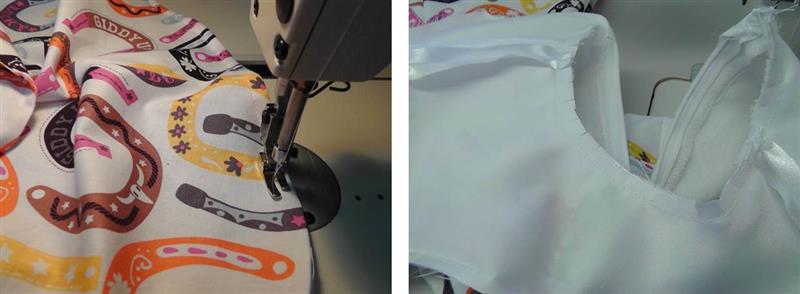
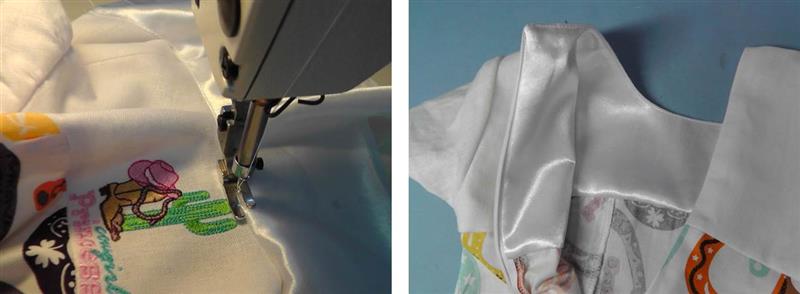
Hem the skirt and attach the lining to the bodice at the neckline. Trim and clip the neck edge. Note: for the project the bodice was lined and a separate slip was created so the dress may be worn without the net skirt. Follow the pattern instructions for constructing the lining or create a pattern for a separate slip like was done for this project.
(Click Image to Enlarge)
Step 19:
Understitch the neck edge and press well. Finish the lining by handstitching it to the zipper seams and bottom.
(Click Image to Enlarge)
Step 20:
The net on the lining or slip holds the bottom of the skirt out. Tie the bow in the back and the dress is ready to wear.
(Click Image to Enlarge)
Step 21:
The little “Cowgirl Princess” is ready for rodeo festivities.
Ramona Baird has been in the embroidery industry for over 23 years. She and her husband owned a commercial and retail embroidery store in Arizona for many years. She is an experienced digitizer having been mentored by award-winners Pat Williams and Lindee Goodall. Ramona is a contributor to “Creative Machine Embroidery” magazine having 5 covers to her credit. Ramona has worked for Wilcom America and served many years as Education Director for the American Sewing Guild. With a degree in fashion design, she is able to design and execute patterns which Pat Williams says are “out of the box” in creativity and application. Ramona likes to challenge the boundaries of embroidery and bring new and exciting designs, ideas, and projects to EmbroideryDesigns.com. She wants embroiderers of all levels to increase their skills and enjoyment in using their embroidery machine for gift-making and personal pleasure.