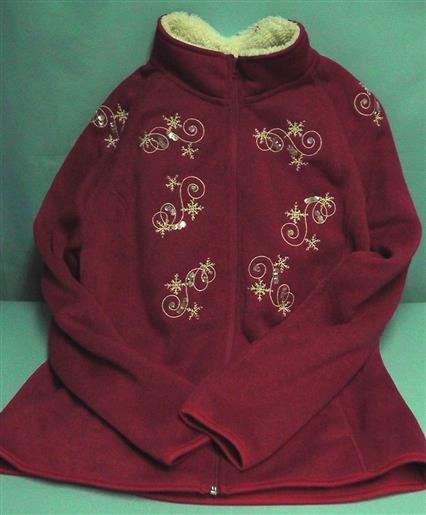
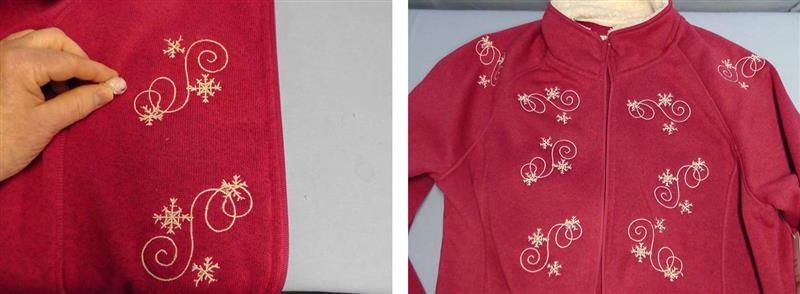
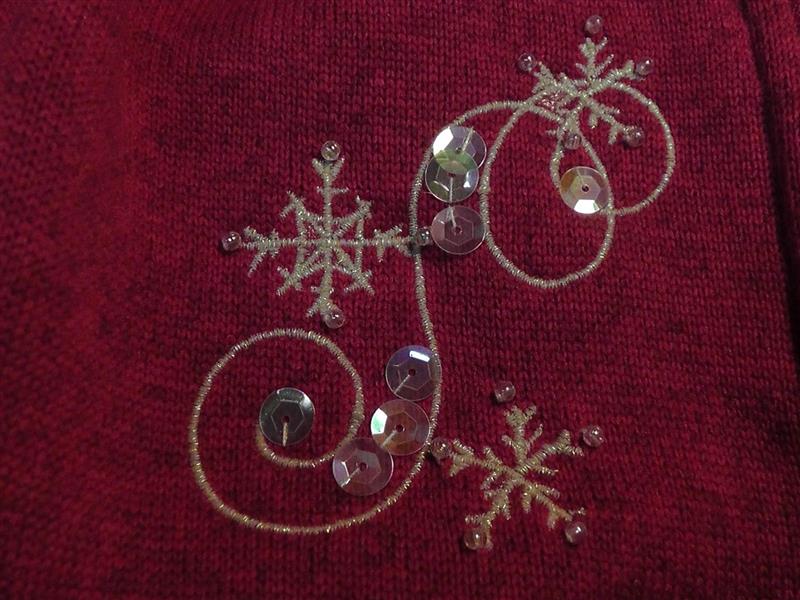
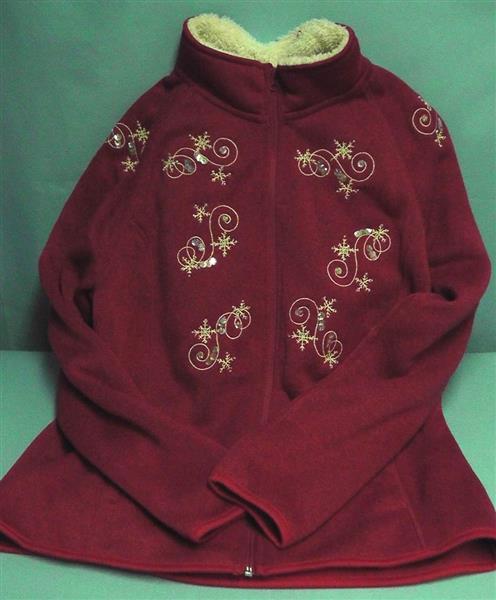
Begin with a purchased zipper-front sweatshirt. With each hooping, the design is rotated and mirrored to created different angles. After the designs are stitched, pearls and sequins are hand sewn throughout the designs as desired to add a little sparkle to the sweatshirt.
Step 1:
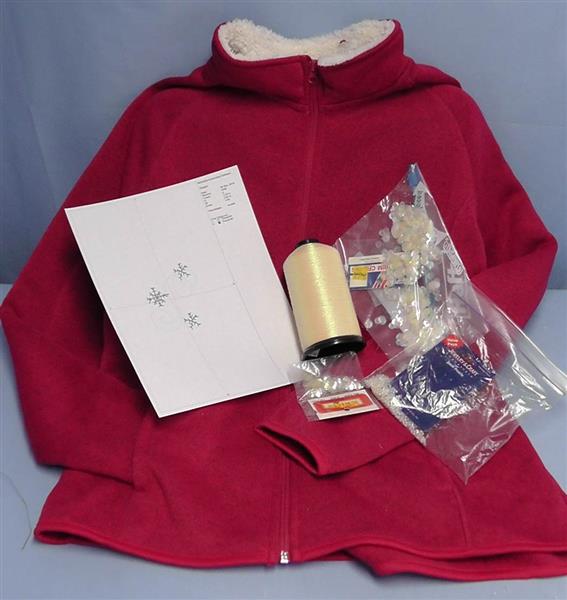
Gather the supplies and print out several copies of the embroidery design. Read through all the instructions before beginning the project.
(Click Image to Enlarge)
Step 2:
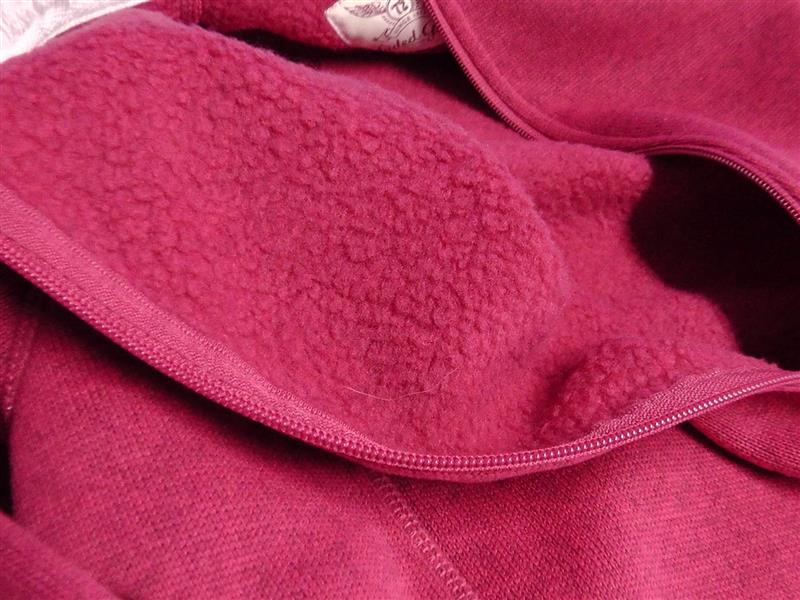
This sweatshirt is fleece on the inside, so tearaway stabilizer is used for the design. Sometimes fabric like this is thick, so an adhesive tearaway may also be used to hold the fabric in place while stitching.(See step 5.)
(Click Image to Enlarge)
Step 3:
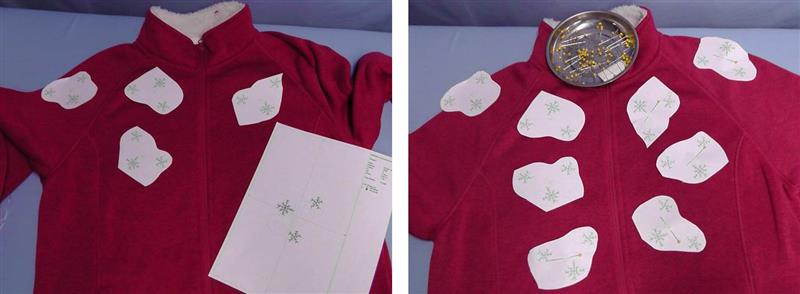
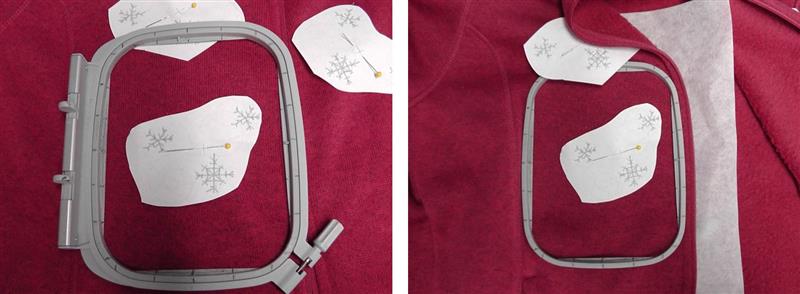
Cut out the paper templates of the designs, rotating and mirroring them, and then pinning in place as desired creating a pleasing layout. The layout of the designs should be random in nature.
(Click Image to Enlarge)
Step 4:
Be sure the design will fit in the hoop as laid out. Hoop the fabric with one layer of tearaway stabilizer.
(Click Image to Enlarge)
Step 5:
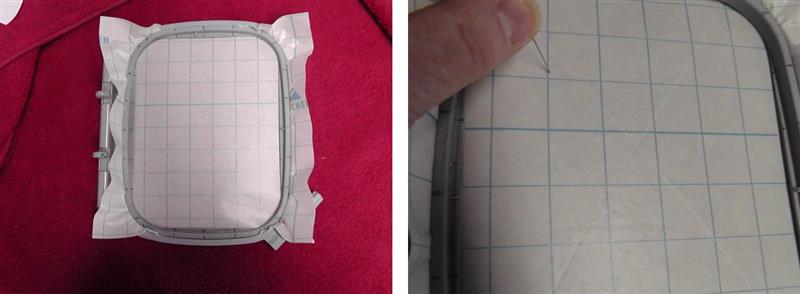
If the fabric is too thick to hoop, use a piece of adhesive tearaway stabilizer to hold the fabric in place for stitching. Hoop the stabilizer with the protective paper side up. Score the protective paper only by creating an X from corner to corner.
(Click Image to Enlarge)
Step 6:
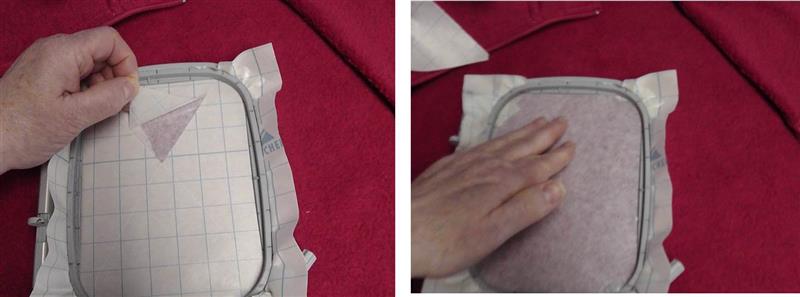
Lift up the protective paper and tear it away against the edge of the hoop. If there is a lot of adhesive which would cause the fleece not to release easily after the stitching is done, use your hand and go up and down over the adhesive to take some of the sticky off the stabilizer.
(Click Image to Enlarge)
Step 7:
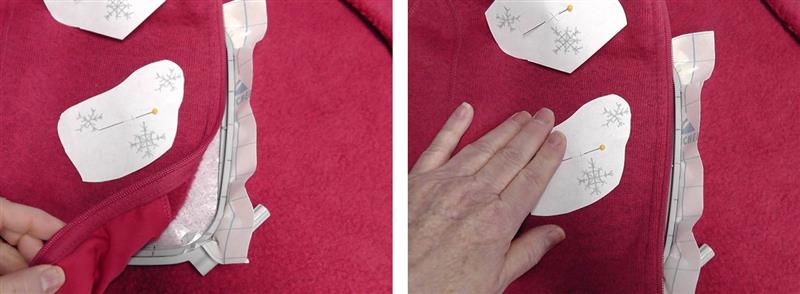
Align and center the fabric with the paper template in the hoop; press the fabric in place to the adhesive stabilizer.
(Click Image to Enlarge)
Step 8:
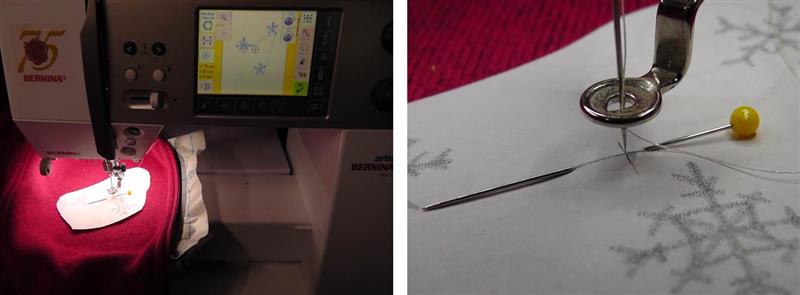
Load the “Snowflake Swirl” design in the machine. Rotate and mirror the design as planned in the layout. Align the needle to the center point of the paper template.
(Click Image to Enlarge)
Step 9:
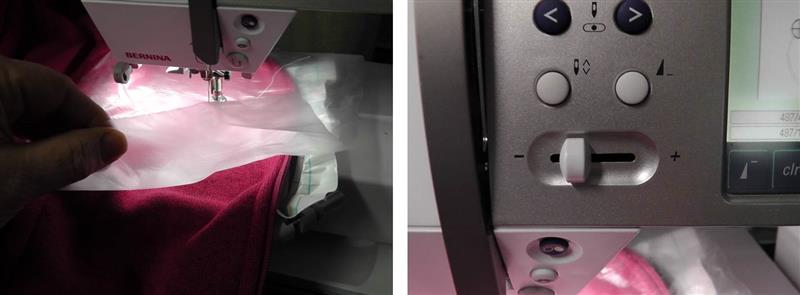
Remove the paper template and place down one piece of water soluble topper. When using iridescent thread, it is sometimes necessary to slow the machine down while stitching.
(Click Image to Enlarge)
Step 10:
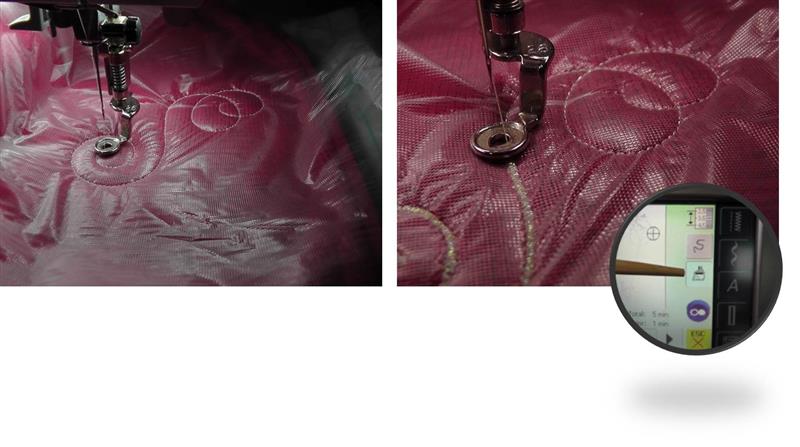
There are two colors to the design, but the design was stitched in one color for this project. This may be done by touching the icon on the embroidery machine that skips the color changes. Start the machine and stitch the design.
(Click Image to Enlarge)
Step 11:
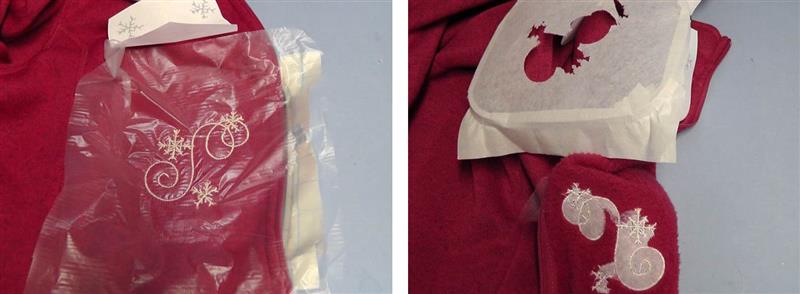
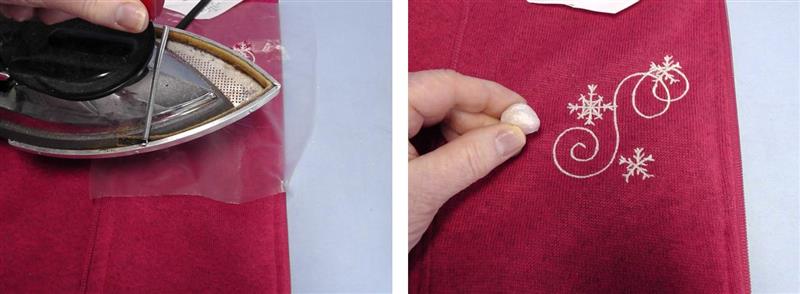
Stitch the entire design and trim any jump threads. Remove the fabric from the hoop with the stabilizer attached, then gently tear away the stabilizer.
(Click Image to Enlarge)
Step 12:
To easily remove the water soluble topper, hold a steam iron over the stabilizer (do not touch the surface) and move it in a circular motion while administering the burst of steam function. The water soluble will ball up and may then be thrown away.
(Click Image to Enlarge)
Step 13:
Continue stitching all the designs, rotating and mirroring them as planned.
(Click Image to Enlarge)
Step 14:
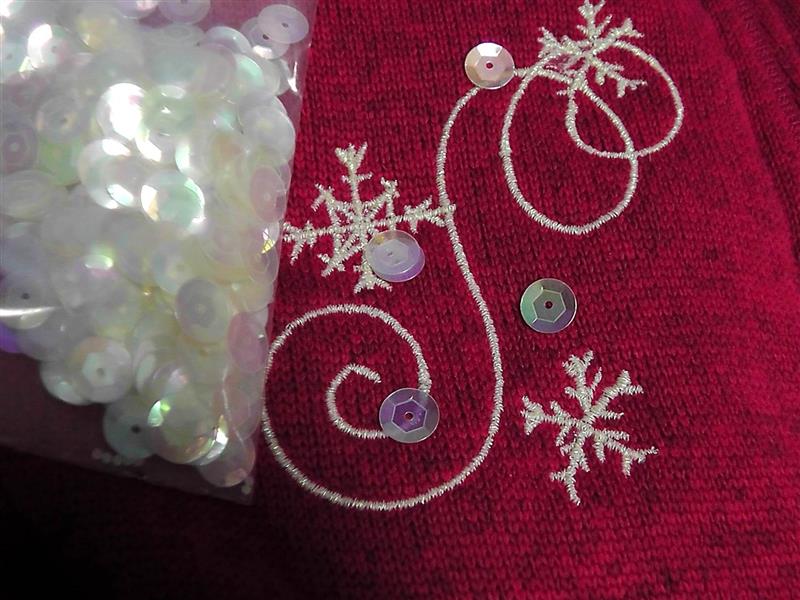
Next plan the layout of the pearls and sequins for each design.
(Click Image to Enlarge)
Step 15:
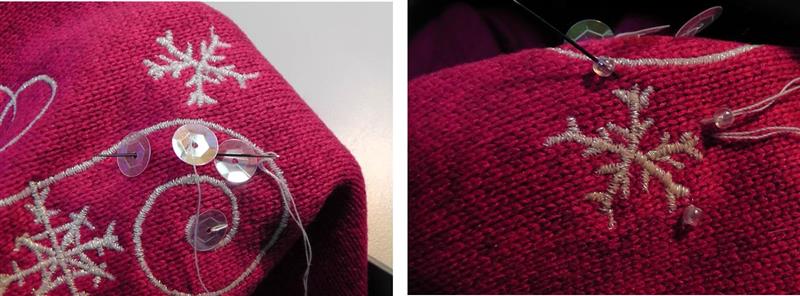
Use a single strand of thread with the sewing needle, knot the thread at the back of the fabric and bring the needle up through the center of each sequin then back down again securing the sequins to the fabric. Repeat for the pearls. Place as many or as few as you’d like.
(Click Image to Enlarge)
Step 16:
Add pearls and sequins for all the embroidered designs.
(Click Image to Enlarge)
Step 17:
Enjoy wearing your new sweatshirt this winter to keep you cozy warm.
Ramona Baird has been in the embroidery industry for over 23 years. She and her husband owned a commercial and retail embroidery store in Arizona for many years. She is an experienced digitizer having been mentored by award-winners Pat Williams and Lindee Goodall. Ramona is a contributor to “Creative Machine Embroidery” magazine having 5 covers to her credit. Ramona has worked for Wilcom America and served many years as Education Director for the American Sewing Guild. With a degree in fashion design, she is able to design and execute patterns which Pat Williams says are “out of the box” in creativity and application. Ramona likes to challenge the boundaries of embroidery and bring new and exciting designs, ideas, and projects to EmbroideryDesigns.com. She wants embroiderers of all levels to increase their skills and enjoyment in using their embroidery machine for gift-making and personal pleasure.