{{superHeaderAds.title}}
Live Chat
Embroidery Designs
Welcome, Embroiderer
Login
Fall Napkins
{{mainImageAlt || (productInfo._source && productInfo._source.name) || ''}}

Fall Napkins Embroidery Project

By   Martha Montgomery   on   December 09, 2014

PROJECT DETAILS

SKILL LEVEL
Beginner
TIME REQUIRED
04:30
FINISHED SIZE
18 x 18 inches
Description

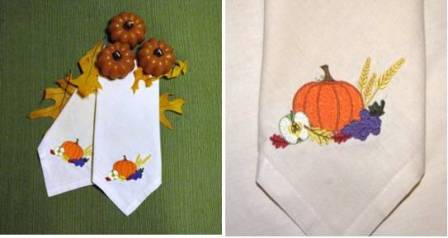
This fall design would add a lovely touch to your table setting for your home or make a very nice hostess gift.

Project Preview Video

Materials
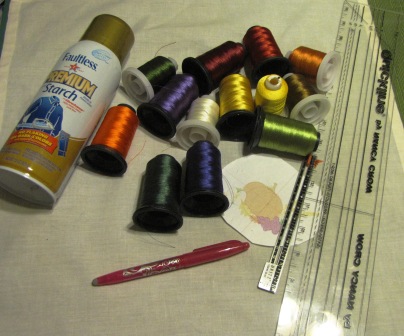
  • 4 - 18" napkins, either purchased or make yourself
  • Tear away sticky stabilizer
  • Lightweight tear away stabilizer (If needed - see Step 15)
  • Heat dissipating marking pen (Follow manufacturer's directions for compatibility with the fabric you are using.)
  • Spray starch
  • Ruler(s)
  • Polyester embroidery thread

  • Designs used in this project

    Preface:
    This easy project uses 18" purchased napkins. Options: Or make your own! Napkins are hooped with sticky tear away stabilizer, stitched and, after tearing away the excess stabilizer and given a final press, are ready for your holiday table.


    Step 1:
    Read through all the instructions before beginning. Gather the supplies needed and print a paper copy of the design to aid in hooping placement. If you use 100% cotton napkins, you will need to spray starch and iron after each washing.


    Step 2:
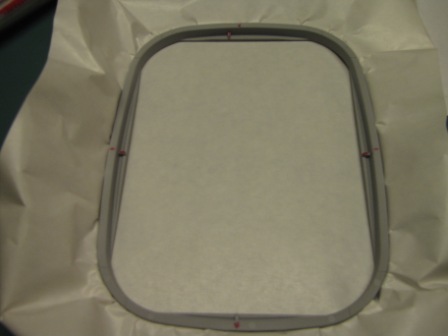
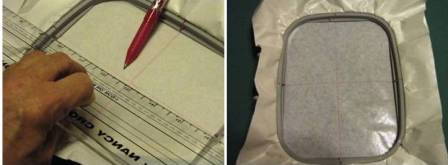
    Hoop the stabilizer.
     
    Note: Since stabilizer is hooped before removing the protective coating it does not stick to the bottom of the hoop so the hoop does not have to be cleaned at the end of the project.


    Step 3:
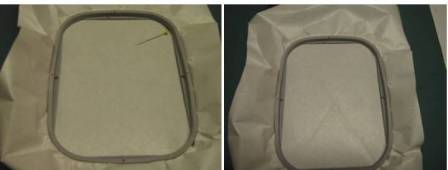
    Score the protective paper on the stabilizer with a straight pin.


    Step 4:
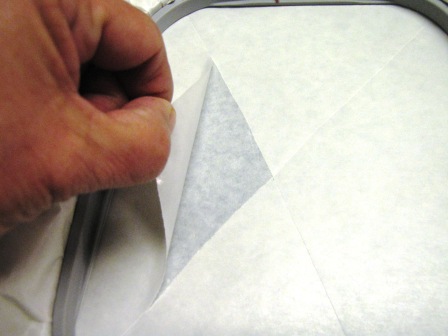
    Peel away the protective paper.


    Step 5:
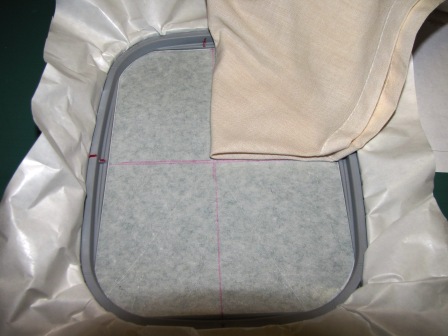
    Mark cross-lines on stabilizer, using ruler and marking pen.


    Step 6:
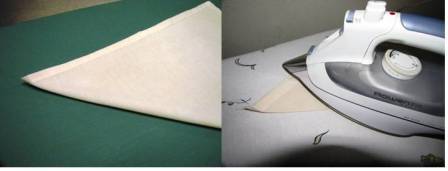
    Fold napkin from the corner, matching conjoining sides. Press a light crease on folded edge to aid in design alignment.


    Step 7:
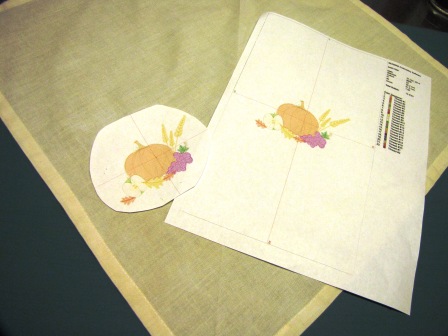
    Cut out paper template.


    Step 8:
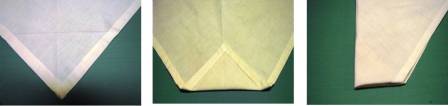
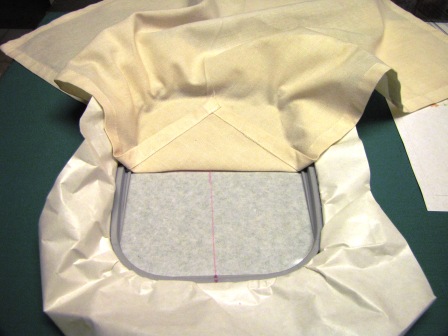
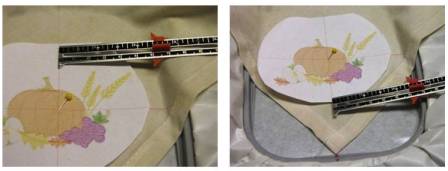
    Place napkin on hooped, sticky stabilizer, folding the corner up toward the body of the napkin 2.5" along the horizontal line, and then to the right, along the pressed crease.


    Step 9:
    Position the napkin in the upper right-hand corner of the hoop matching the edges and center point.


    Step 10:
    Open the first fold.


    Step 11:
    (Click Image to Enlarge)
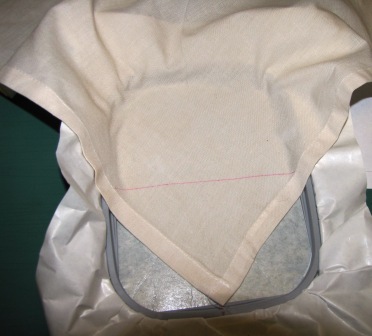
    Open second fold. The fabric may be repositioned as necessary on the sticky stabilizer for final placement. When aligned, press lightly on the napkin to secure to the stabilizer, taking care not to stretch the napkin fabric.


    Step 12:
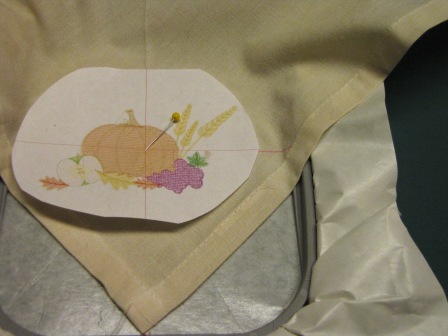
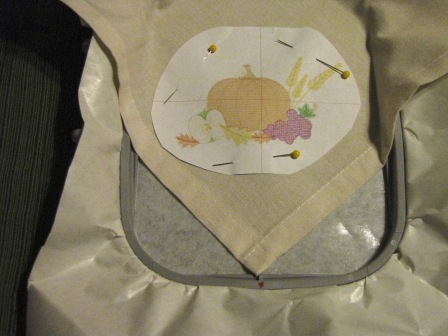
    Place a pin through the template, the napkin and the stabilizer at the intersecting point of the lines on each surface to align the vertical and horizontal markings on the template with the corresponding markings on the napkin. Note: The vertical line on the napkin is made by the crease pressed in in Step 6.


    Step 13:
    Position the center of the paper template in the corner of the napkin as desired, using the vertical crease and drawn horizontal line to align the cross-lines on the paper pattern.


    Step 14:
    Once the design is aligned as desired, pin the template to the napkin.


    Step 15:
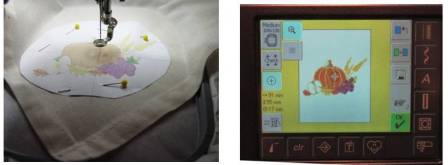
    Place the hooped napkin on your machine and confirm placement of the design, making sure the center point on the machine and the center point on the the paper template match, as indicated by the center position on your screen and needle location above your design.
     
    NOTE:  Be sure to remove the paper template before stitching.
     
    Optional:  Because of the density of this design, a piece of lightweight tear away stabilizer was floated between the hoop and machine bed.  


    Step 16:
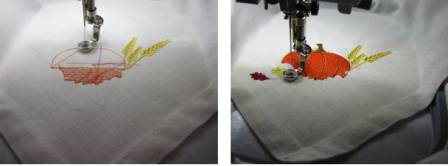
    Stitch the design following the color sequence. 


    Step 17:
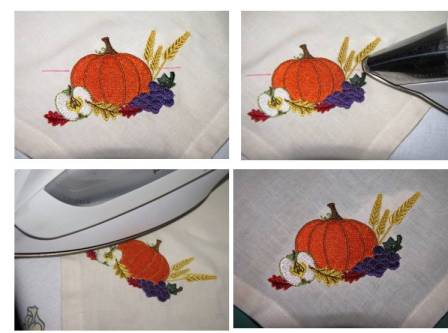
    Remove the completed design from your machine and un-hoop. Any markings from the heat dissipated marking pen showing around the design are removed by the heat of the iron when completed napkins are pressed.


    Step 18:
    Carefully remove tear away stabilizer. After tearing away the excess stabilizer, and giving a final press, these lovely napkins are ready for your holiday table.
    Meet the Author: Martha Montgomery
    Martha Montgomery
    Martha has been sewing since childhood. She is a maker of garments, quilter and machine embroiderer. Martha loves all things fabric and fabric-related.
    More From This Author
    Link is Broken, Please check the URL
    Exclusive Embroidery Offers!
    Copyright © {{ currentDate | date:'yyyy'}} - EmbroideryDesigns.com
    GET 50% OFF! ×