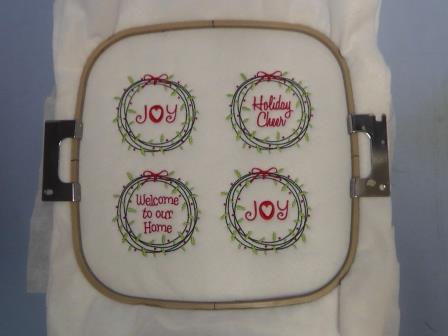
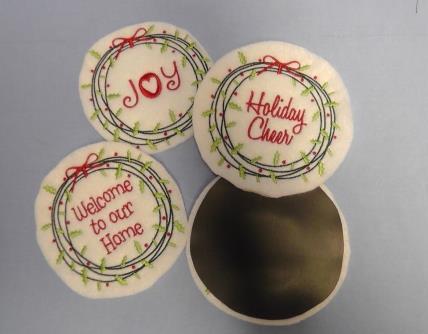
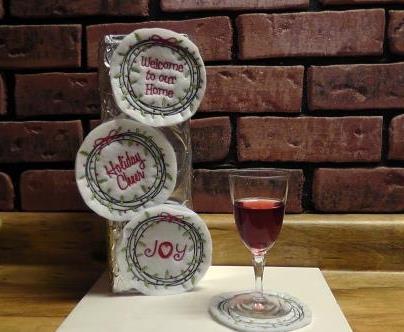
This project has two uses: as refrigerator magnets and as coasters. Two layers of fleece are hooped with a piece of tearaway stabilizer. The designs are stitched, cut out and then a sheet of adhesive magnet is cut to fit and adhered to the back. These designs are fast stitching so you’ll want to make several sets for gifts and don’t forget to keep a set for yourself!
Step 1:
(Click Image to Enlarge)
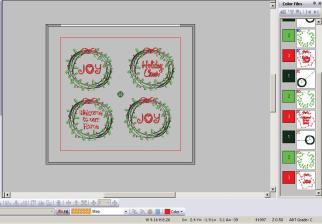
Read through all the instructions before beginning. In embroidery software, open all the files and gang up as many designs as will fit in one hoop. Leave enough space between them for cutting out. The final size of each finished design will be 4 ½” in diameter.
Step 2:
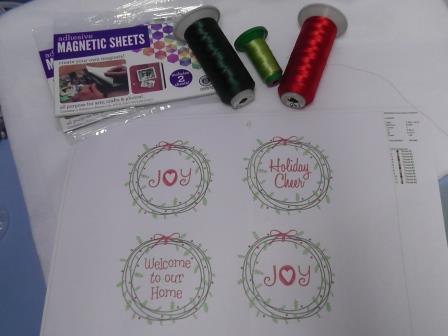
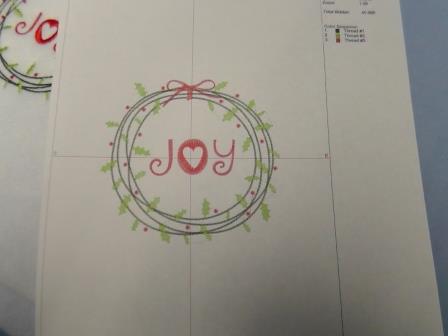
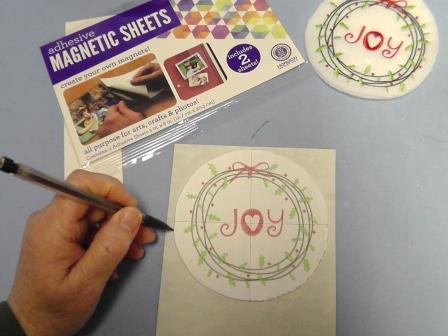
Gather all the supplies and print the template of the designs. Also, print one copy of the “Joy” design to use as a template for cutting the adhesive magnet sheet.
Step 3:
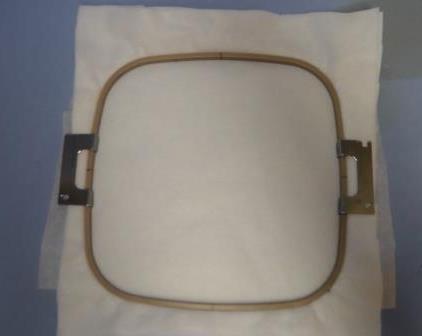
Hoop two layers of fleece with one layer of tearaway stabilizer.
Step 4:
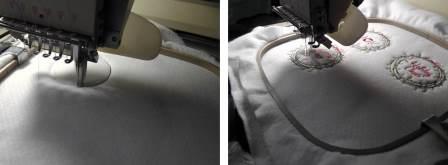
Load the ganged up designs on the machine and stitch, following the color sequence.
Step 5:
Trim the jump stitches. This is easier to do while the designs are still in the hoop because of the tension on the fabric while it is still hooped.
Step 6:
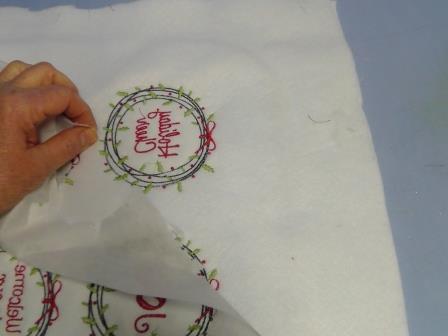
Remove the embroidery from the hoop and carefully remove the stabilizer.
Step 7:
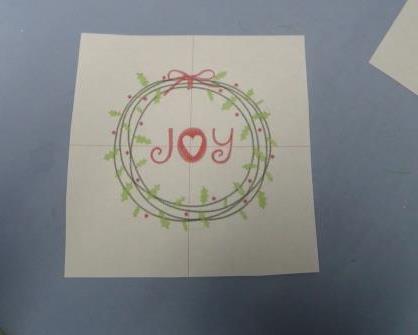
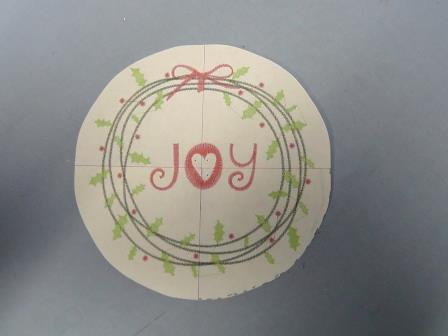
The single printed “Joy” design will be used as a template for cutting out the designs and adhesive magnet sheet.
Step 8:
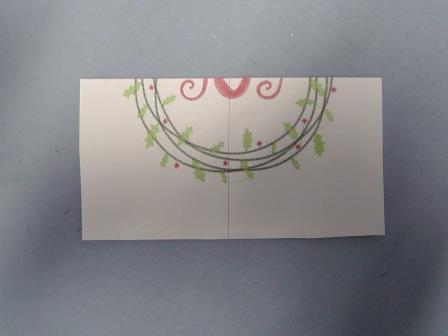
Cut around the “Joy” paper template loosely as shown.
Step 9:
Fold the paper template in half along the center cross hair.
Step 10:
(Click Image to Enlarge)
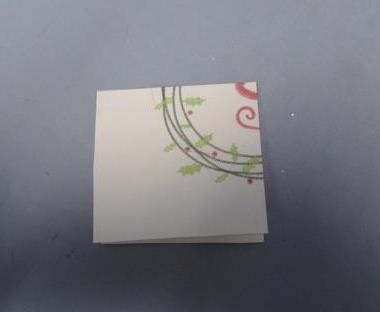
Fold again along the other cross hair to create a quarter folded template.
Step 11:
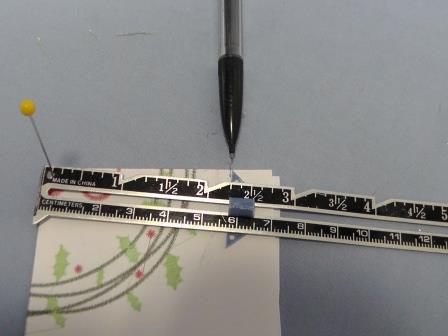
Using a ruler, align the tip of the ruler at the point of the quarter fold (center of the crosshair) and mark from the point down 2 ¼”; make a pencil mark.
Step 12:
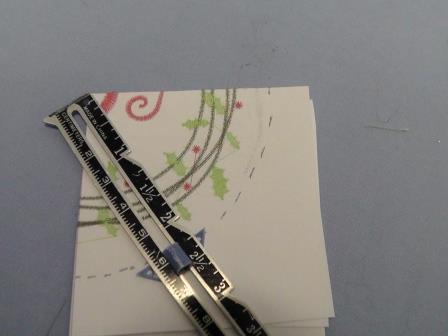
Continue making marks from the point around the quarter fold to create a cutting line.
Step 13:
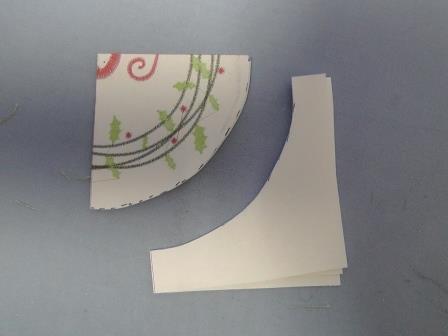
Cut along the marked line through all the paper layers.
Step 14:
Open up the template. This template will be used to cut out the designs stitched on the fleece and the adhesive magnet backs for each coaster.
Step 15:
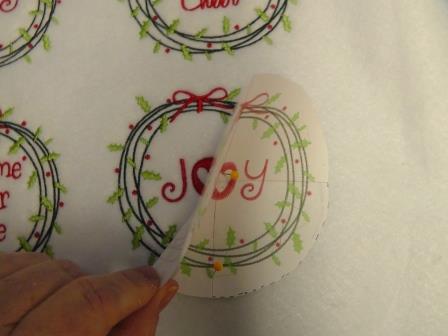
Align the paper template over the stitched coaster (the frames are all the same, so align the printed template to the stitched frame).
Step 16:
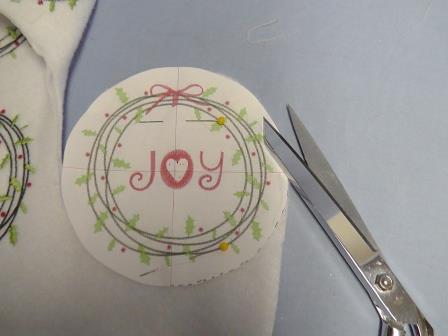
Pin the template over the embroidery design and cut through both layers of fleece around the paper template with sharp shears. Repeat for the remaining coasters.
Step 17:
On the back of the adhesive magnet sheet, trace around the round paper template.
Step 18:
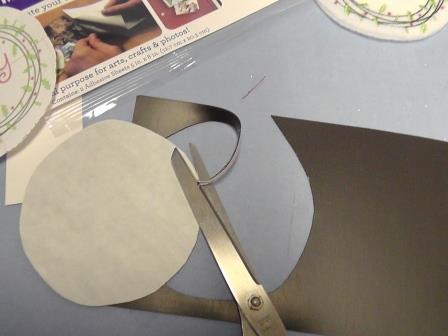
Using old scissors, cut out the magnet inside the drawn line (the finished magnet should be slightly less in diameter than the coaster).
Step 19:
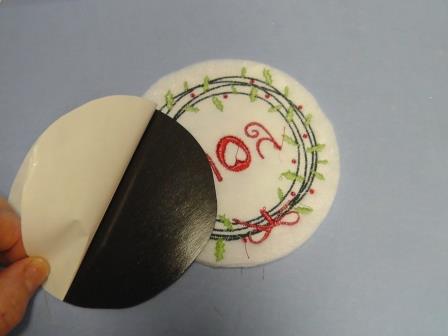
Flip the coaster over and remove the protective paper from the back of the magnet, exposing the adhesive.
Step 20:
(Click Image to Enlarge)
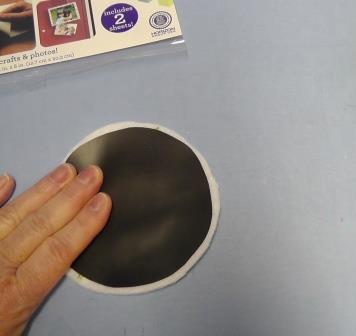
Press the adhesive side of the magnet to the back side of the coaster.
Step 21:
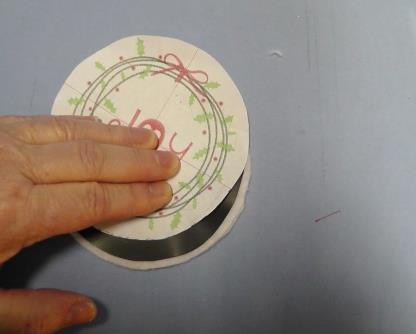
Place the paper template back on top of the magnet and using pressure, rub your fingers over the paper to secure the magnet to the back of the coaster (or set a heavy book on the back of the magnet for a while to adhere them together).
Step 22:
Repeat the steps of cutting out the magnets and adhering them to the remaining coasters.
Step 23:
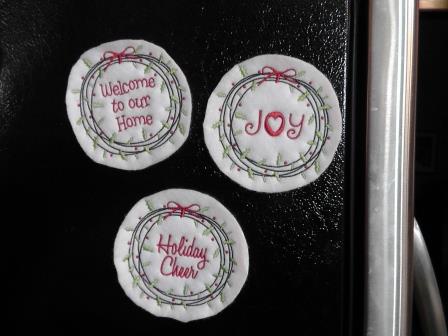
When these aren’t being used as coasters, place them on the refrigerator so you can easily find them when needed.
Step 24:
(Click Image to Enlarge)
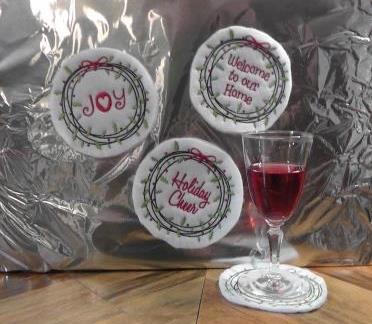
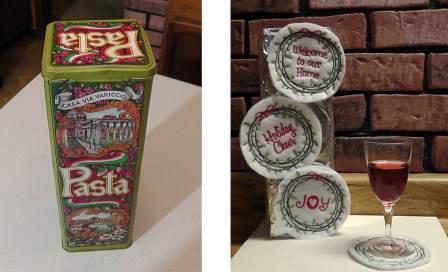
Do you have a stainless steel front refrigerator (non-magnetic)? Get creative! Cover a metal sheet with aluminum foil to hold the magnets.
Step 25:
Or, cover a metal tin with aluminum foil or wrap it like a gift to hold the coasters when not in use.
Ramona Baird has been in the embroidery industry for over 23 years. She and her husband owned a commercial and retail embroidery store in Arizona for many years. She is an experienced digitizer having been mentored by award-winners Pat Williams and Lindee Goodall. Ramona is a contributor to “Creative Machine Embroidery” magazine having 5 covers to her credit. Ramona has worked for Wilcom America and served many years as Education Director for the American Sewing Guild. With a degree in fashion design, she is able to design and execute patterns which Pat Williams says are “out of the box” in creativity and application. Ramona likes to challenge the boundaries of embroidery and bring new and exciting designs, ideas, and projects to EmbroideryDesigns.com. She wants embroiderers of all levels to increase their skills and enjoyment in using their embroidery machine for gift-making and personal pleasure.