Read through all the instructions before beginning. Designs are combined in embroidery software, recolored (optional), saved as new design files (this preserves the original files) and then embroidered on the white cotton fabric using poly mesh as the stabilizer. Red printed fabric is cut to create folded triangles at the corners of each square, the pocket pieces and the backing and binding. The white fabric, batting and some of the red fabric pieces are initially cut larger then cut down after fitting to make the process easier and in the end, more accurate for the project. The finished size of the embroidered squares is 10” and the embroidered frame is 7” square. Be sure in re-sizing the design that it will fit within the largest hoop for the machine you have. If it does not, then you may have to only slightly re-size the frame and make the text smaller to fit within the frame. ¼” seam allowances are used throughout the entire project unless otherwise stated.
Note: Use the 64_Joy design to create a matching potholder or to add an extra block to the caddy (adjust other fabric measurements as needed).
Step 1:
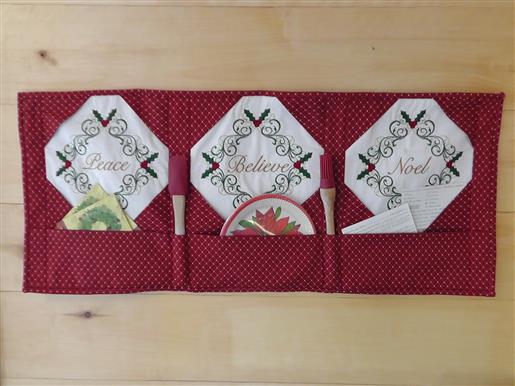
Gather the supplies and read through all the instructions before beginning.
(Click Image to Enlarge)
Step 2:
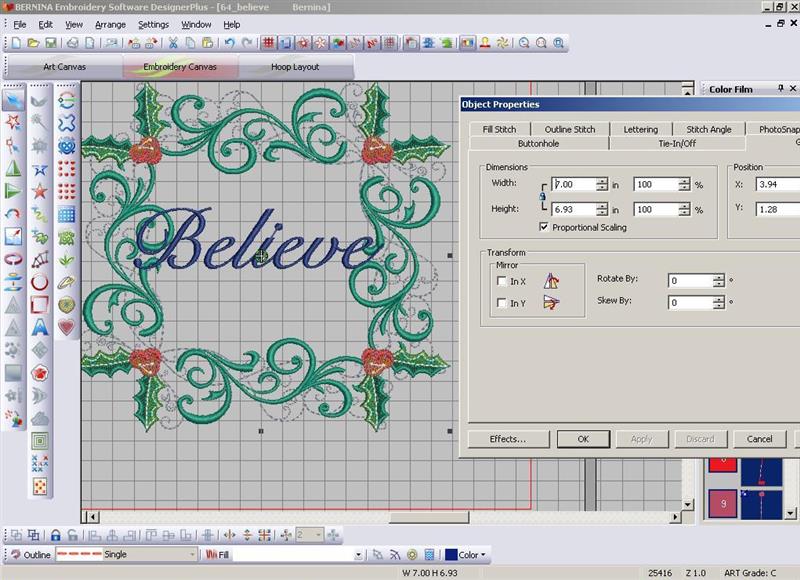
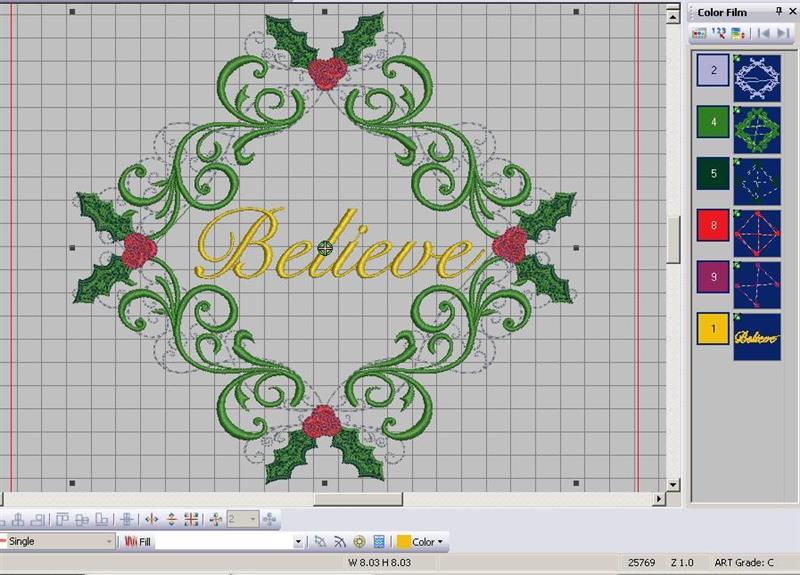
In embroidery software, open design “64_Believe”. Save as a new file. Insert design AFCA273A Holly Frame. Enlarge the Holly Frame design to fit around the word Believe. Believe is the longest word, so it is used for sizing the frame.
(Click Image to Enlarge)
Step 3:
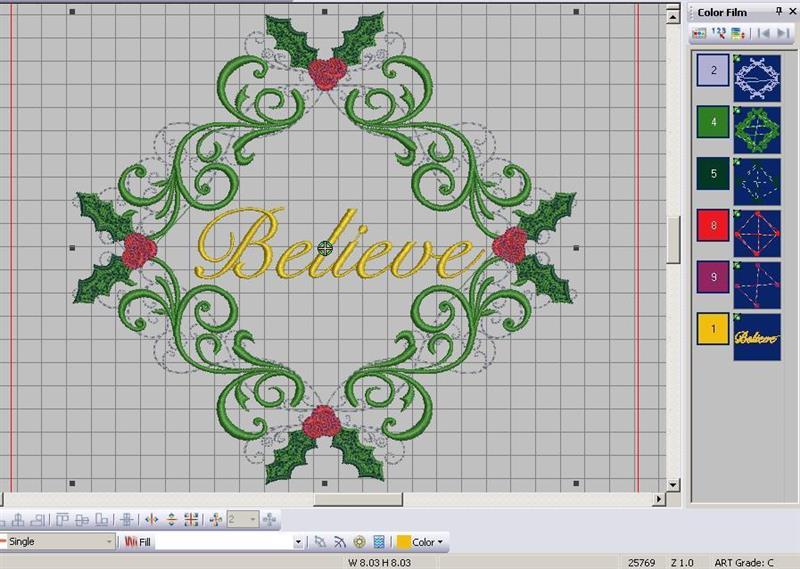
Rotate the frame on point. Align the designs to center the text within the rotated frame to make sure the word will fit. Reminder: be sure the design will fit within the largest hoop for the machine. Save the design again as a new file named “frame”. Re-color the design if desired. For this project, only six colors were used: gray for the background scrolls, a grass green for the holly leaves, a dark green for the shading on the leaves, a tomato red for the berries, a dark red for the berry shading and deep gold for the text. This is an optional step, so if you wish, just keep the original colors in the design sequence.
(Click Image to Enlarge)
Step 4:
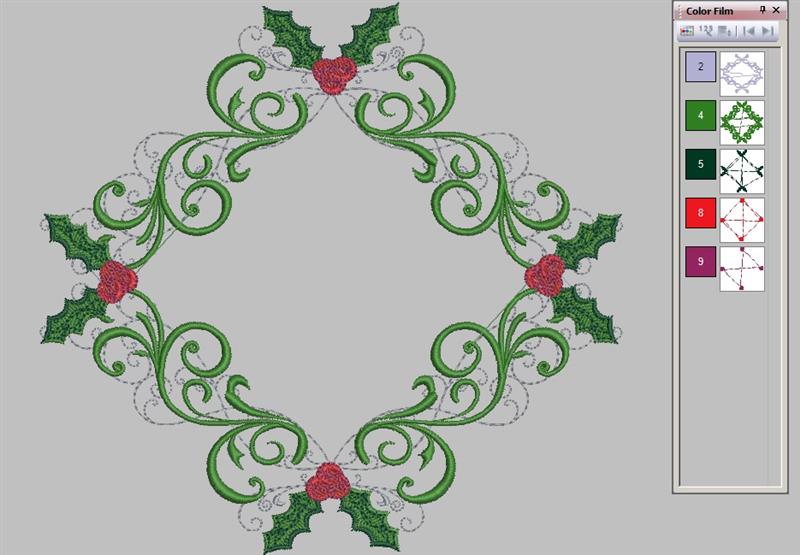
Remove the text Believe, and save only the frame on point as a file. This creates just a frame file that will be used for each block and keeps the frame the same size for all the sewouts.
(Click Image to Enlarge)
Step 5:
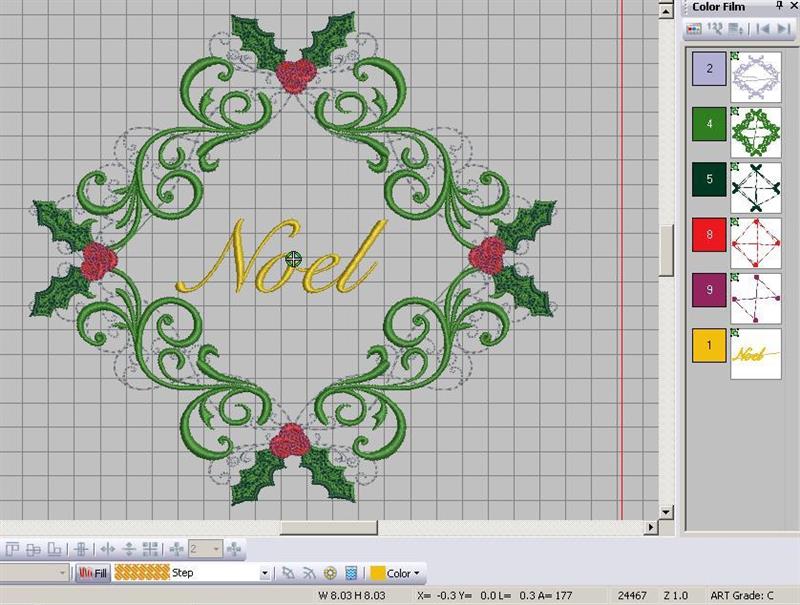
Open the “frame” design. Insert file “64_Noel”. Save as a new file and export for stitching.
(Click Image to Enlarge)
Step 6:
Open the “frame” design. Insert file “64_Believe”. Save as a new file and export for stitching.
(Click Image to Enlarge)
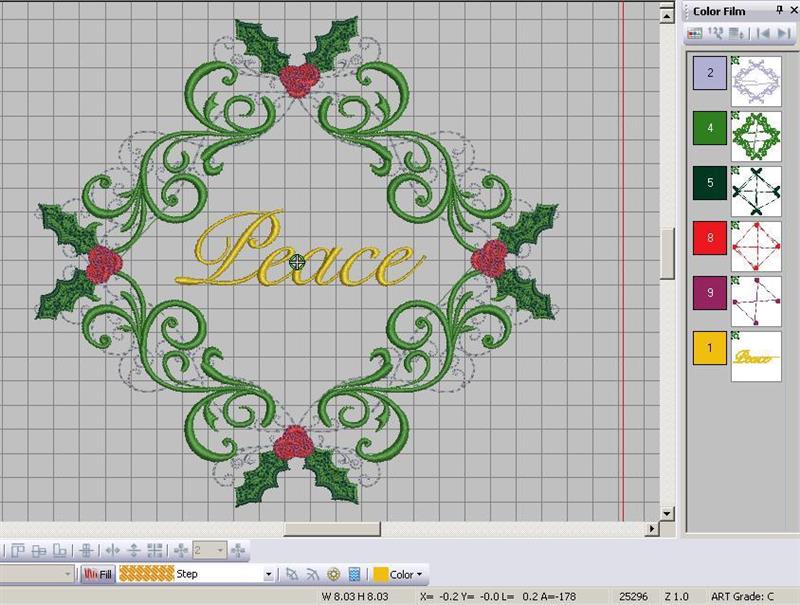
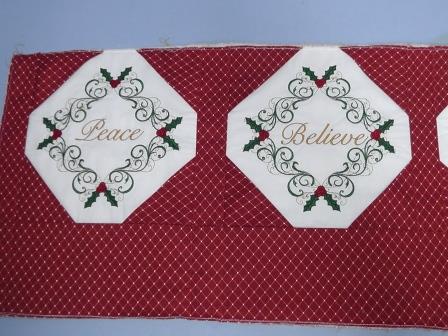
Step 7:
Open the “frame” design. Insert file “64_Peace”. Save as a new file and export for stitching.
(Click Image to Enlarge)
Step 8:
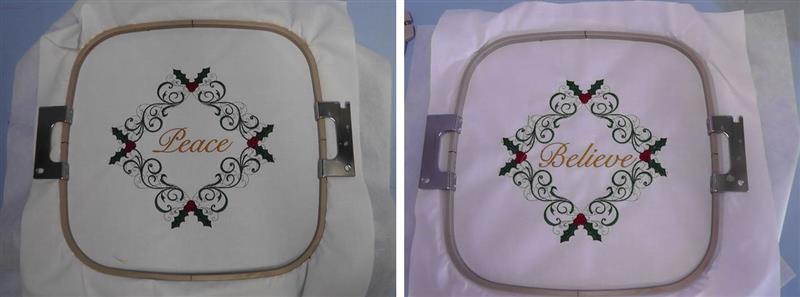
To stitch each one of the designs, hoop one layer of white cotton fabric with one layer of poly mesh stabilizer. Stitch following the color sequence. Remove the designs from the hoop and trim the stabilizer close to the stitching.
(Click Image to Enlarge)
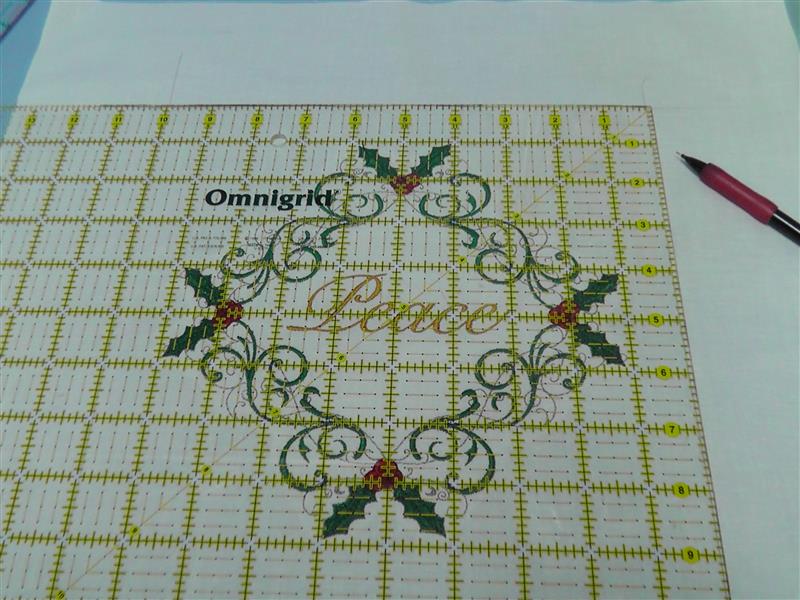
Step 9:
Using a see-thru quilting ruler, square up the embroidered fabric to a 10” square block, centering the embroidery within the square.
(Click Image to Enlarge)
Step 10:
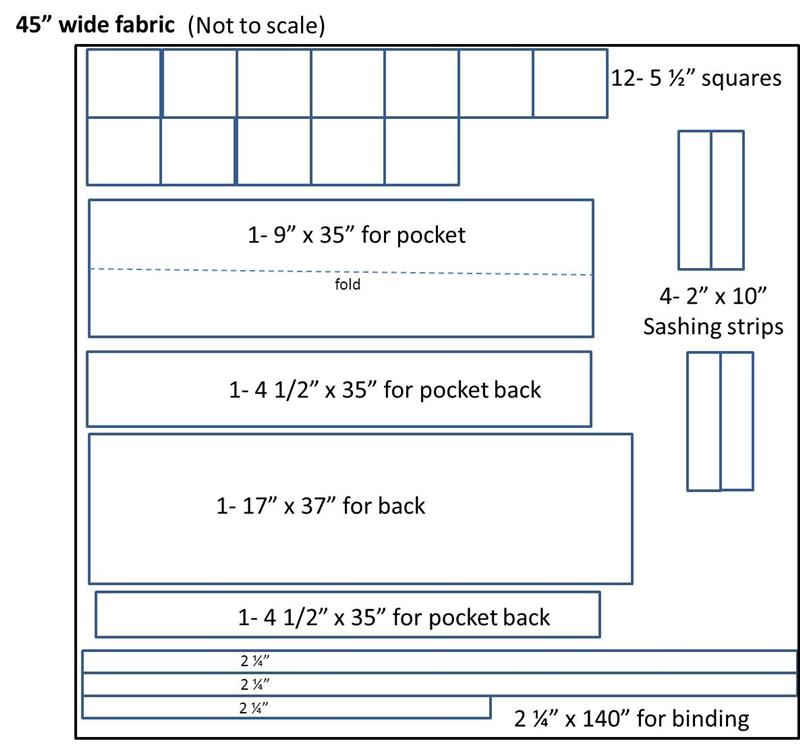
Cut the red fabric following the general layout.
(Click Image to Enlarge)
Step 11:
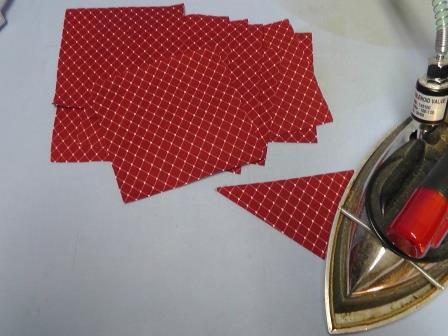
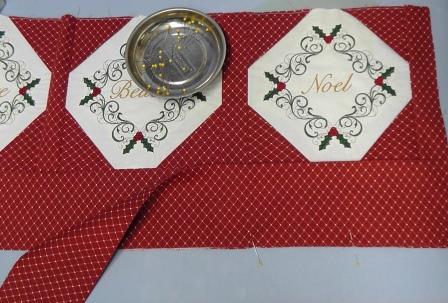
Fold and press each of the 12- 5 ½” squares from one corner to the opposite corner (the bias); these will be used for framing the embroidered blocks.
Step 12:
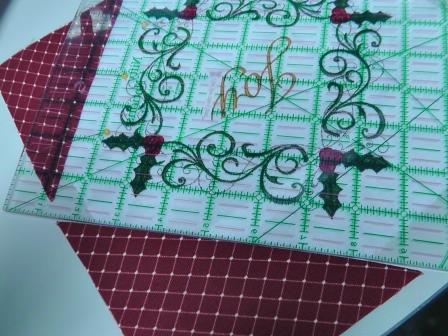
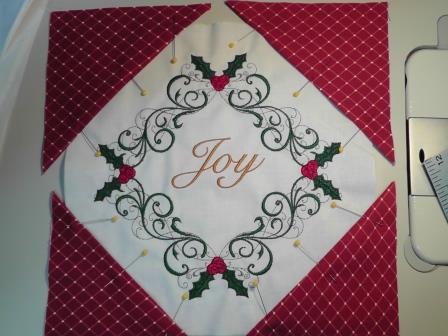
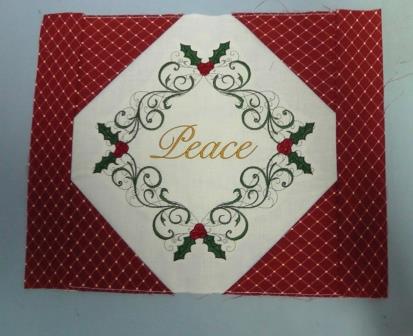
Place the see-thru quilting ruler at the ¾” mark along one side of the “Joy” 10” embroidered block, aligning the outer most tips of the holly along the ¾” mark on the ruler. Lay the folded edge of one red folded block along the outer edge of the ruler as shown and pin in place.
Step 13:
Repeat for the remaining three corners.
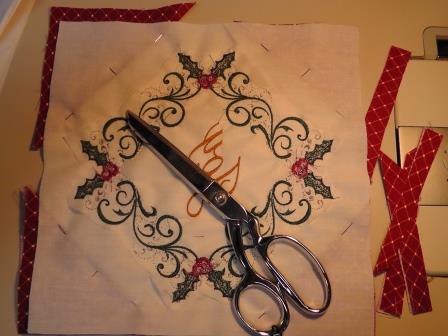
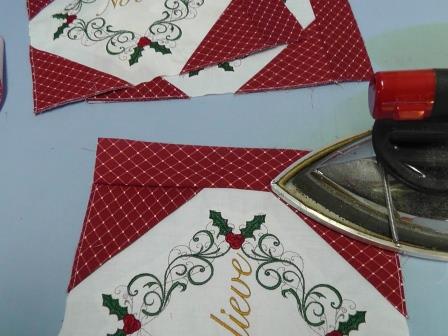
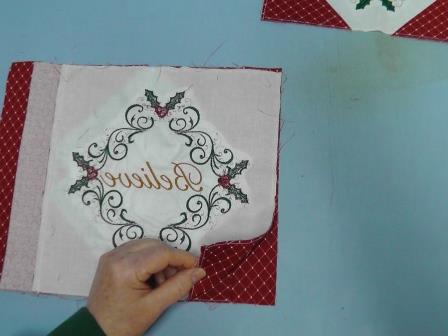
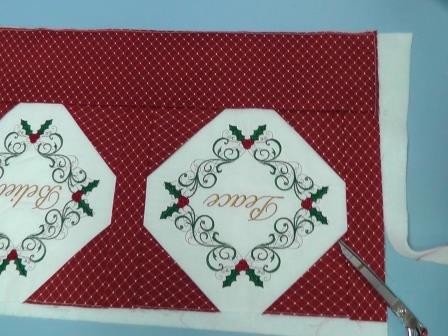
Step 14:
Flip the block over and trim away the excess red fabric to match the cut edges of the embroidered block.
Step 15:
Baste the corners in place using a 1/8” seam allowance. Repeat the steps of framing, trimming, and basting on the corner squares for the remaining two blocks.
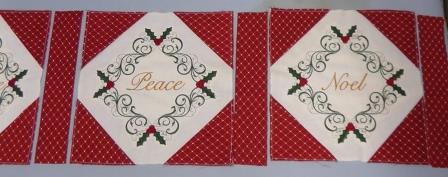
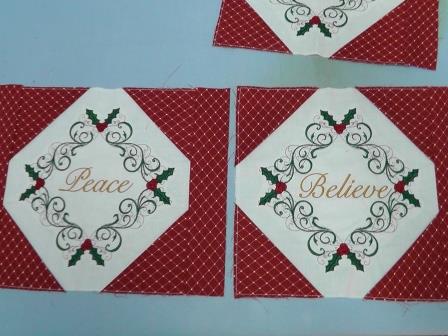
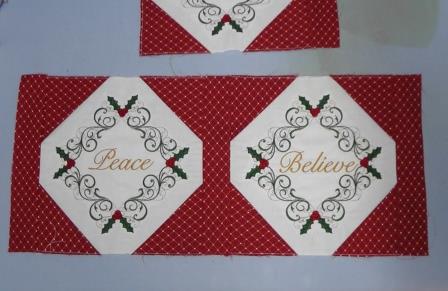
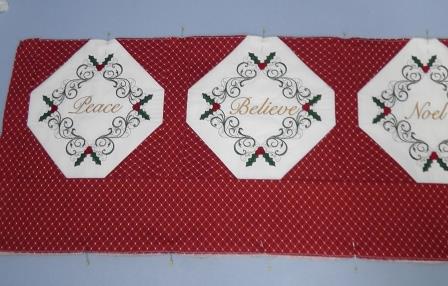
Step 16:
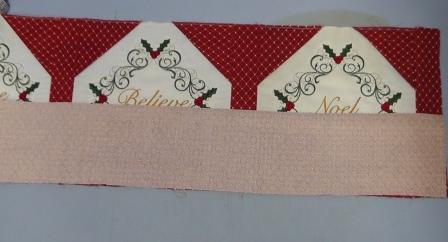
Place the three blocks on a flat surface in the order you’d like. Place one sashing strip at each end and one sashing strip between each block (four sashing strips total).
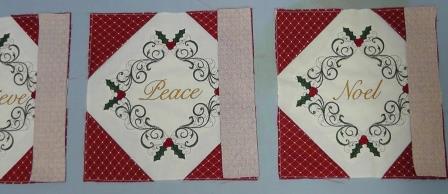
Step 17:
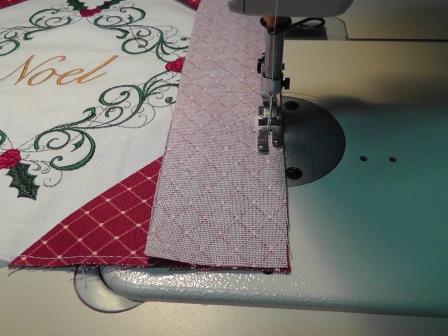
Lay the sashing strips, right sides together, on top of each block, aligning cut edges.
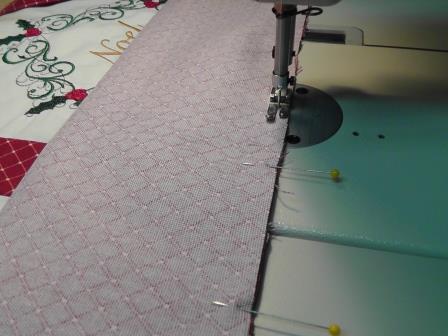
Step 18:
Stitch the sashing to each block, using a ¼” seam.
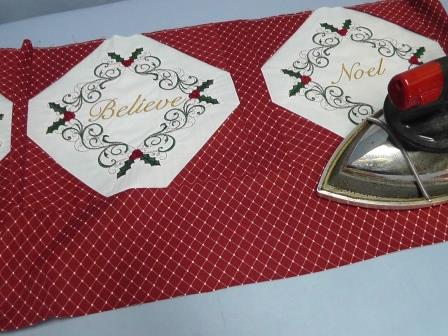
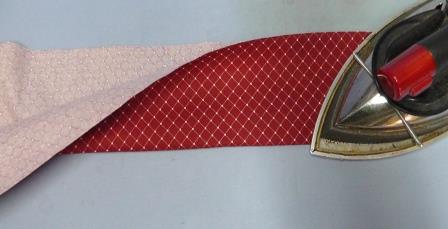
Step 19:
Press the seam toward the sashing on each block.
Step 20:
For the left most block sew on and press the left sashing piece. Repeat for the right most block.
Step 21:
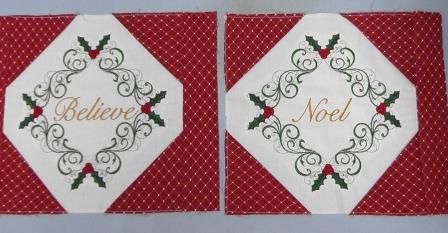
Lay out the left and middle blocks.
Step 22:
With right sides together, sew the block side to the conjoining sashing.
Step 23:
Press the seam toward the sashing.
Step 24:
Place the last block to the right of the center block.
Step 25:
(Click Image to Enlarge)
With right sides together, lay the right block on top of the center block, meeting cut edges. Sew the seam and press it toward the sashing.
Step 26:
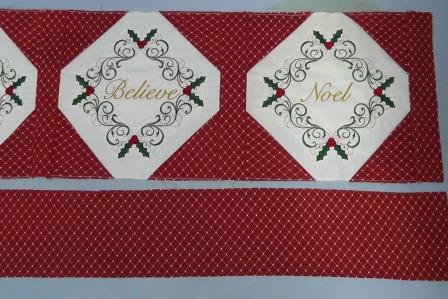
Find the back pocket piece and lay it to the bottom of the blocks.
Step 27:
With right sides together, match the cut edge of the piece to the bottom edge of the blocks and pin in place.
Step 28:
Sew the pocket back to the blocks.
Step 29:
Press the seam toward the pocket back.
Step 30:
Find the pocket piece and fold it in half lengthwise and press along the fold.
Step 31:
Pin the folded and pressed pocket piece over the pocket back, matching cut edges at the sides and bottom; pin in place.
Step 32:
Baste the pocket along the sides and bottom, sewing it to the pocket back.
Step 33:
Lay the fusible batting with the fusible side up. Center and lay the embroidered piece on top of the fusible batting. Lightly press and fuse the batting to the back of the embroidered caddy piece, following the manufacturer’s directions. Trim the excess batting to match the cut edges of the embroidered piece.
Step 34:
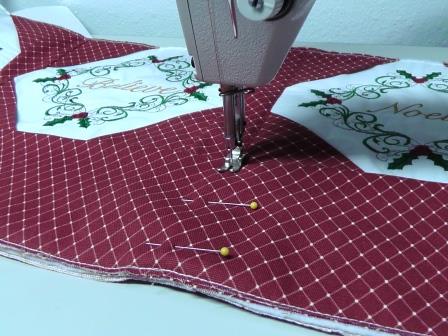
Lay the backing piece, wrong side up, on a flat surface. Center and align the caddy piece on top of the backing. Pin in place and cut the backing to match the batting/caddy top.
Step 35:
Baste the caddy, batting and backing together using a 1/8” seam.
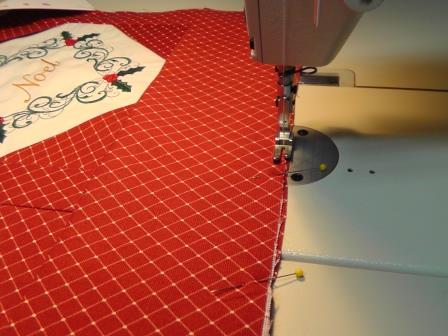
Step 36:
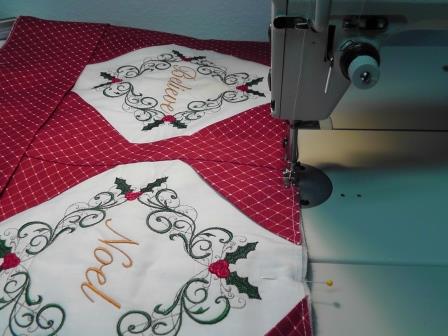
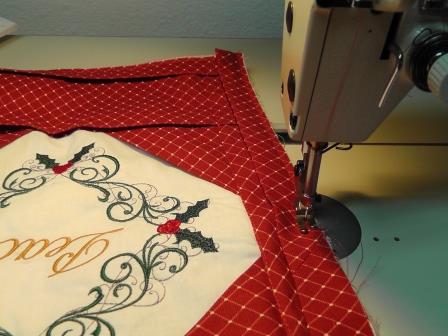
Create quilting to hold all the layers together by edge stitching along the sashing edges using the dark red embroidery thread. Sew from the top through the pocket layers, to the bottom Use the inside edge of the presser foot to guide the stitching along the edges of the sashing.
Step 37:
Repeat for all the remaining sashing pieces. The project is now ready for binding.
Step 38:
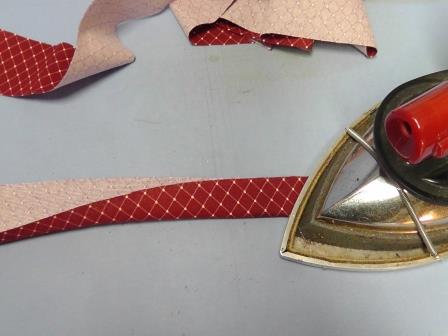
Piece the binding strips together then press in half lengthwise.
Step 39:
From the right side, sew the binding to the edges of the project, mitering the corners.
Step 40:
Roll the folded edge of the binding to the back side of the project and pin in place. Hand-sew the binding in place.
Step 41:
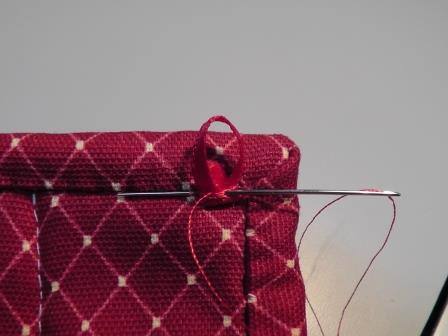
On the back side of the project, hand-sew ribbon loops along the top for hanging up the project.
Step 42:
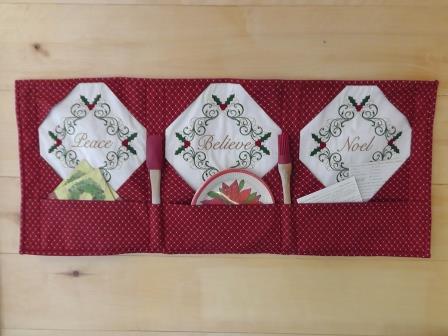
Hang the project on the wall and you will have a beautiful display for your holiday kitchen items this season. This caddy may also be used to hold holiday cards.
Ramona Baird has been in the embroidery industry for over 23 years. She and her husband owned a commercial and retail embroidery store in Arizona for many years. She is an experienced digitizer having been mentored by award-winners Pat Williams and Lindee Goodall. Ramona is a contributor to “Creative Machine Embroidery” magazine having 5 covers to her credit. Ramona has worked for Wilcom America and served many years as Education Director for the American Sewing Guild. With a degree in fashion design, she is able to design and execute patterns which Pat Williams says are “out of the box” in creativity and application. Ramona likes to challenge the boundaries of embroidery and bring new and exciting designs, ideas, and projects to EmbroideryDesigns.com. She wants embroiderers of all levels to increase their skills and enjoyment in using their embroidery machine for gift-making and personal pleasure.