It was fun to create this “Let it Snow!” window sheath taking the front door window from plain boring to inviting! The window was measured and the text created in embroidery lettering software. The text was stitched in the center of the fabric, and then the snow flake designs planned and stitched, rotating the designs in various directions. This project used a single ice-blue embroidery thread color, but the text could be done in one color and the snowflakes stitched in white; the choice is yours.
Step 1:
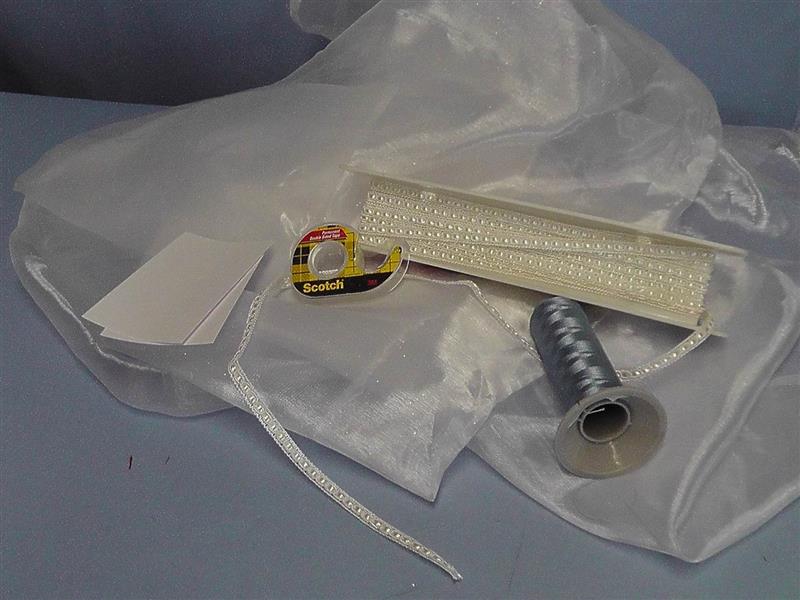
Gather the supplies and read through the instructions before beginning. Print templates of both the snowflake designs. Measure the window to determine how much fabric and trim to purchase (see the next step).
(Click Image to Enlarge)
Step 2:
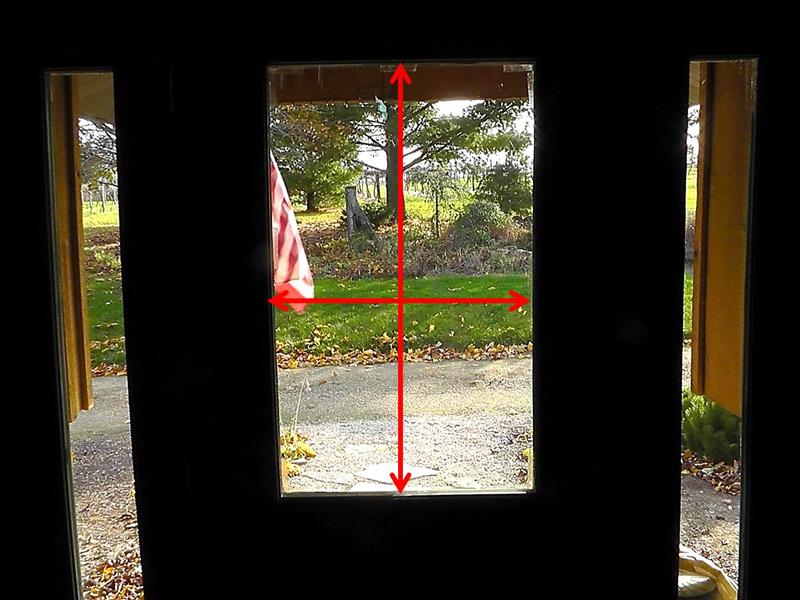
This front door window needs some decoration. Begin by measuring the width and length of the inside of the window casing. Add 4” to each side; cut the fabric this measurement. Note: this project could also be done as a curtain by using the window measurements. If it is done as a curtain, add additional amounts to the length and width as desired for the shirring of the curtain, and hems and rod casing. To determine the amount of trim to purchase, double the width measurement and double the height measurement, add them together and add 10” for overlapping the ends and mitering the corners.
(Click Image to Enlarge)
Step 3:
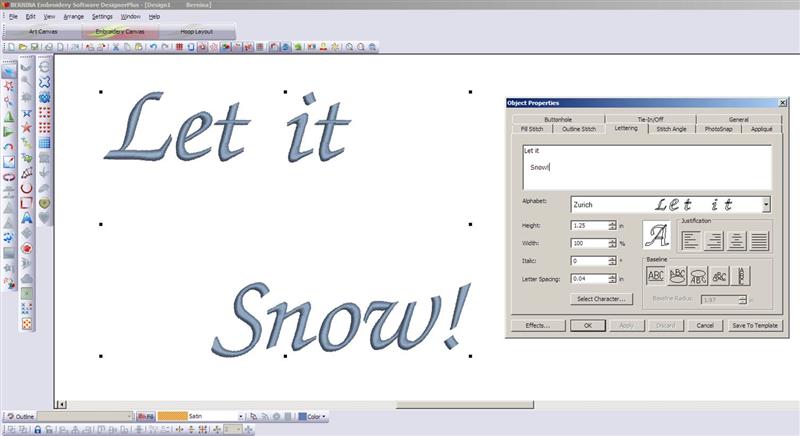
In the embroidery lettering software, create the words "Let it" on one line, skip a space, and indent and add "Snow!" on the third line. Use your choice of font and make the lettering a size that will complement the size of the window. For the project, the Zurich font was used in a 1.25” height.
(Click Image to Enlarge)
Step 4:
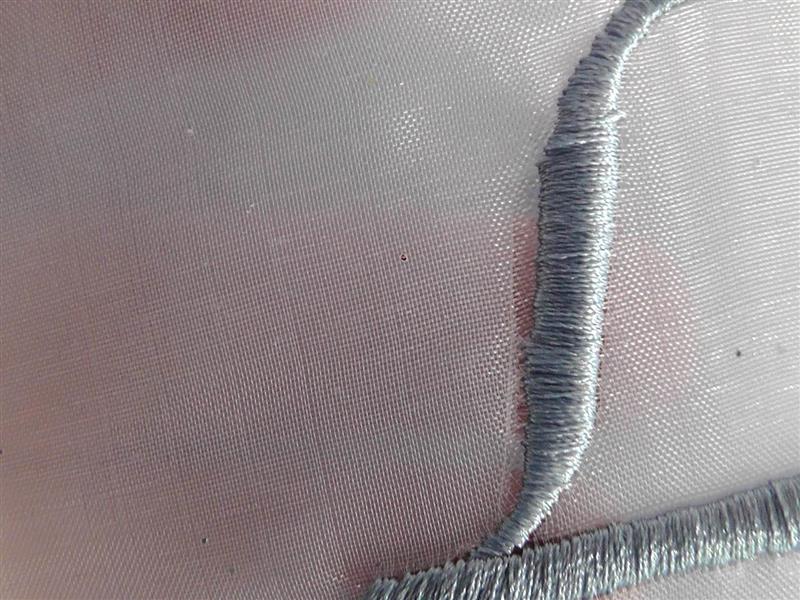
The fabric being embroidered is organza and it is lightweight. If the embroidery is too dense, it will pull the fibers of the fabric creating a gap between the fabric and the lettering.
(Click Image to Enlarge)
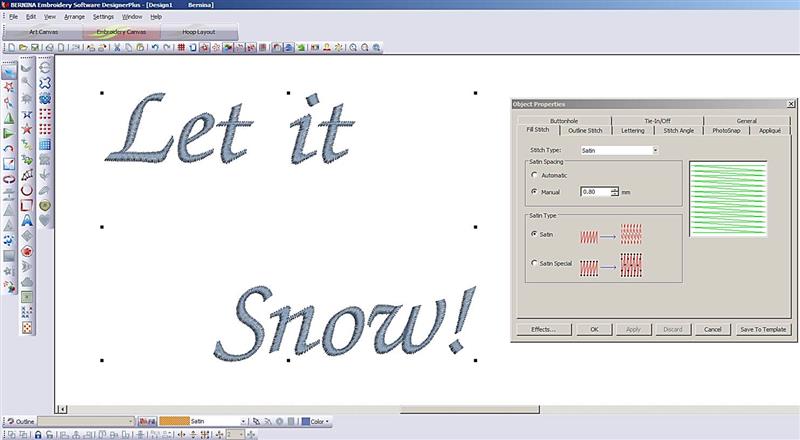
Step 5:
In the software properties, lighten the density and test the design. The stitches should just lie on top of the fabric. Continue to test and adjust the density until the correct density is achieved. The density should be enough to cover, yet light enough not to pull the fabric away from the lettering. Print a template of the text design.
(Click Image to Enlarge)
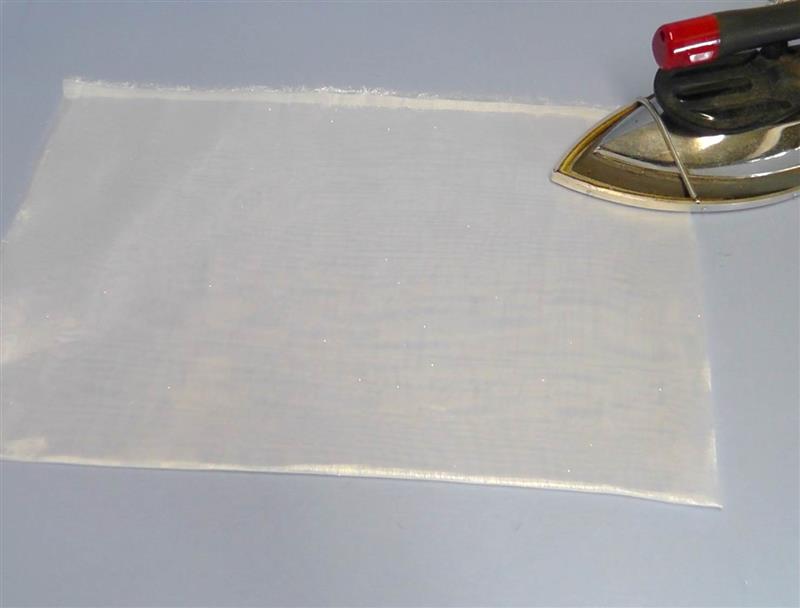
Step 6:
Cut the fabric to the window dimensions plus 4” all around. Press the fabric well using spray starch or sizing if necessary.
(Click Image to Enlarge)
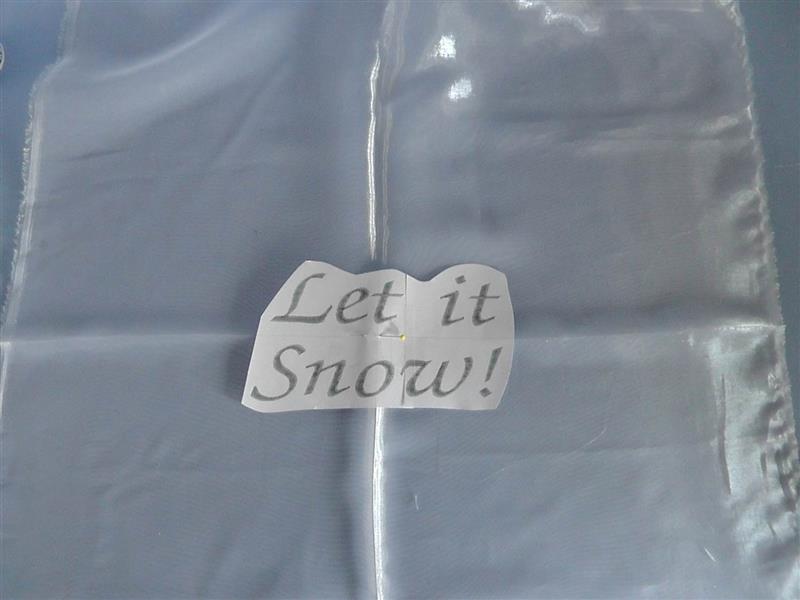
Step 7:
Find the center of the fabric and align the text template to the center of the fabric.
(Click Image to Enlarge)
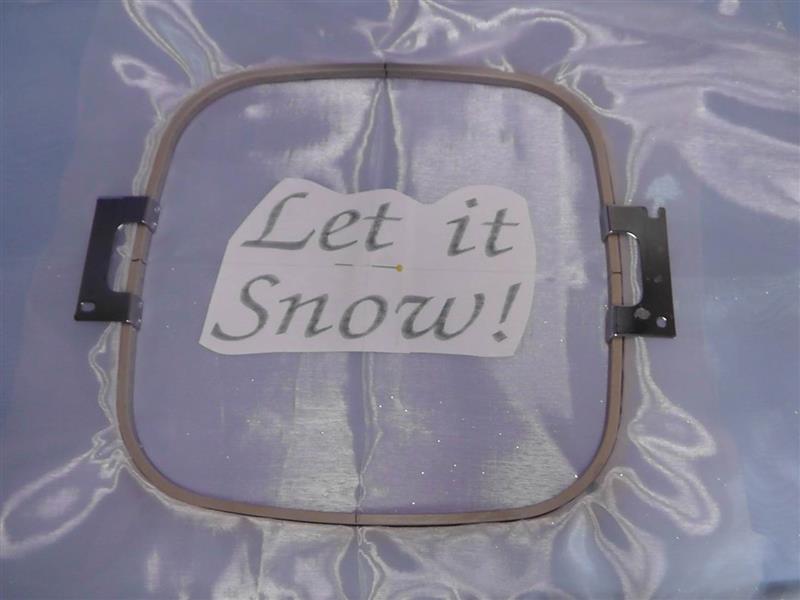
Step 8:
Hoop the fabric with one layer of heavy water soluble stabilizer, centering the template in the hoop.
(Click Image to Enlarge)
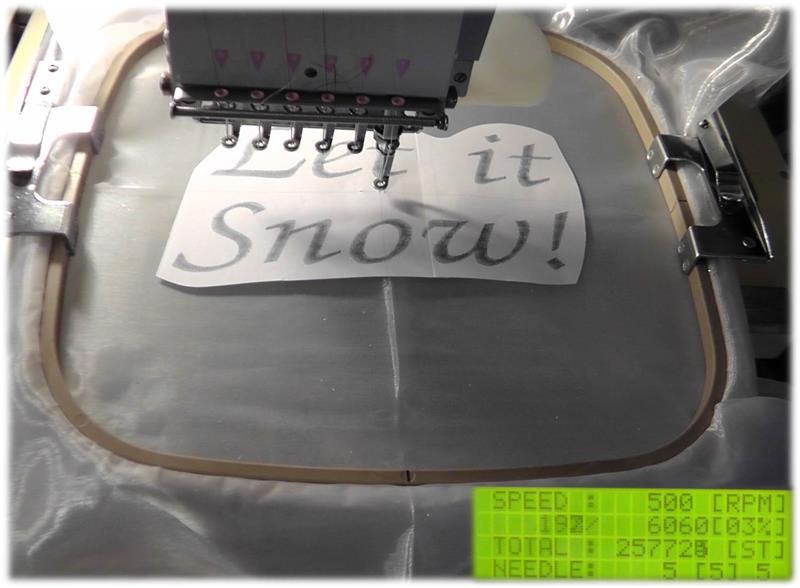
Step 9:
Load the text design on the machine and align the needle with the center of the design. It may be necessary to slow down the machine speed so it the movement of the hoop doesn’t pull on the fabric too much.
(Click Image to Enlarge)
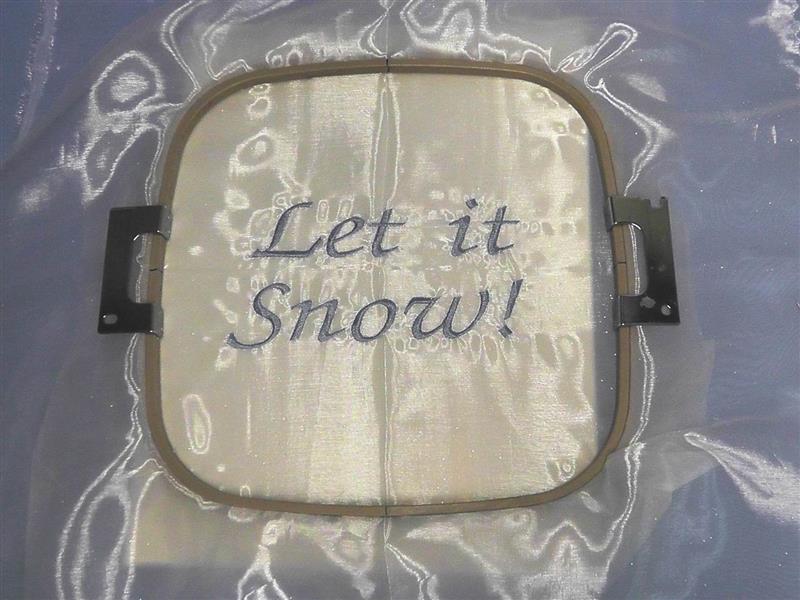
Step 10:
The text is finished stitching.
(Click Image to Enlarge)
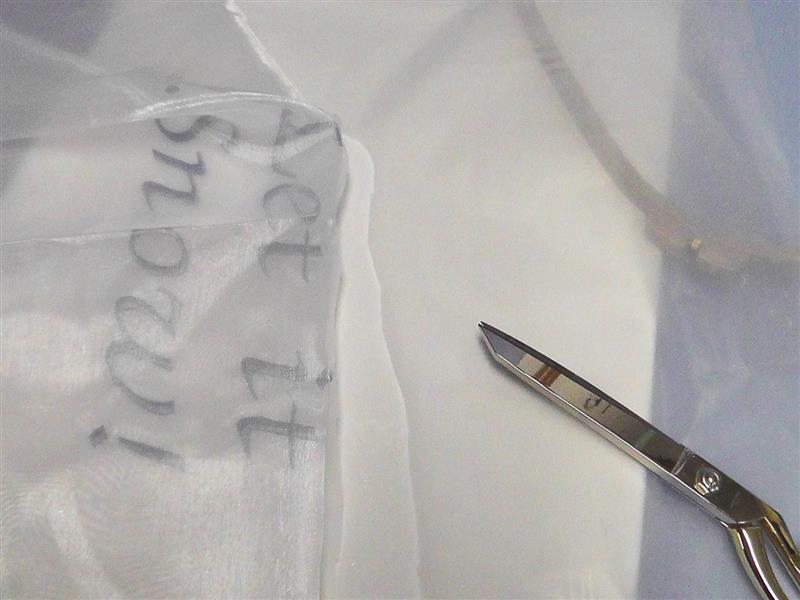
Step 11:
Remove the fabric from the hoop and carefully cut away the excess stabilizer from around the lettering.
(Click Image to Enlarge)
Step 12:
Cut out the snowflake printed templates. Place and pin them in the desired spots around the fabric.
(Click Image to Enlarge)
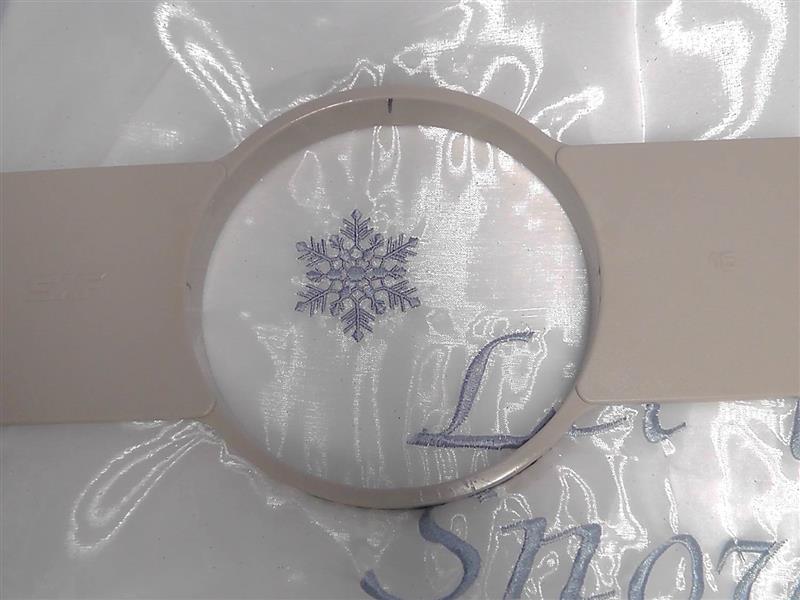
Step 13:
Hoop the snowflakes using the water soluble stabilizer. Use the smallest hoop possible for the design.
(Click Image to Enlarge)
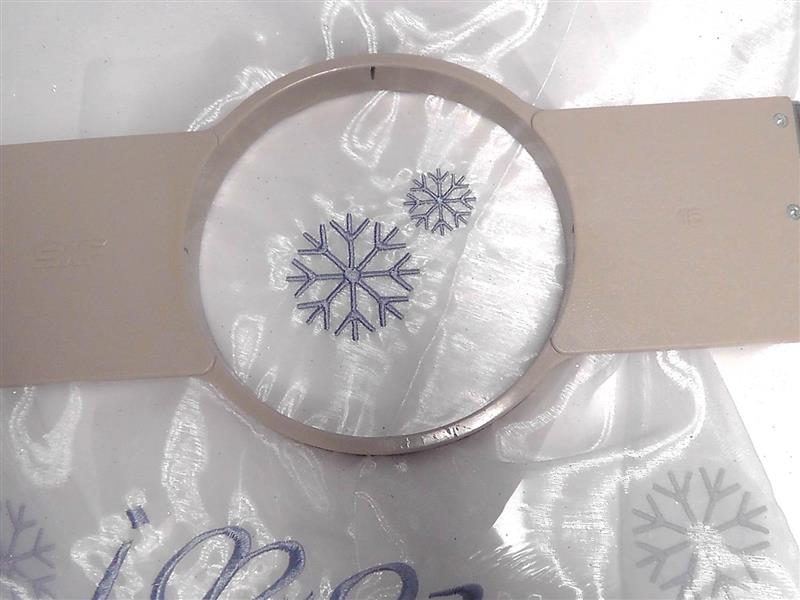
Step 14:
Load the design on the machine and stitch the design; remove the excess stabilizer. Stitch all of this planned designs.
(Click Image to Enlarge)
Step 15:
Repeat placing and stitching the second snowflake design.
(Click Image to Enlarge)
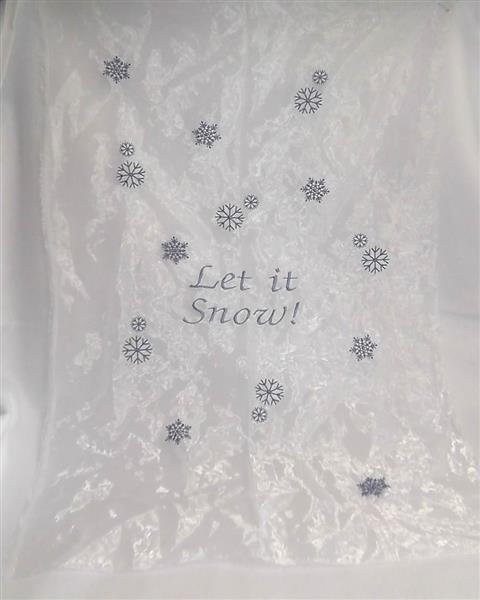
Step 16:
Stitch as many or as few designs as desired around the fabric, rotating the designs to vary their appearance.
(Click Image to Enlarge)
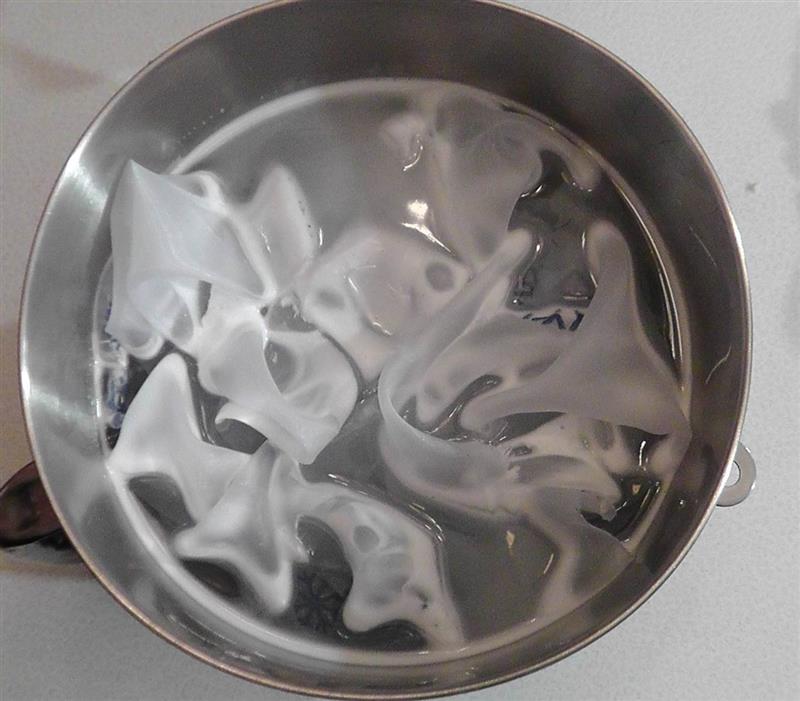
Step 17:
Follow the manufacturers’ directions for removing the water soluble stabilizer. Air dry the fabric.
(Click Image to Enlarge)
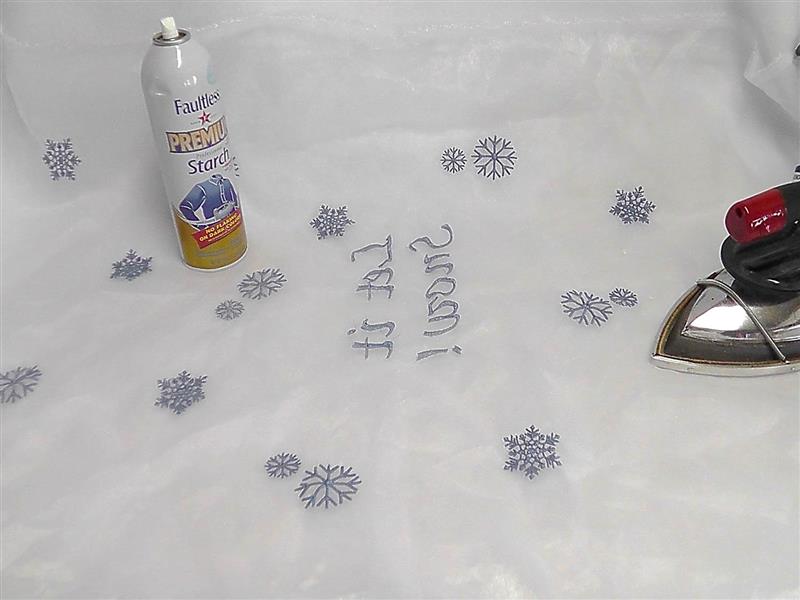
Step 18:
Press the fabric well using spray starch or sizing if necessary.
(Click Image to Enlarge)
Step 19:
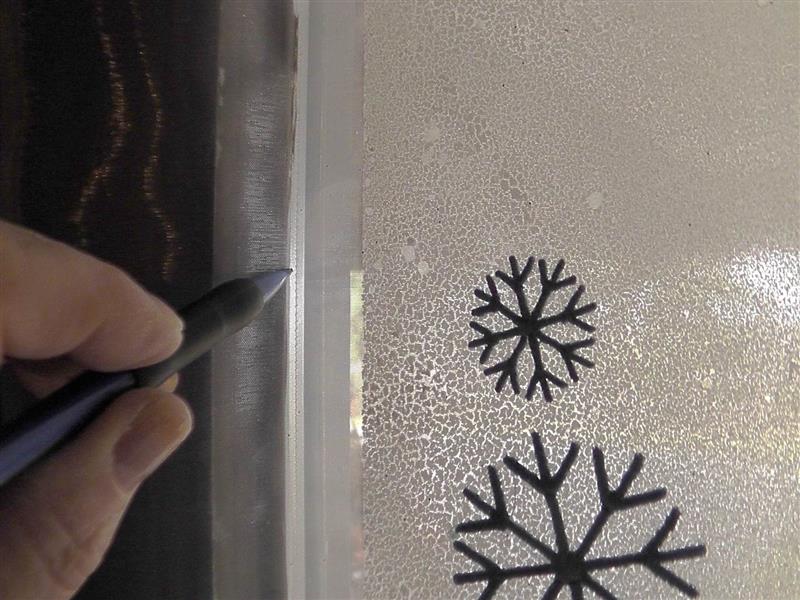
Place and center the fabric on the window using the double sided tape to hold it in place. Use a pencil to draw the final window line on the fabric.
(Click Image to Enlarge)
Step 20:
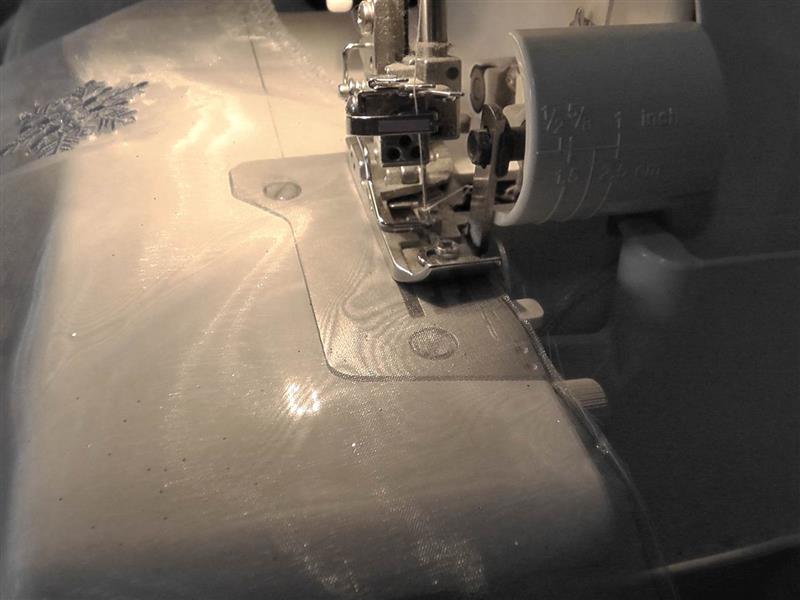
Cut along the pencil lines and serge the fabric to finish the edges.
(Click Image to Enlarge)
Step 21:
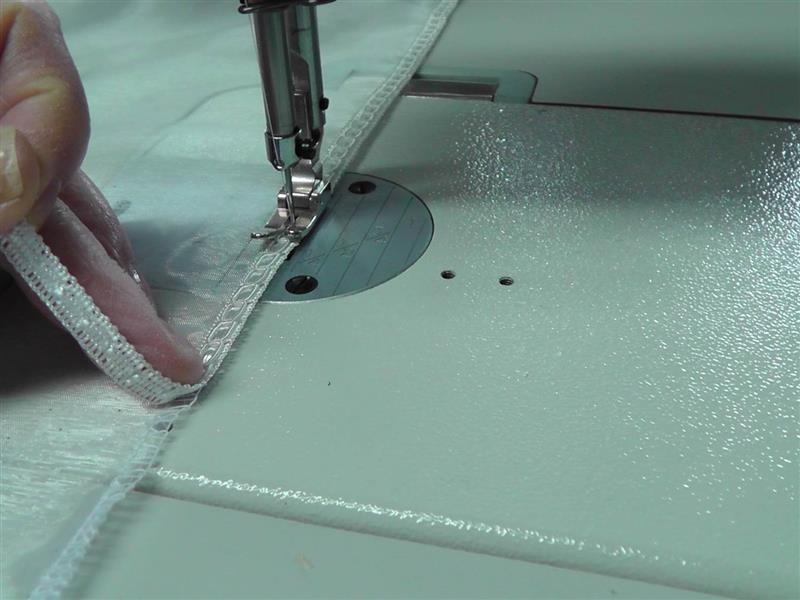
Sew the trim to the right side of the fabric, sewing it over the serged edge and mitering the corners. Be careful that when sewing on the trim the fabric does not draw up and become smaller than what it was marked.
(Click Image to Enlarge)
Step 22:
Using double sided tape, place long lengths in all four corners of the window and several pieces at the top, bottom and sides. Secure the panel to the tape on the window.
(Click Image to Enlarge)
Step 23:
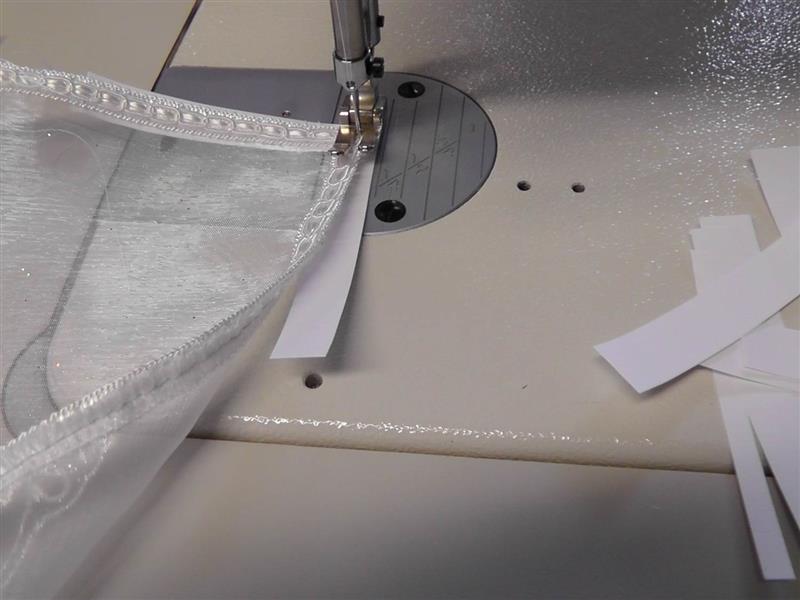
If the tape will not stick to the fabric because the pane of glass is cold, here’s a little trick. Cut index cards about ½” wide and sew them at the corners and along the short and long edges. Sew the strips of card under the trim and be sure the outer edge does not extend beyond the trim area into the fabric area. Use a long basting stitch to sew on the paper strips. Use as many as is needed.
(Click Image to Enlarge)
Step 24:
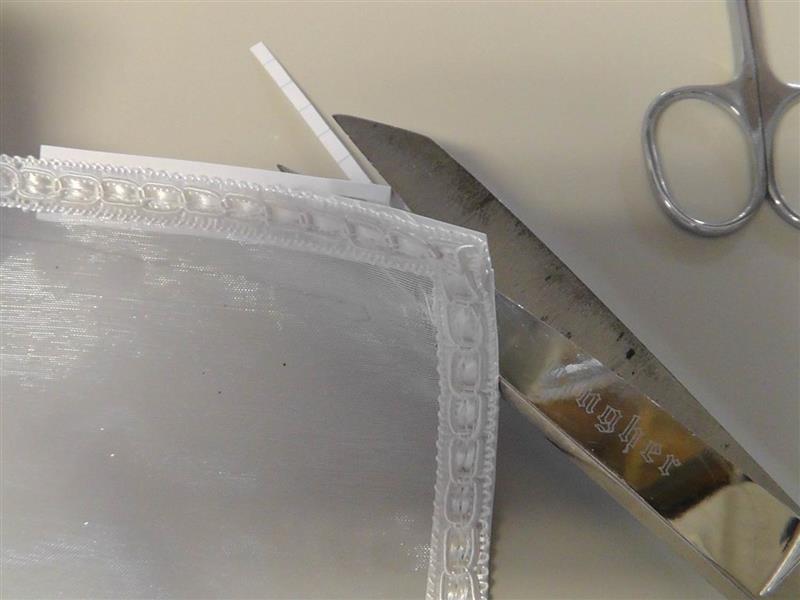
Trim the excess paper away being careful not to clip into the fabric or trim.
(Click Image to Enlarge)
Step 25:
Place strips of the double sided tape on each corner and at the centers on the window. Also place strips on each piece of paper that was sewn to the back of the fabric.
(Click Image to Enlarge)
Step 26:
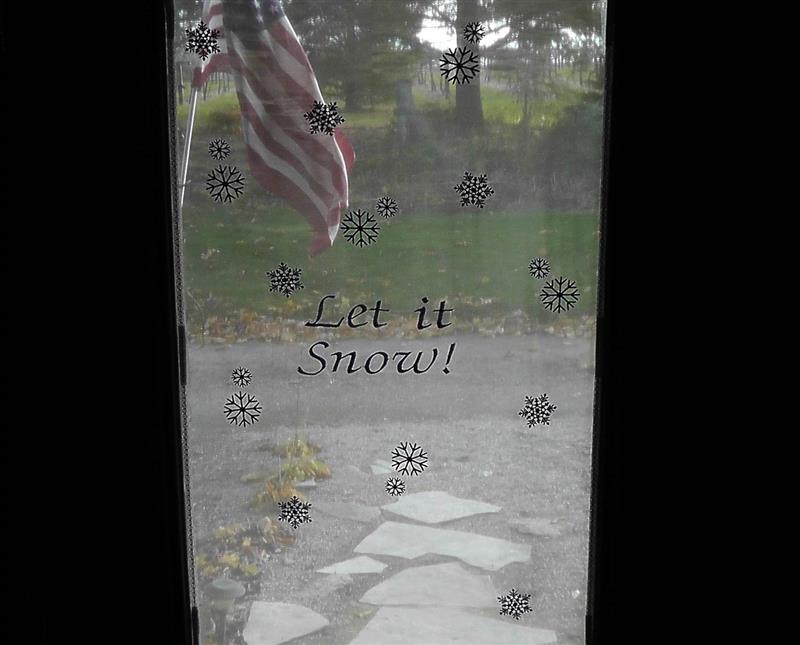
Place the window sheath on the window. The tape will adhere to the paper and window and hold the sheath in place.
(Click Image to Enlarge)
Step 27:
(Click Image to Enlarge)
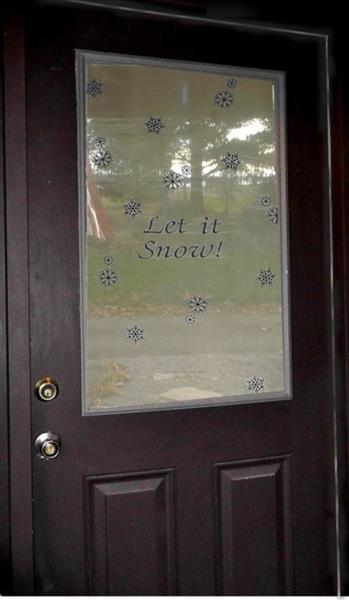
Congratulations on creating a beautiful greeting for guests who come to the front door letting them know it is time to “Let it Snow!”
Ramona Baird has been in the embroidery industry for over 23 years. She and her husband owned a commercial and retail embroidery store in Arizona for many years. She is an experienced digitizer having been mentored by award-winners Pat Williams and Lindee Goodall. Ramona is a contributor to “Creative Machine Embroidery” magazine having 5 covers to her credit. Ramona has worked for Wilcom America and served many years as Education Director for the American Sewing Guild. With a degree in fashion design, she is able to design and execute patterns which Pat Williams says are “out of the box” in creativity and application. Ramona likes to challenge the boundaries of embroidery and bring new and exciting designs, ideas, and projects to EmbroideryDesigns.com. She wants embroiderers of all levels to increase their skills and enjoyment in using their embroidery machine for gift-making and personal pleasure.