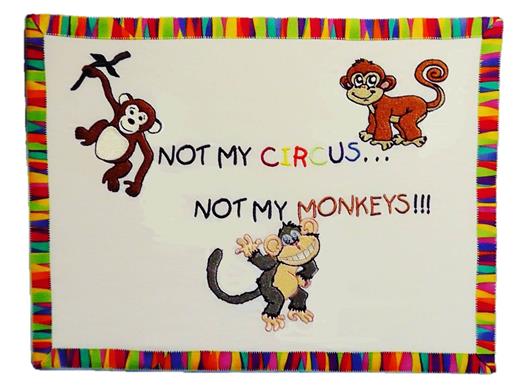
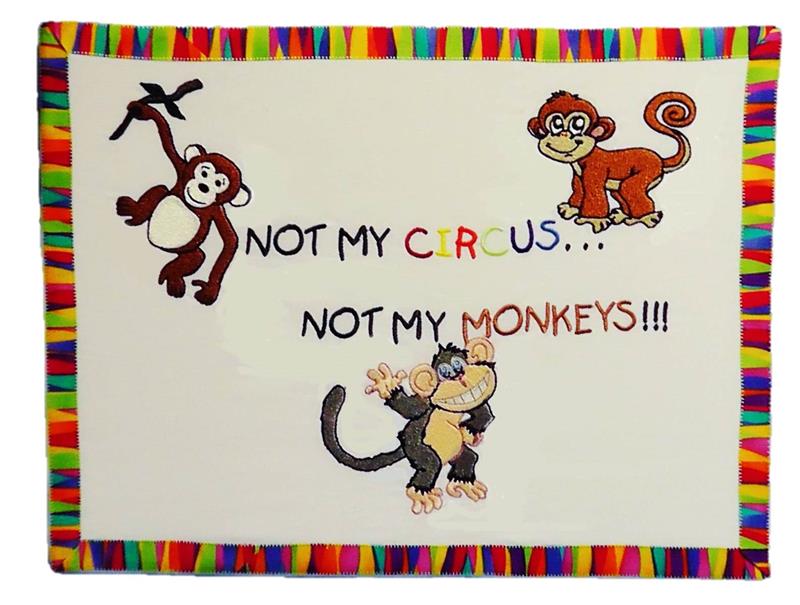
Sometimes office situations over which one has no control seem unbearable. Create a piece of wall art that will provide some whimsy and comic relief during those stressful situations to help a person remember it is “NOT MY CIRCUS”.
Using a stretched canvas frame as a base, white cotton fabric is embroidered with text created in software, then embroidered with monkeys and bordered with a circus themed fabric to create whimsical wall art for an office.
Step 1:
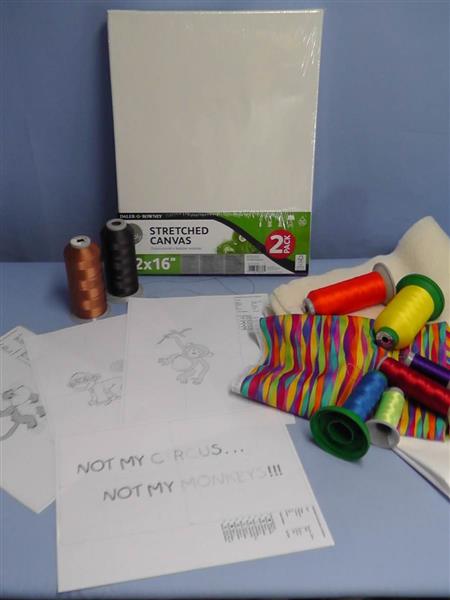
Gather the supplies and read through the instructions. The embroidery thread chosen should be for the designs and to coordinate with the border fabric chosen.
(Click Image to Enlarge)
Step 2:
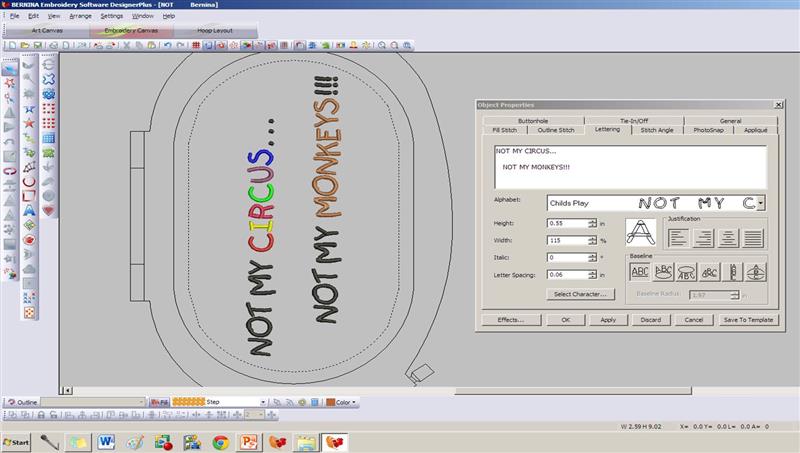
In software, choose a whimsical font to create lettering in two rows reading “NOT MY CIRCUS…NOT MY MONKEYS!!!” The font selected for the project is called “Child’s Play” and it was done with a height of .55". Select the letters for the word “CIRCUS” and make each of them a different color to coordinate with the border fabric. Choose the word “MONKEYS” and make the letters a brown color that will be used for stitching the monkeys. The rest of the lettering is a dark charcoal grey. Rotate the text to fit the hoop if needed. Print all the paper design templates.
(Click Image to Enlarge)
Step 3:
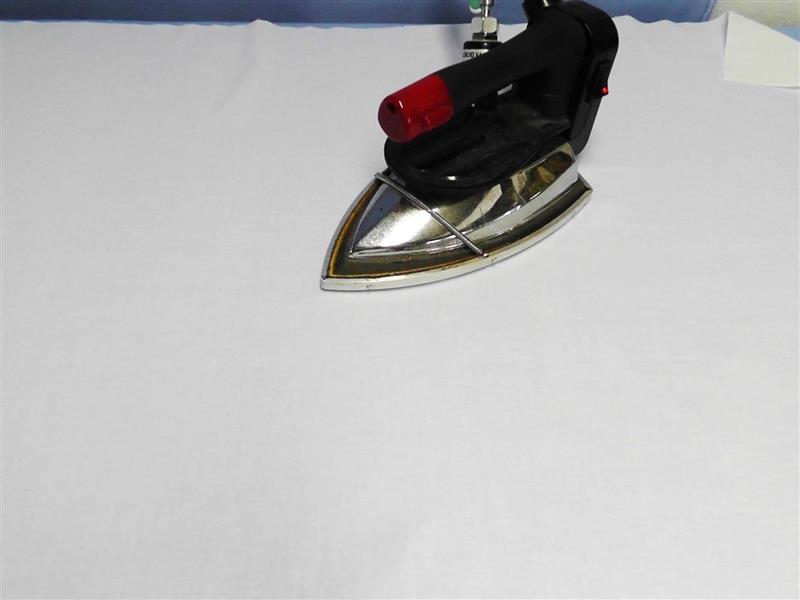
Press all the fabrics well, using spray starch if needed.
(Click Image to Enlarge)
Step 4:
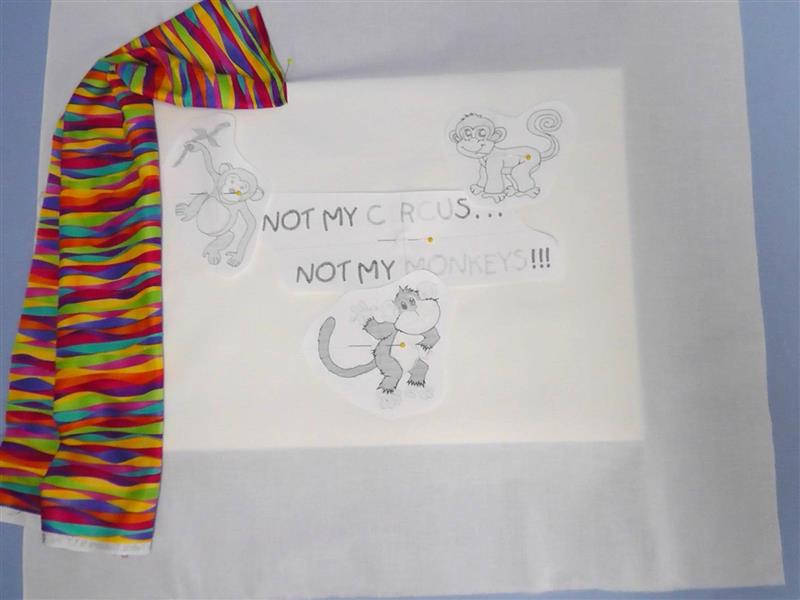
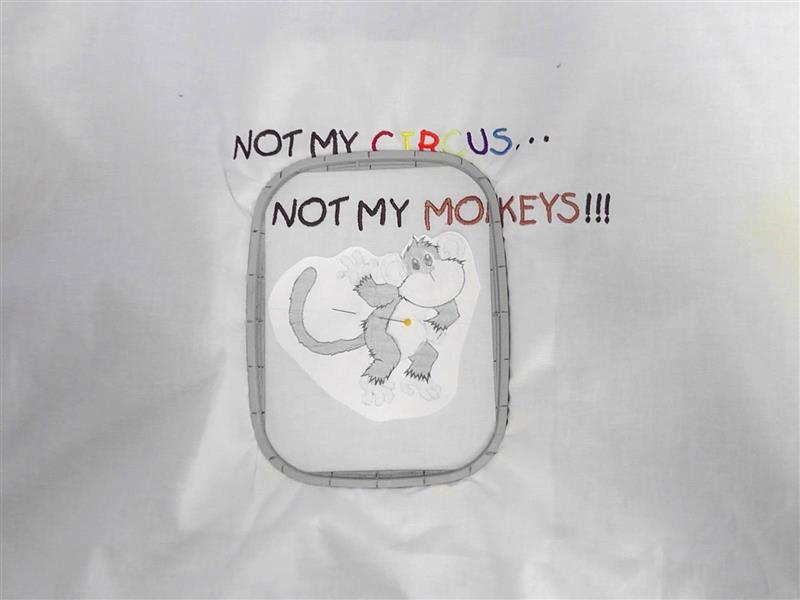
Cut out around each of the paper design templates. Find the center of the largest piece of white cotton fabric; center the fabric over the stretched canvas panel. Position the text first, and then place the other designs as shown. Leave about a 1 ½” border around the entire parameter for the border fabric. Pin the paper templates in place.
(Click Image to Enlarge)
Step 5:
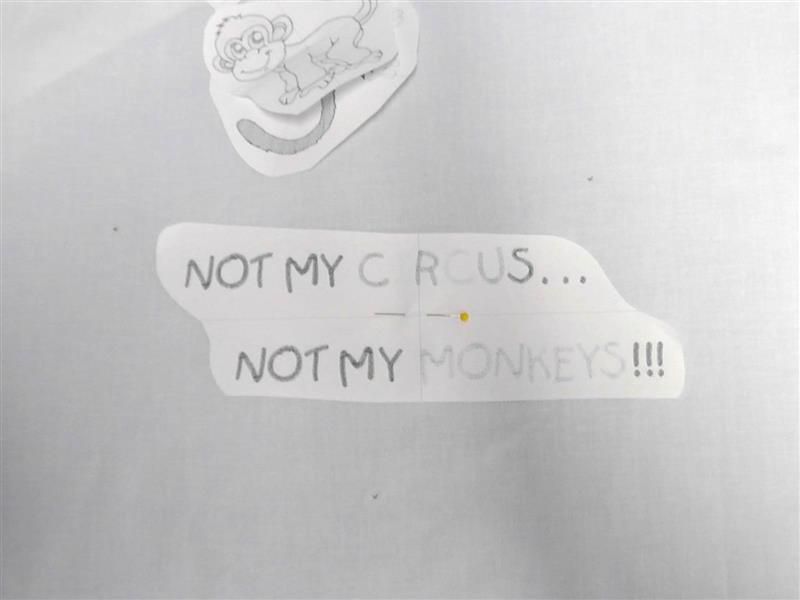
Remove all but the text template. Place small, light pencil marks under the other three designs to mark the center (these will be covered up with stitching).
(Click Image to Enlarge)
Step 6:
Be sure to position hoop correctly on the fabric for stitching the text design. Hoop the fabric with one layer of tearaway stabilizer.
(Click Image to Enlarge)
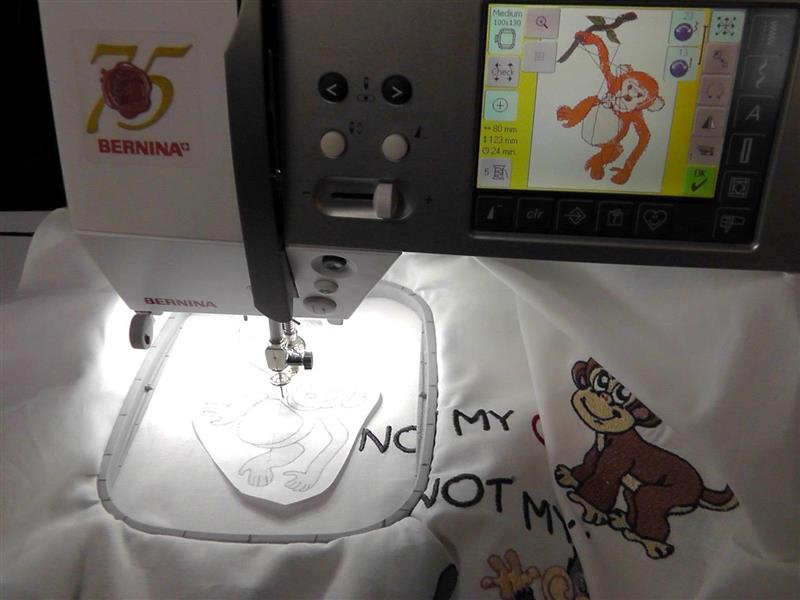
Step 7:
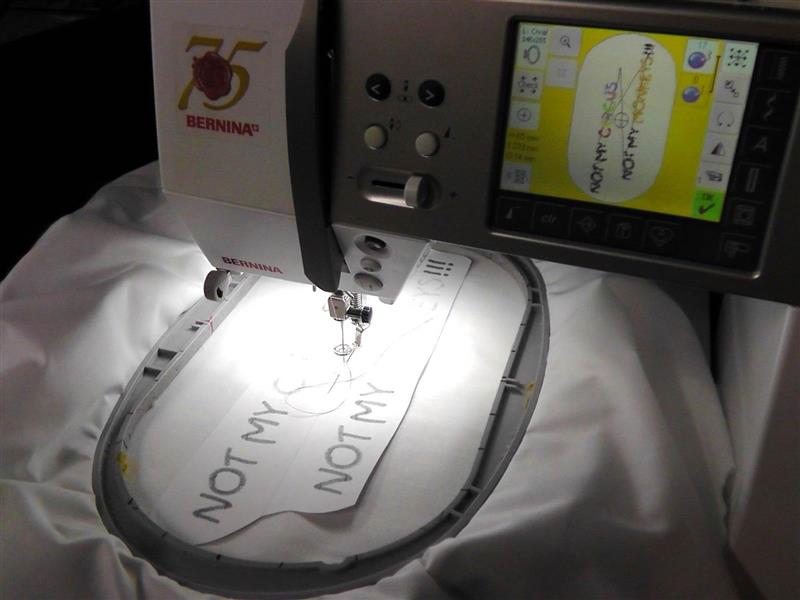
Load the text design on the machine and align the needle to the center of the design. Stitch the design following the color sequence. Remove the fabric from the hoop and remove the excess stabilizer from the back of the fabric.
(Click Image to Enlarge)
Step 8:
Place “Cute Ape” embroidery design M0488 template back on the fabric and align to the center mark.
(Click Image to Enlarge)
Step 9:
Hoop the fabric with one layer of tearaway stabilizer, centering the template design in the hoop.
(Click Image to Enlarge)
Step 10:
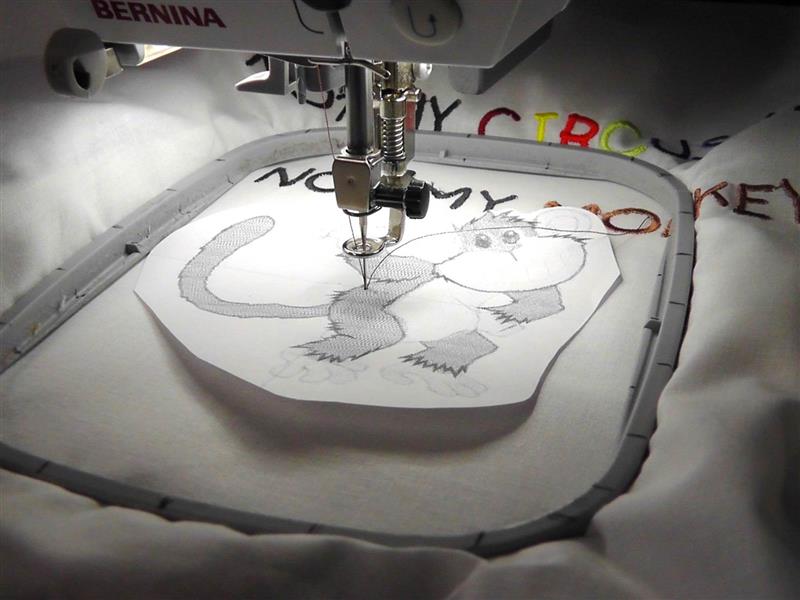
Load the design on the machine and center the needle over the center of the template. Stitch the design following the color sequence.
(Click Image to Enlarge)
Step 11:
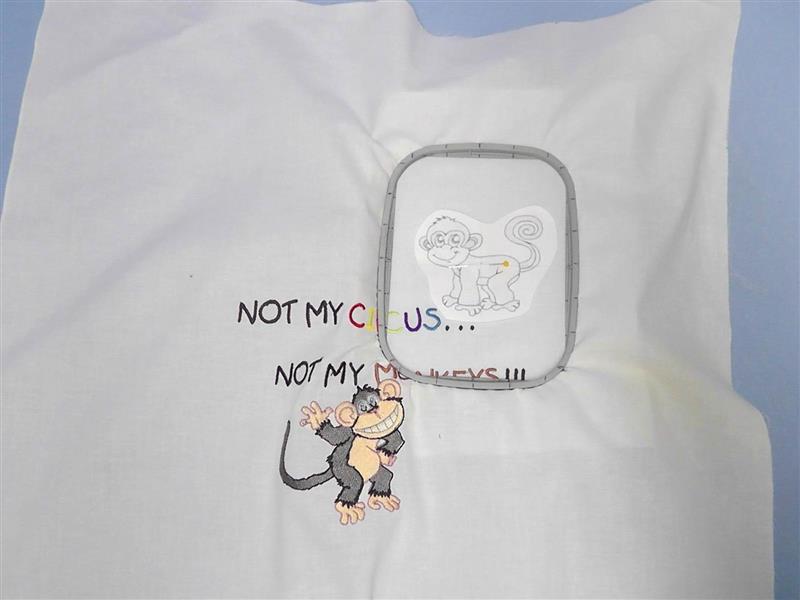
Place the “Cute Monkey” embroidery design M0623 paper template on the fabric, aligning the center of the template over the center mark for the design that was made on the fabric. Hoop the fabric with one layer of tearaway stabilizer, centering the design in the hoop. Stitch the design following the color sequence. Remove the fabric from the hoop and remove the excess stabilizer.
(Click Image to Enlarge)
Step 12:
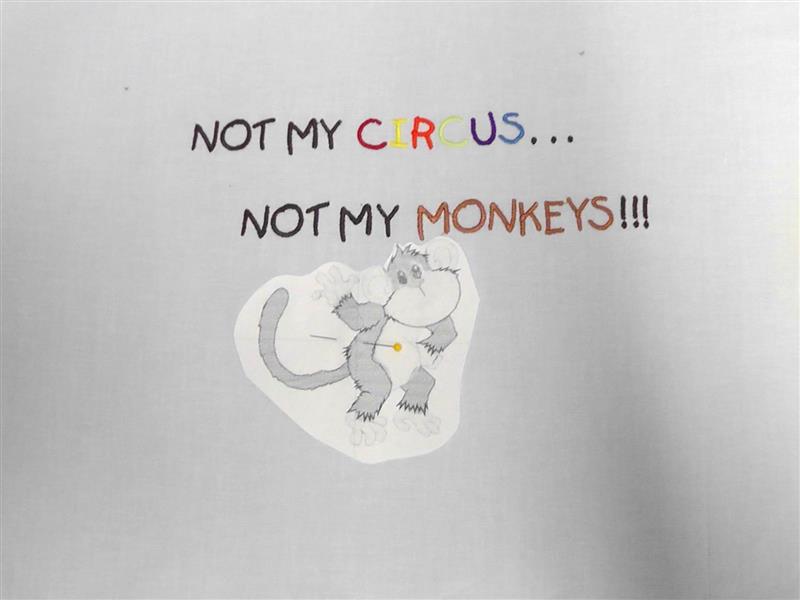
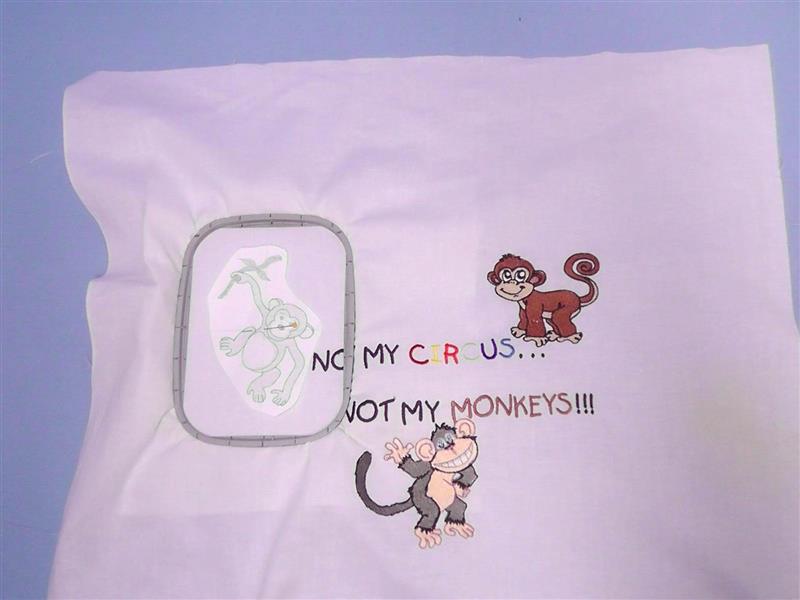
Place the “Swinging Monkey” embroidery design M1301 paper template on the fabric, aligning the center of the template over the center mark for the design that was made on the fabric. Hoop the fabric with one layer of tearaway stabilizer, aligning the design in the center of the hoop.
(Click Image to Enlarge)
Step 13:
Place the hoop on the machine, load the “Swinging Monkey” embroidery design on the machine, and then align the machine needle to the center of the paper template. Stitch the design following the color sequence. Remove the fabric from the hoop and remove the excess stabilizer. Press the fabric well.
(Click Image to Enlarge)
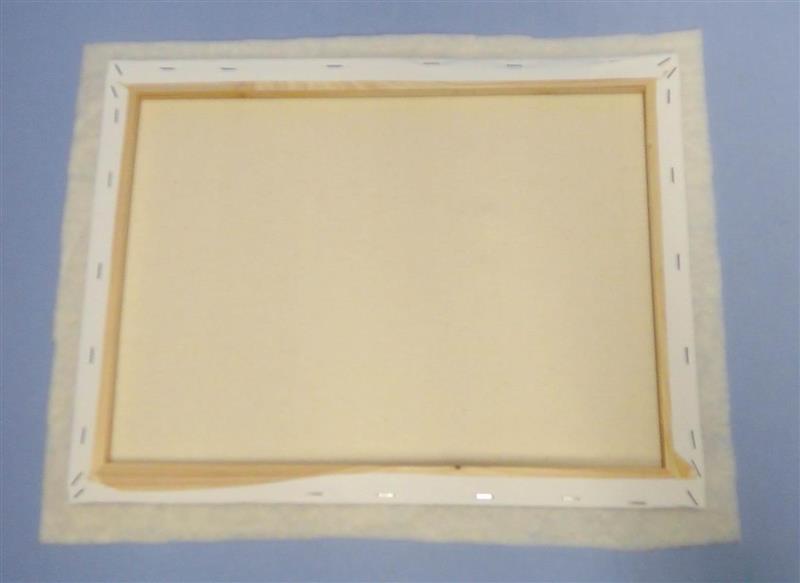
Step 14:
Center the canvas frame over the piece of cotton batting. Flip both the frame and batting over, so the cotton batting is on top.
(Click Image to Enlarge)
Step 15:
Center the embroidered fabric over the frame. Finger crease the fabric along the edges of the canvas frame.
(Click Image to Enlarge)
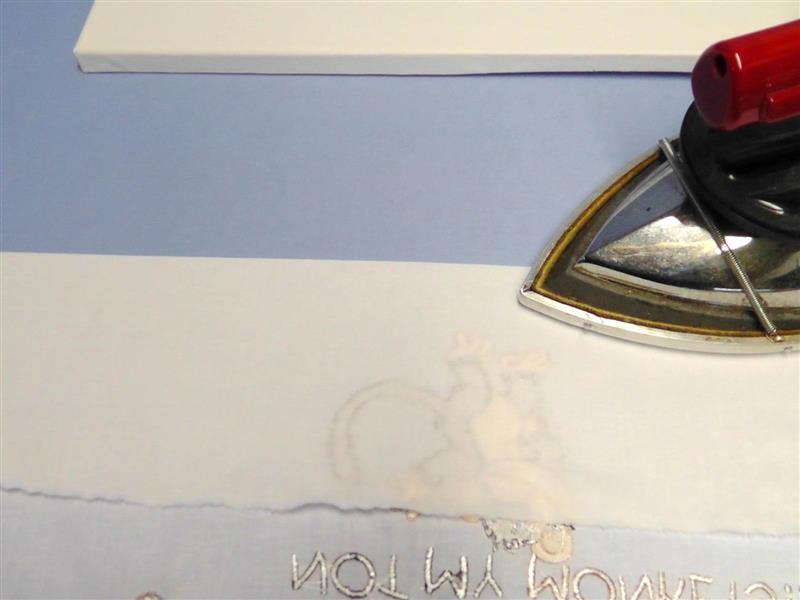
Step 16:
Remove the fabric from the canvas frame and press the fabric well along the finger creases along all four sides.
(Click Image to Enlarge)
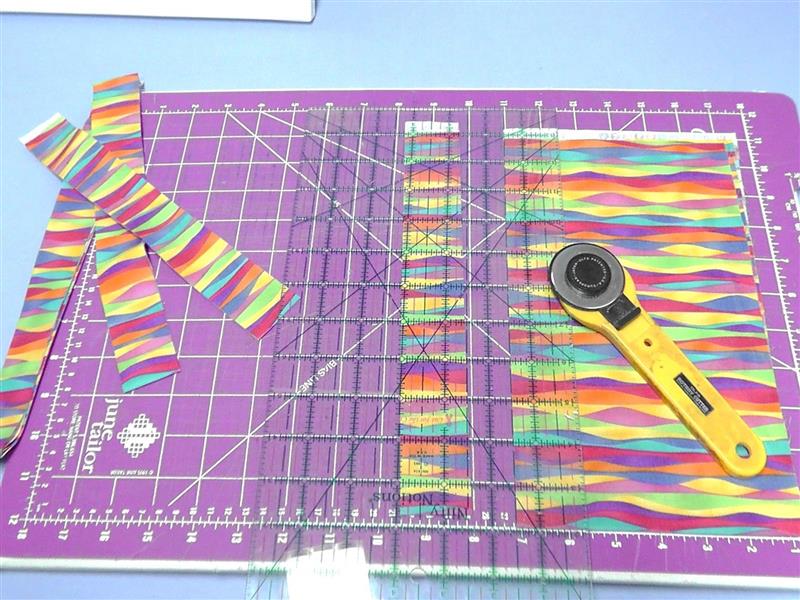
Step 17:
Cut the fabric on the cross grain (or whatever direction looks best for the fabric chosen for the border) in 1.5” strips. Sew the strips together to form one long strip to sew around the border.
(Click Image to Enlarge)
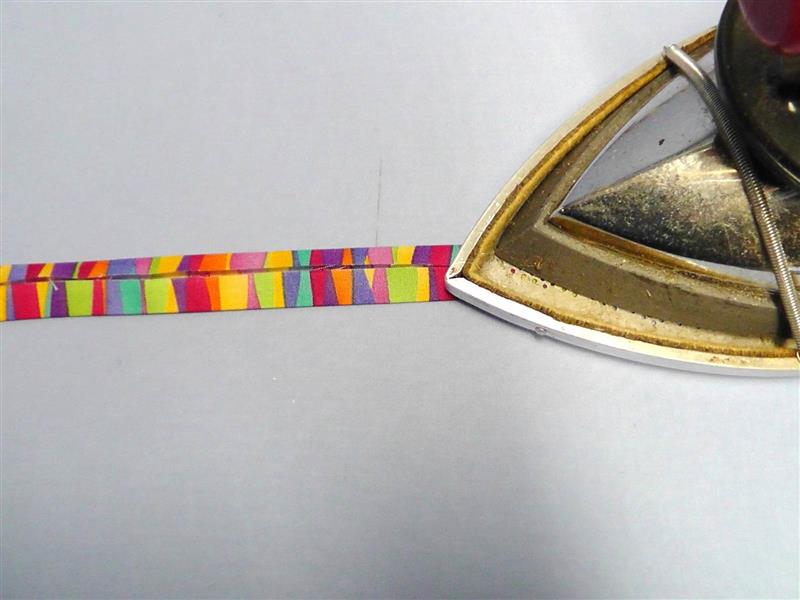
Step 18:
Fold under ¼” and press the long cut edges toward the wrong side of the fabric, meeting the cut edges in the center.
(Click Image to Enlarge)
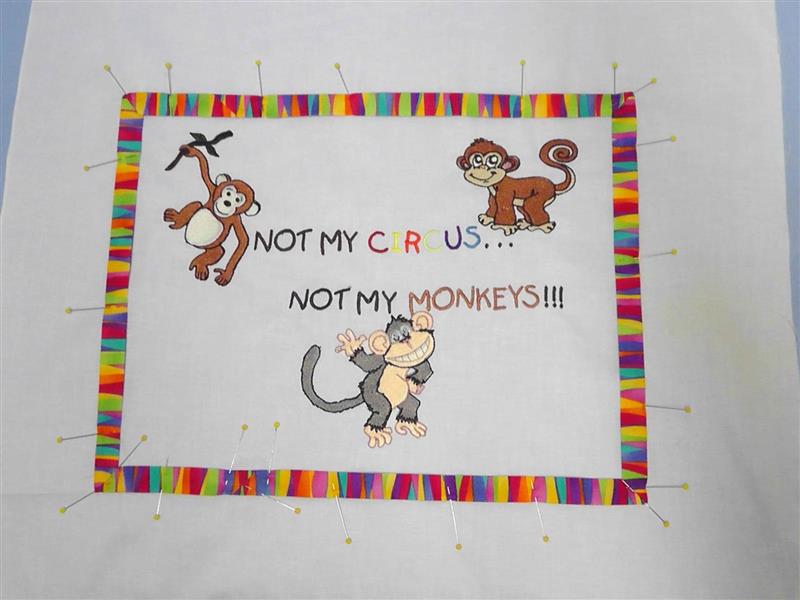
Step 19:
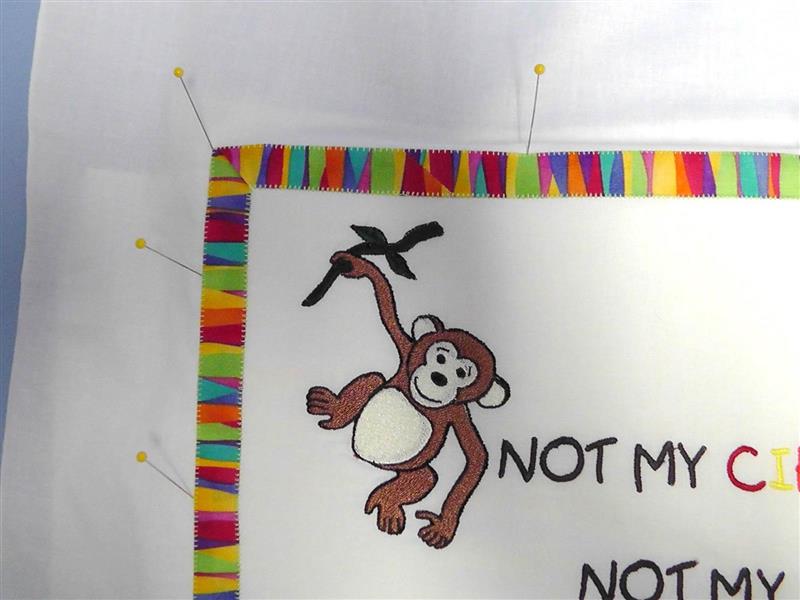
Pin and match the outside edge of the fabric border to the pressed edge of the embroidered fabric. Miter each of the four corners.
(Click Image to Enlarge)
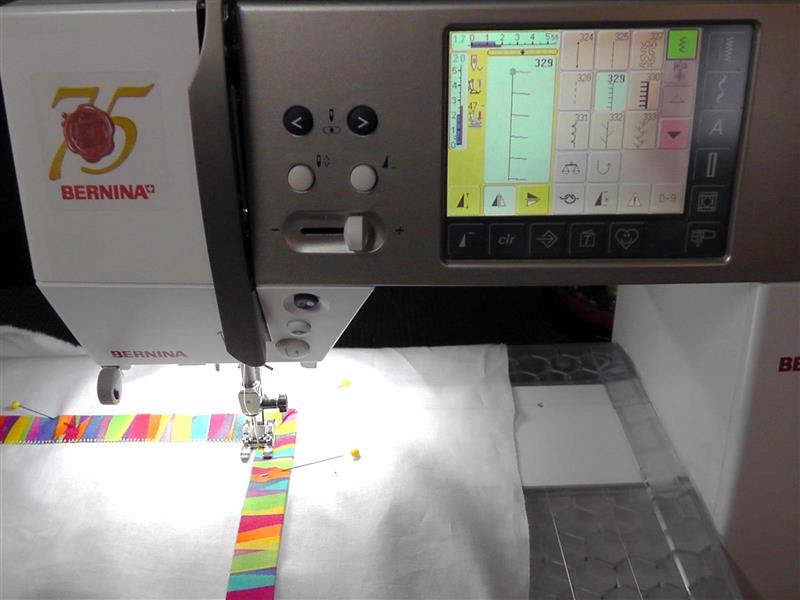
Step 20:
On the sewing machine, choose one of the colors from the “CIRCUS” lettering and thread the machine. Choose a blanket stitch to sew the border onto the fabric. Face the blanket stitch so the bite of the stitch falls on the inside edge of the border.
(Click Image to Enlarge)
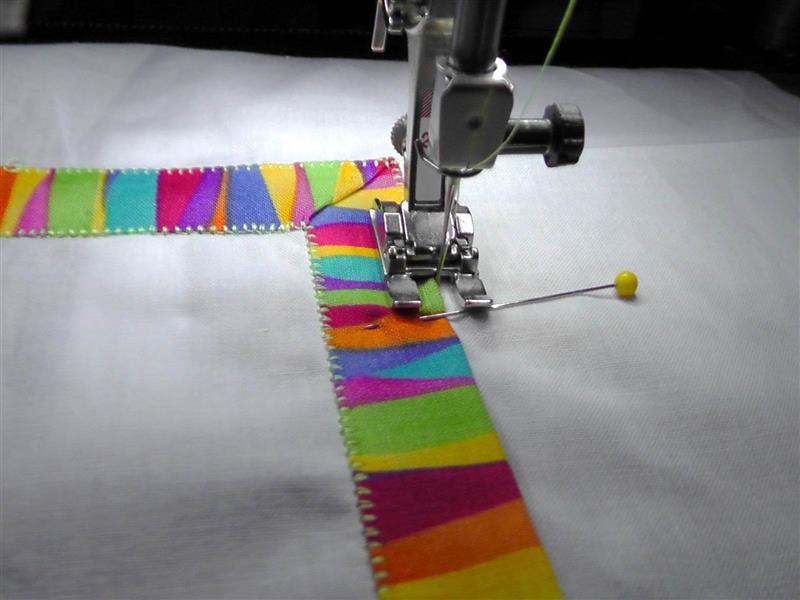
Step 21:
Mirror the stitch and sew along the outside edge of the border, removing pins as you sew.
(Click Image to Enlarge)
Step 22:
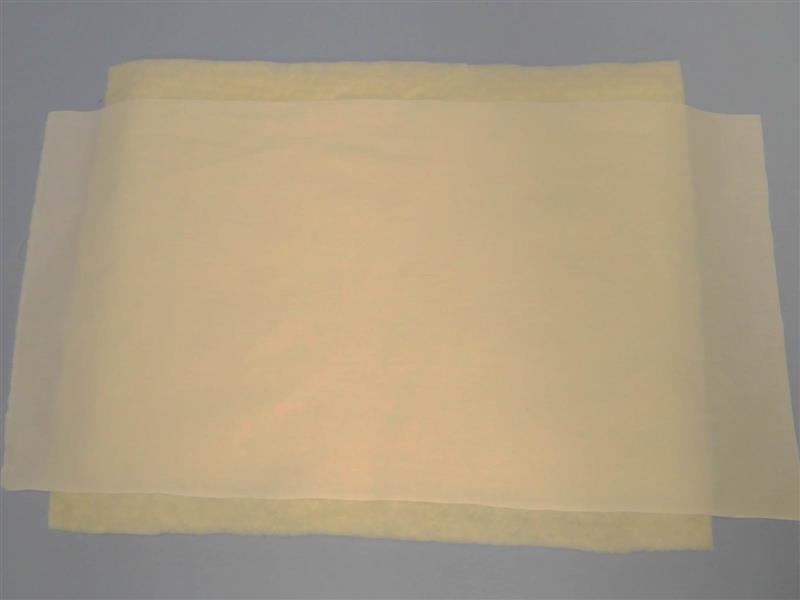
Place the smaller piece of white fabric over the cotton batting. This may be an optional step. The batting in this project was a creamier color and made the white embroidered fabric look yellow. This extra piece of fabric acts like a lining and restores the white color to the fabric.
(Click Image to Enlarge)
Step 23:
Pin the fabric to the frame; pin through the batting right at the edge of the frame matching the outer edge of the border to the edges of the frame (throw the pins away after doing this because the wood will dull them).
(Click Image to Enlarge)
Step 24:
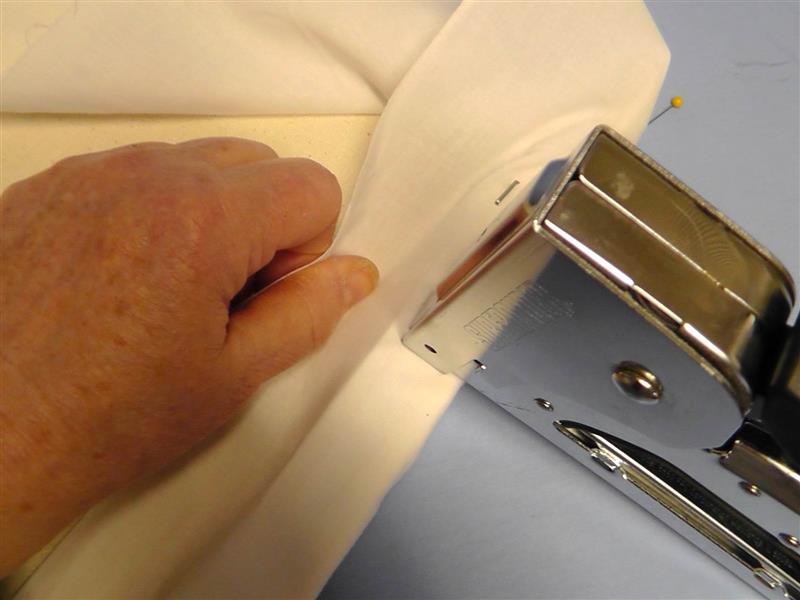
Flip the framed fabric over. Pull the fabric taught without distorting it out of position. Use the staple gun to secure the excess fabric to the back side of the frame. Use scissors to trim away any excess fabric.
(Click Image to Enlarge)
Step 25:
Congratulations on creating a whimsical wall hanging to help with comic relief in an office and remind one that it is “NOT MY CIRCUS”!
Ramona Baird has been in the embroidery industry for over 23 years. She and her husband owned a commercial and retail embroidery store in Arizona for many years. She is an experienced digitizer having been mentored by award-winners Pat Williams and Lindee Goodall. Ramona is a contributor to “Creative Machine Embroidery” magazine having 5 covers to her credit. Ramona has worked for Wilcom America and served many years as Education Director for the American Sewing Guild. With a degree in fashion design, she is able to design and execute patterns which Pat Williams says are “out of the box” in creativity and application. Ramona likes to challenge the boundaries of embroidery and bring new and exciting designs, ideas, and projects to EmbroideryDesigns.com. She wants embroiderers of all levels to increase their skills and enjoyment in using their embroidery machine for gift-making and personal pleasure.