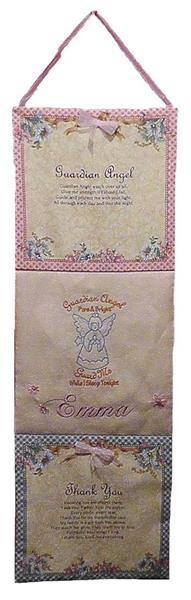
Two pre-printed fabric panels will be cut to size and a piece of linen fabric embroidered with the design and a name to personalize the prayer wall hanging. The panels and embroidered linen are sewn together, backed with another piece of linen and then batting is sewn in to soften the look and make it sturdy for a wall hanging. Hand stitches of lazy daisy and French knots create a few flowers to accent the name and coordinate with the flowers in the fabric panels. Organza ribbon bows and hanger complete “Prayers for Emma” wall hanging.
Step 1:
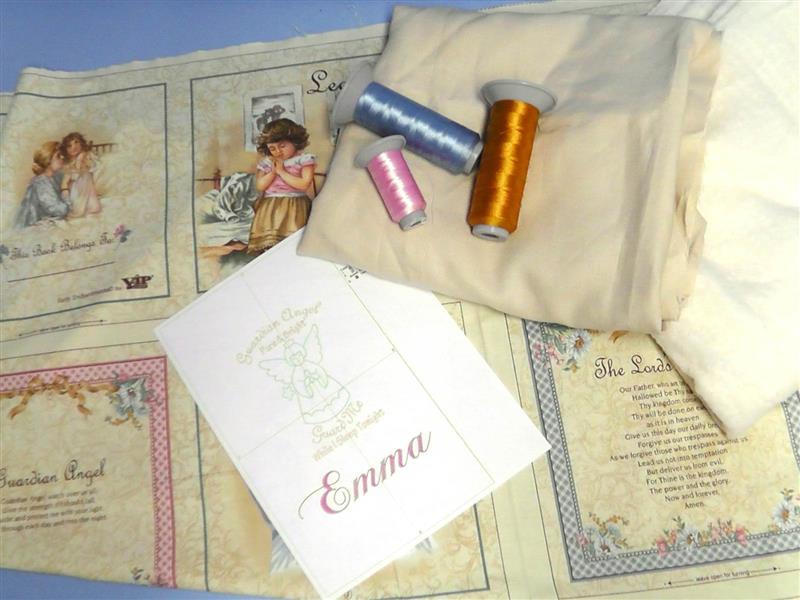
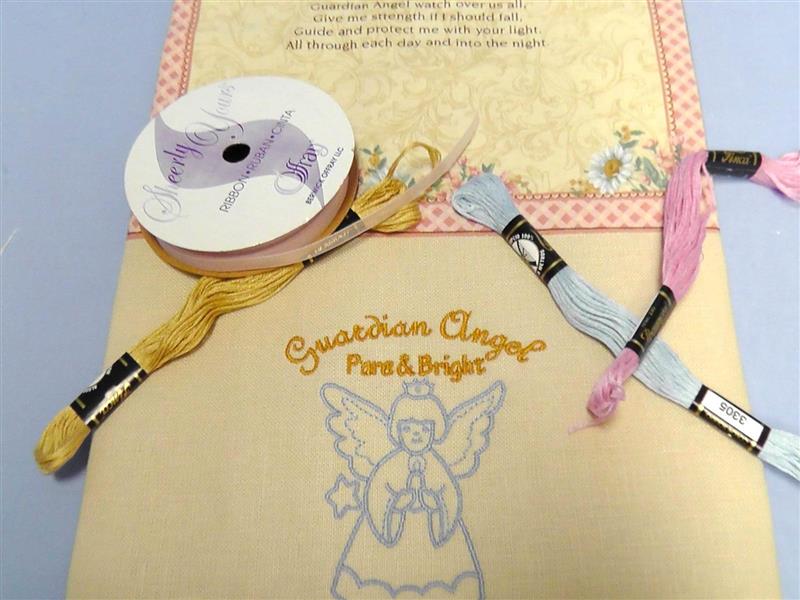
Gather the supplies and read through all the instructions before beginning.
(Click Image to Enlarge)
Step 2:
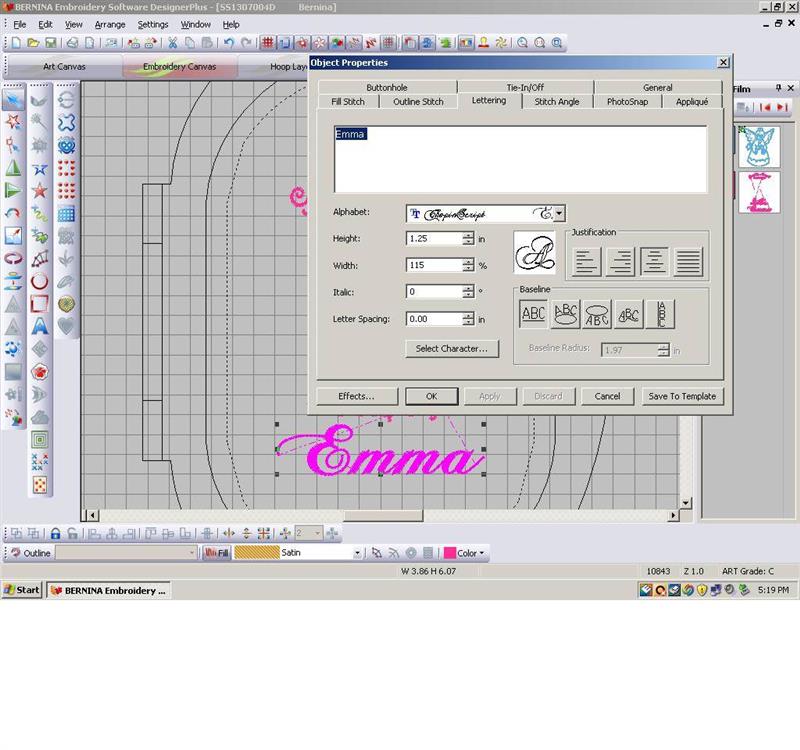
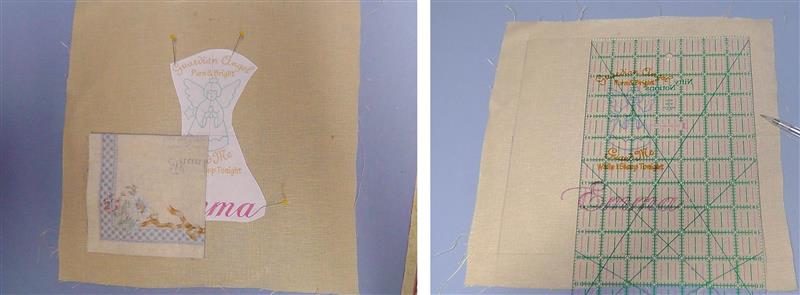
In software, create the name needed for the wall hanging. In this case, the name “Emma” was created using the Edwardian Script font at size 1.25". Print the design template.
(Click Image to Enlarge)
Step 3:
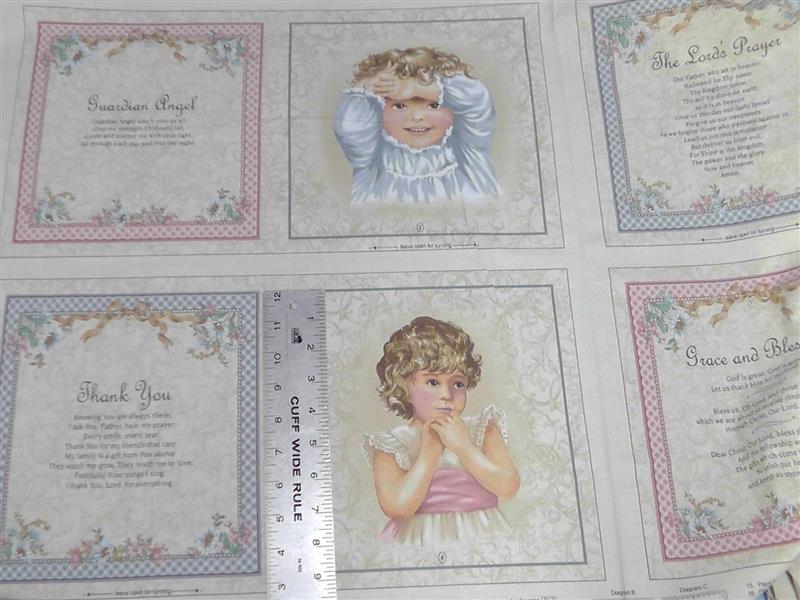
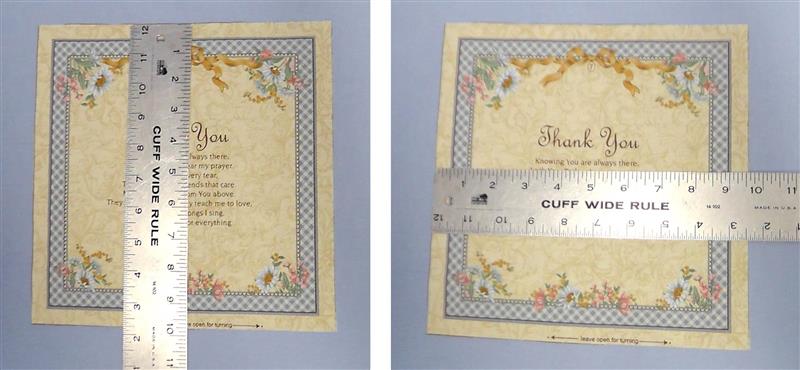
Measure the fabric panels. These panels were actually meant to be put together as a fabric book. Use the panels you wish. Note: usually with fabric panels like this, the entire panel set must be purchased.
(Click Image to Enlarge)
Step 4:
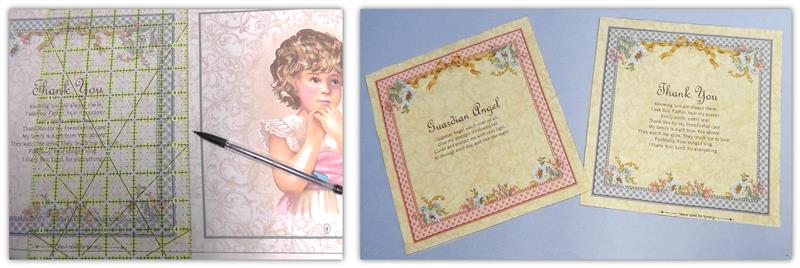
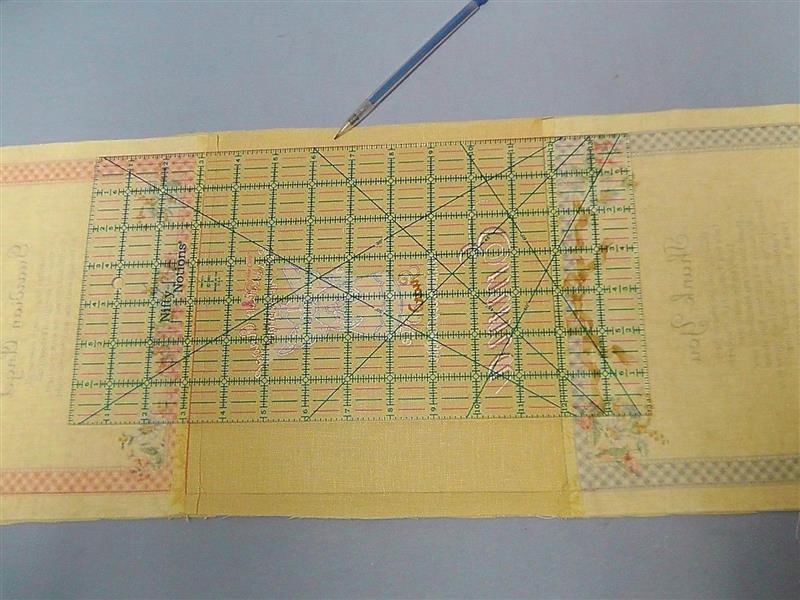
Measure the border area which will include the seam allowance. Using a ruler, measure and a draw a ½” seam allowance around all sides of the panels and cut them out along the drawn line.
(Click Image to Enlarge)
Step 5:
Measure the width and height of the panels. Cut a piece of linen to embroider larger than these measurements; after the embroidery is done it will be cut down to the same measurements as the panels.
(Click Image to Enlarge)
Step 6:
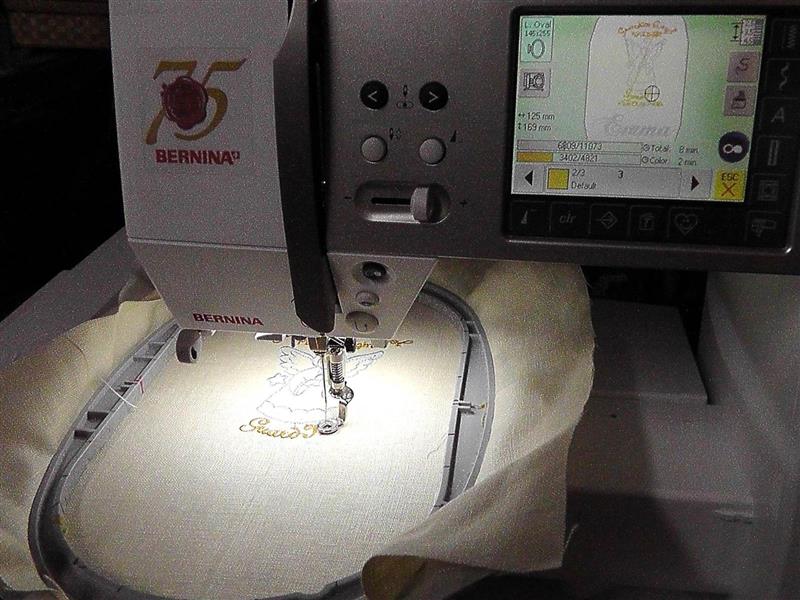
Load the embroidery design in the machine and embroider with the colors chosen to coordinate with the fabric panels.
(Click Image to Enlarge)
Step 7:
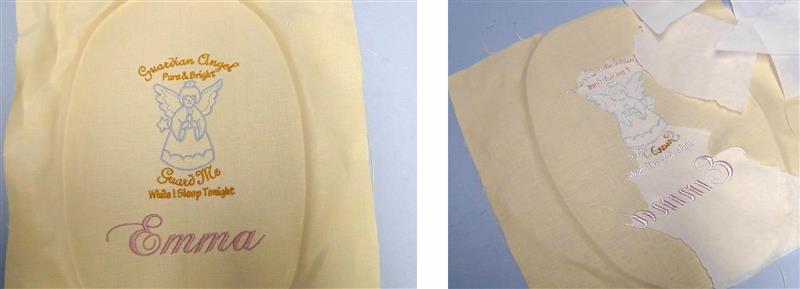
Remove the embroidered panel from the hoop and remove the stabilizer.
(Click Image to Enlarge)
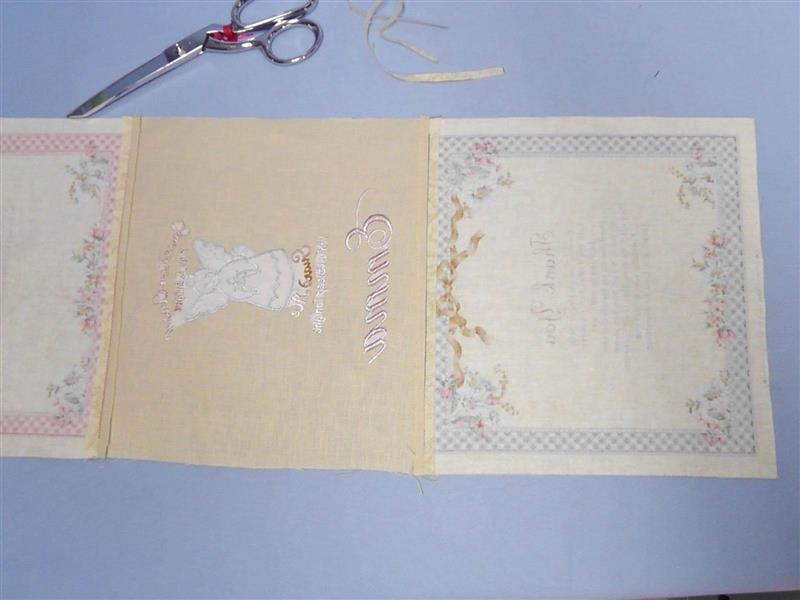
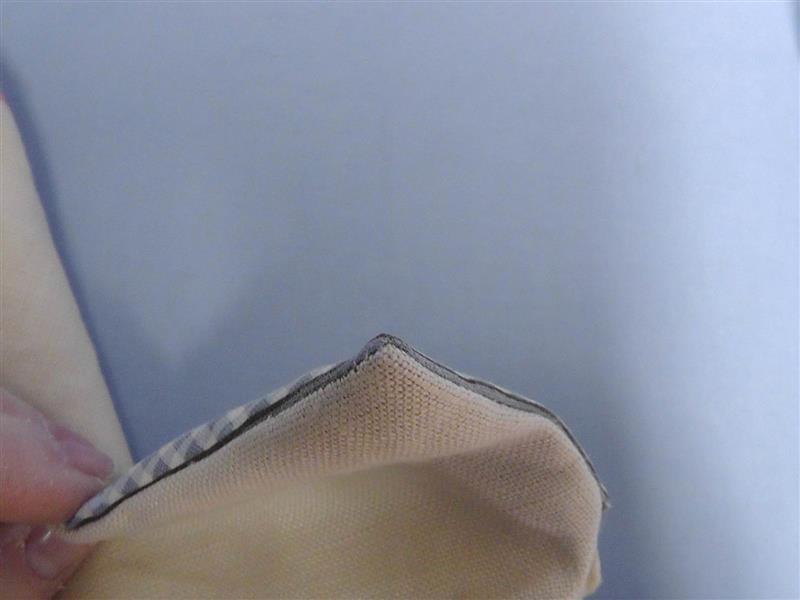
Step 8:
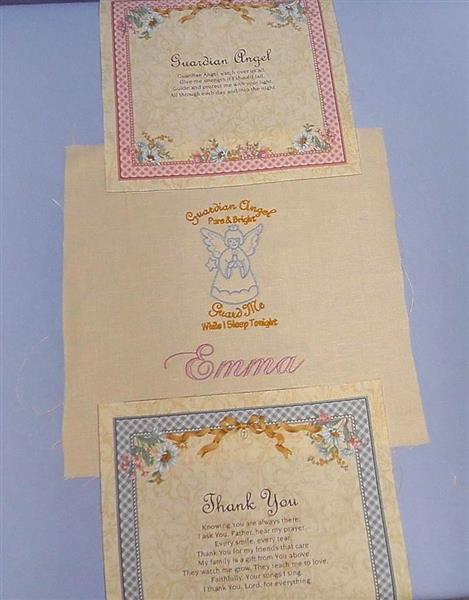
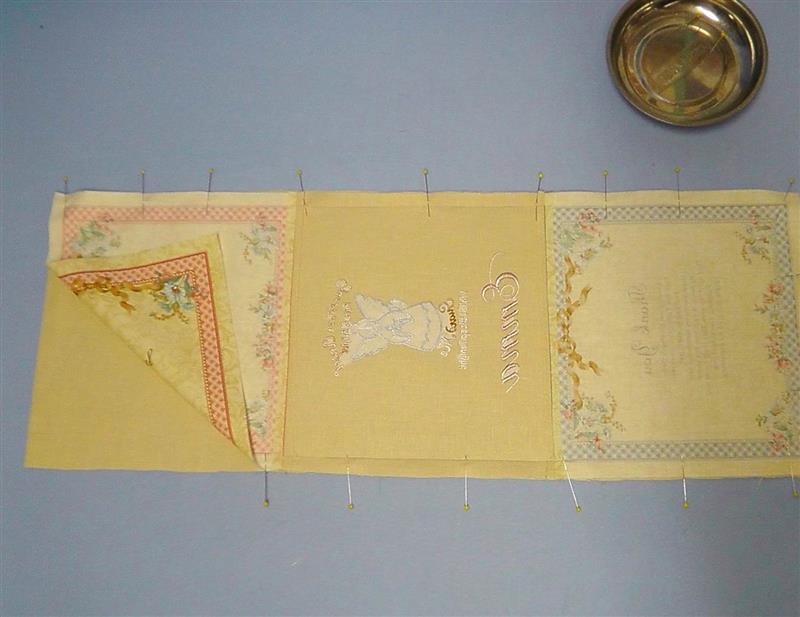
The panels will be aligned like this. The embroidered panel needs to be cut down to the same size as the others.
(Click Image to Enlarge)
Step 9:
To easily cut the embroidered panel to size, place the paper design over the embroidery, aligning it carefully. Quarter fold one of the pre-printed panels and align it to the lower left quadrant of the design template using the printed cross hairs as guides. Open up the pre-printed panel and draw lightly around it. Use the ruler to square up and mark the outer cutting lines of the embroidered panel.
(Click Image to Enlarge)
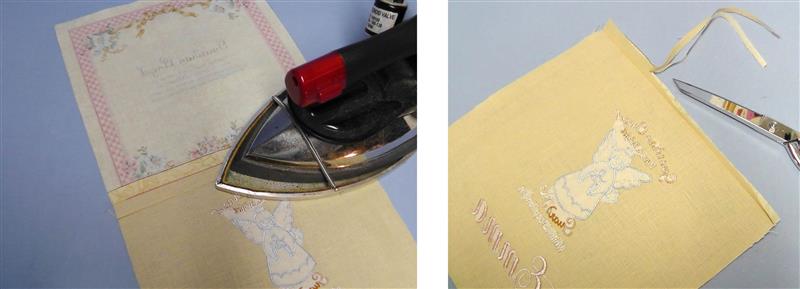
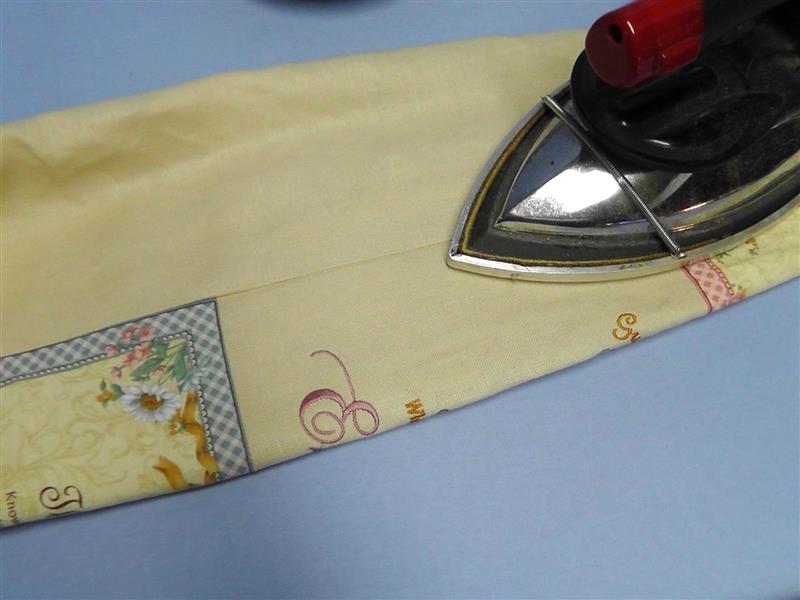
Step 10:
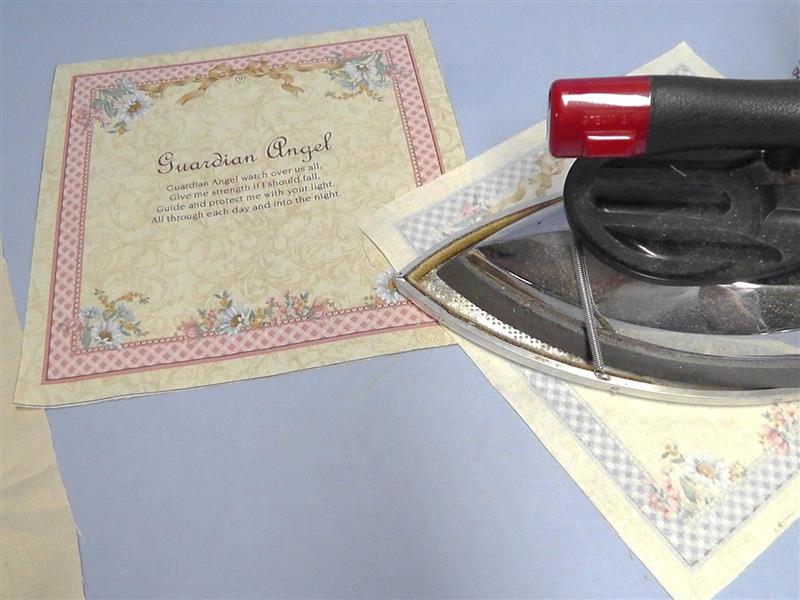
Press the fabric panels and embroidered panel well.
(Click Image to Enlarge)
Step 11:
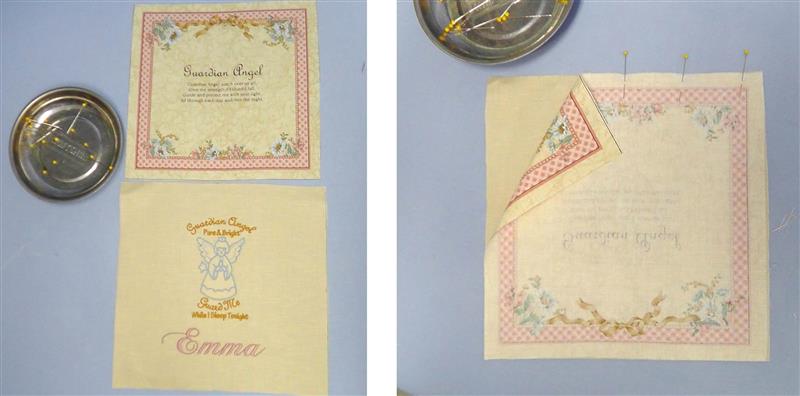
Place the first printed panel to the top of the embroidered panel and pin right sides together so the bottom of the pre-printed panel is to the top edge of the embroidered panel.
(Click Image to Enlarge)
Step 12:
The color of the panel shows through to the back side. This will be the stitching line guide for sewing the seam.
(Click Image to Enlarge)
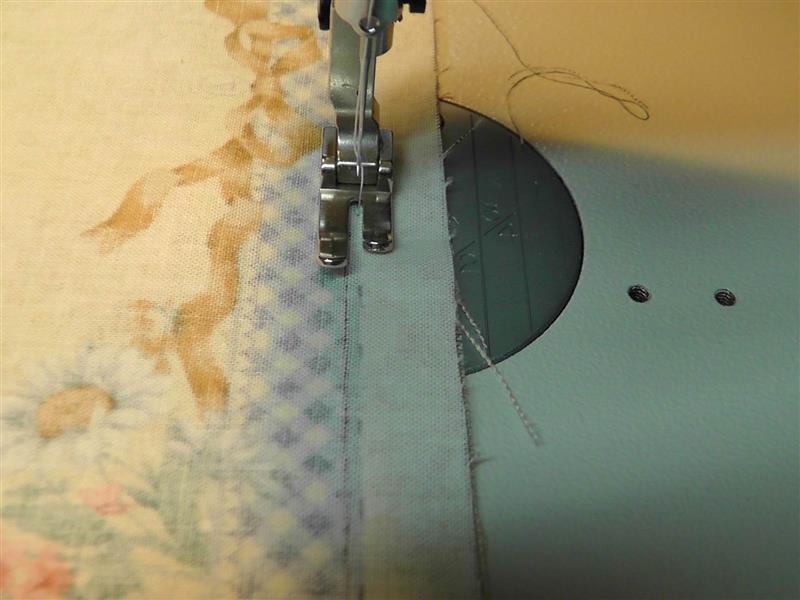
Step 13:
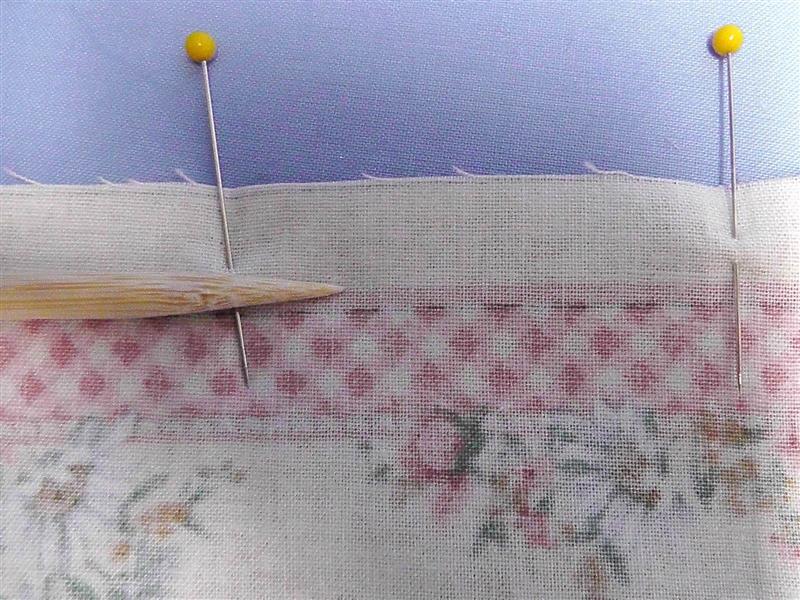
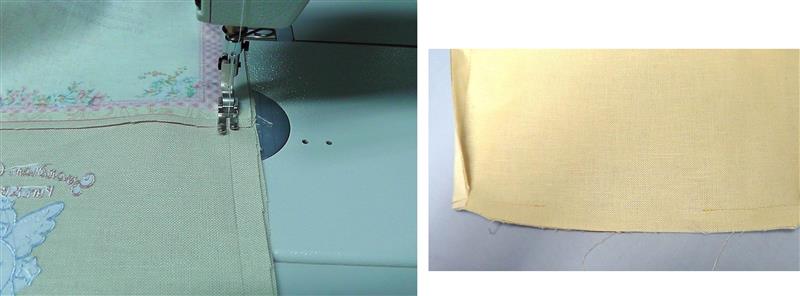
Place the sewing thread on the machine and carefully sew along the edge of the top color of the panel.
(Click Image to Enlarge)
Step 14:
Press the seam open then trim to approximately ¼”.
(Click Image to Enlarge)
Step 15:
Place the top of the second panel right side to the bottom of the embroidered panel as shown.
(Click Image to Enlarge)
Step 16:
Pin and carefully sew along the top color line as before.
(Click Image to Enlarge)
Step 17:
Press the seam open then trim to ¼”.
(Click Image to Enlarge)
Step 18:
To create a line for stitching the sides of the embroidered panel, use a ruler to connect the outer colored lines of the panel.
(Click Image to Enlarge)
Step 19:
To complete the back of the wall hanging, cut a piece of linen the length and width of the panels that were sewn together. With right sides together, pin the panel front to the panel back fabric.
(Click Image to Enlarge)
Step 20:
Sew all around the panel; use the lines drawn on the embroidered panel as the sewing line guide. Leave an opening at the bottom of the panel for turning it right side out.
(Click Image to Enlarge)
Step 21:
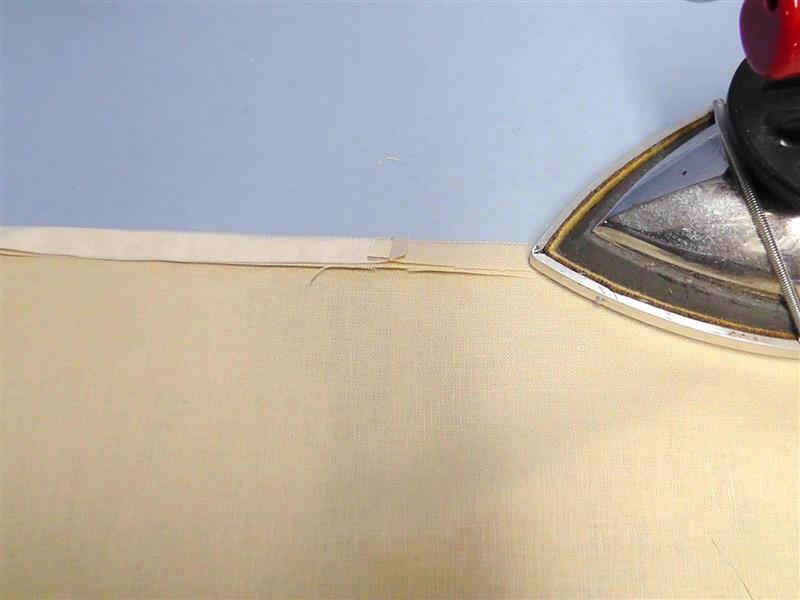
Press the seam toward the back, pressing along the stitching line to crease it.
(Click Image to Enlarge)
Step 22:
Cut one piece of cotton batting ½” larger all around than the finished stitching line of the wall hanging.
(Click Image to Enlarge)
Step 23:
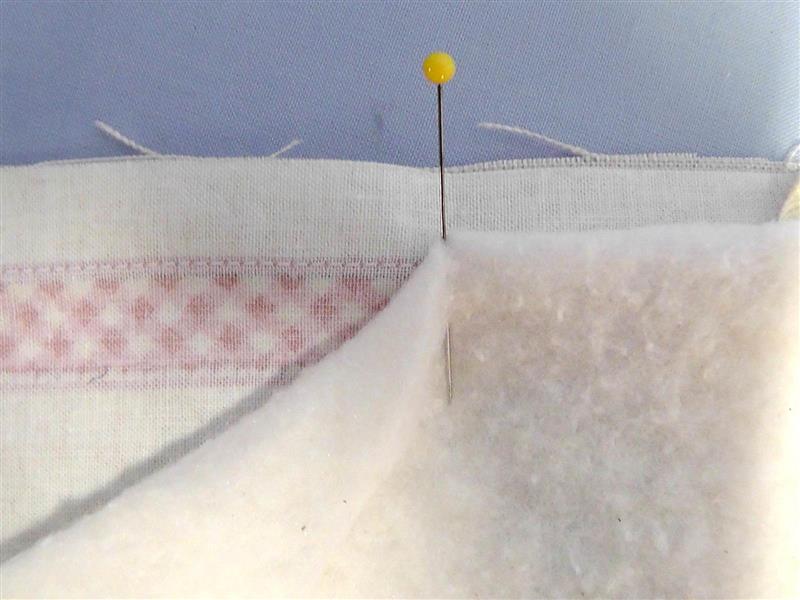
Open up the pressed seams and pin the batting over the stitching lines.
(Click Image to Enlarge)
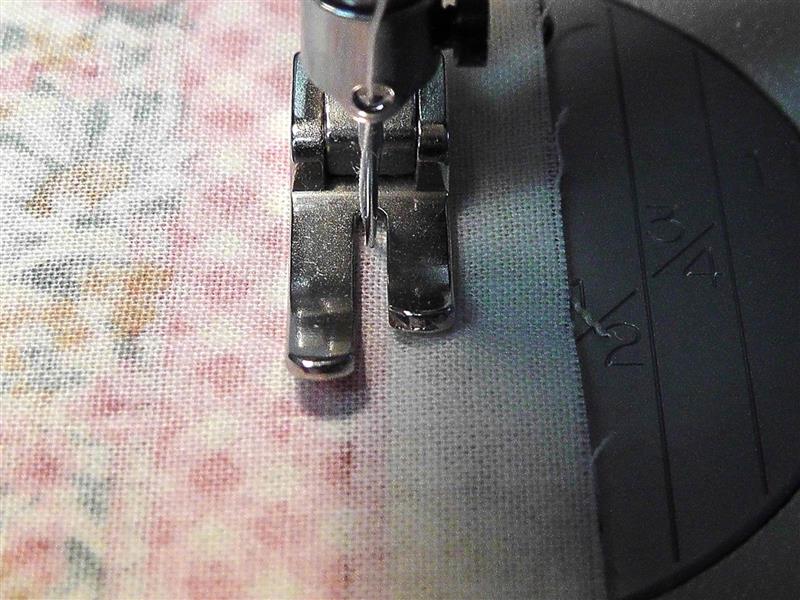
Step 24:
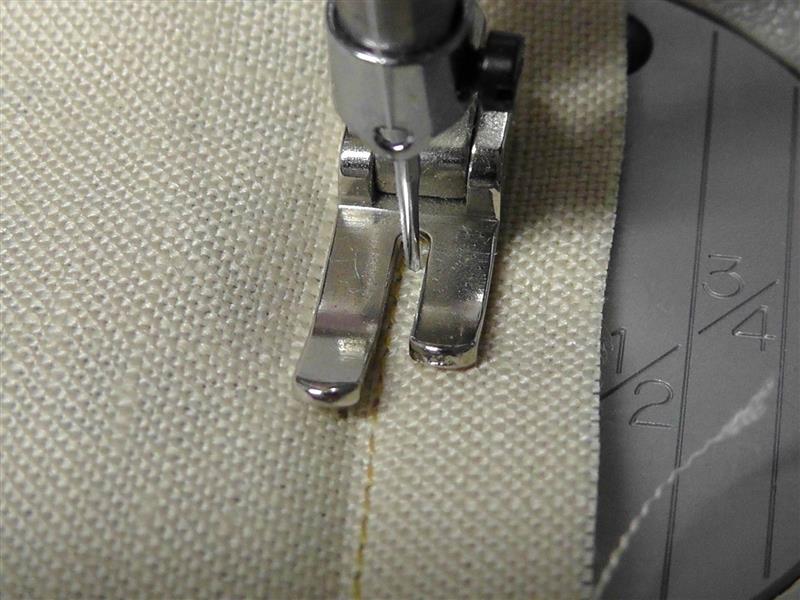
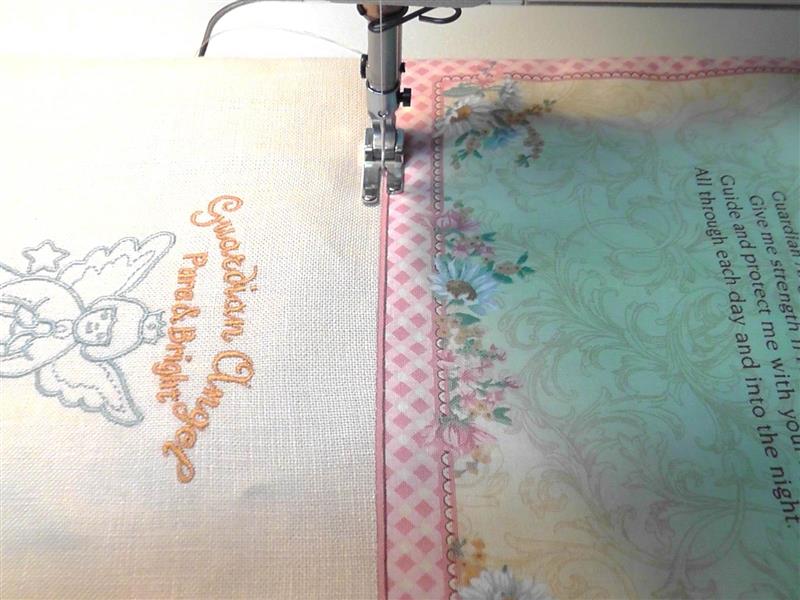
From the back side, use the outer stitching line of the panel as a guide for basting the batting to the wall hanging. Stitch just slightly to the right side of the first stitching line using the presser foot as a guide.
(Click Image to Enlarge)
Step 25:
Stitch around all sides, stitching through all layers; stop sewing about ½” from each corner.
(Click Image to Enlarge)
Step 26:
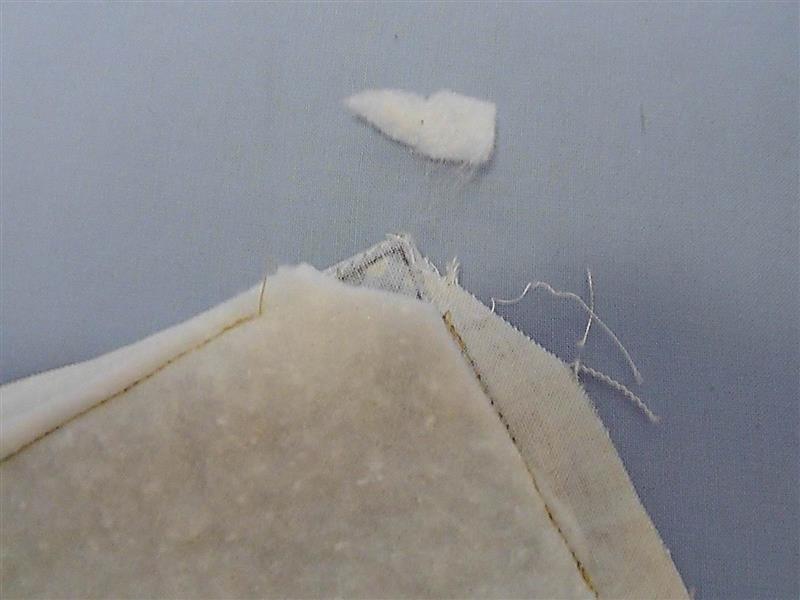
Trim away a small amount of batting from each corner to reduce bulk in the corners.
(Click Image to Enlarge)
Step 27:
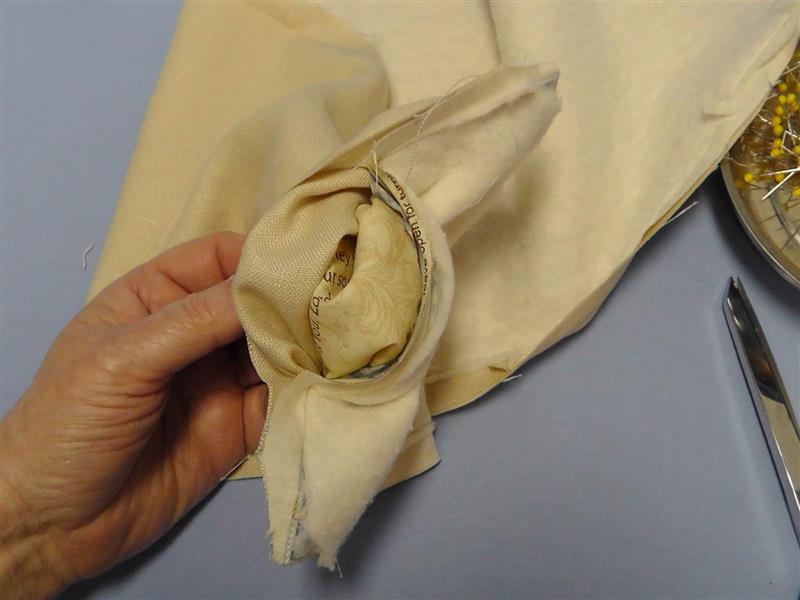
Turn the wall hanging right side out through the opening.
(Click Image to Enlarge)
Step 28:
Form each corner carefully.
(Click Image to Enlarge)
Step 29:
Offset the seam and press the seam toward the back (be careful not to put any creases at the fabric center back or center front).
(Click Image to Enlarge)
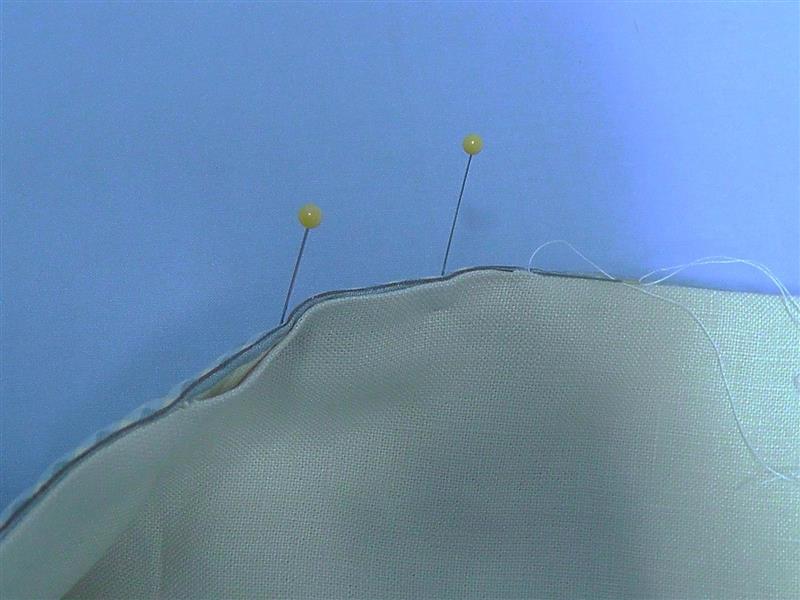
Step 30:
Fold back the seam allowances and pin the bottom opening closed. Hand stitch the opening closed.
(Click Image to Enlarge)
Step 31:
Select the colors of embroidery floss to coordinate with the fabric panels and embroidery thread colors.
(Click Image to Enlarge)
Step 32:
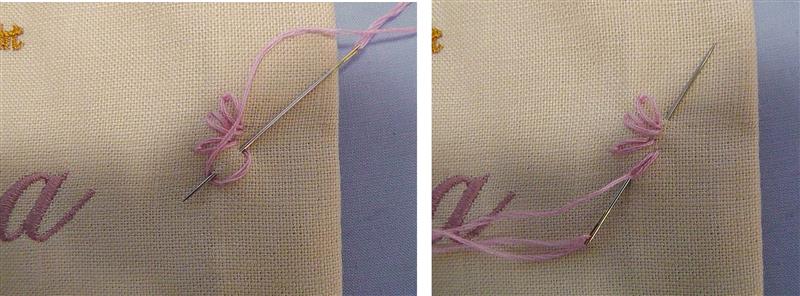
Create free-hand lazy daisy stitches. Bring the thread through the batting and top fabric, forming the stitches and burying the tails in the batting. Create an anchor stitch at the end of the daisy loop then bring the needle up to form the next daisy loop. Repeat for all the petals to be created.
(Click Image to Enlarge)
Step 33:
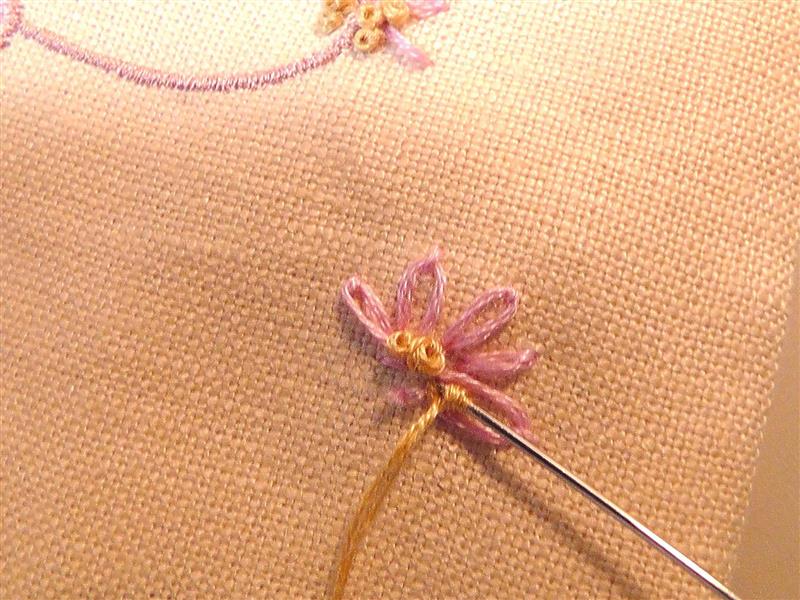
Create French knots for the centers of the daisies.
(Click Image to Enlarge)
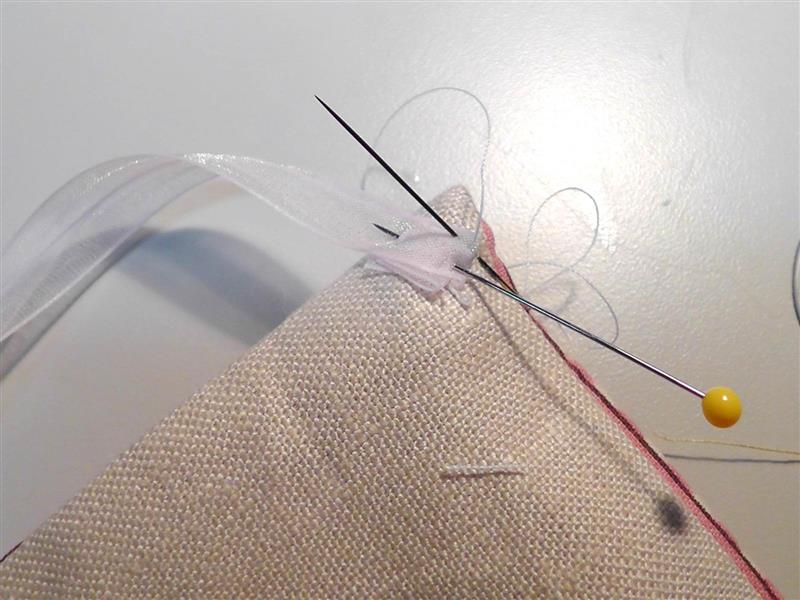
Step 34:
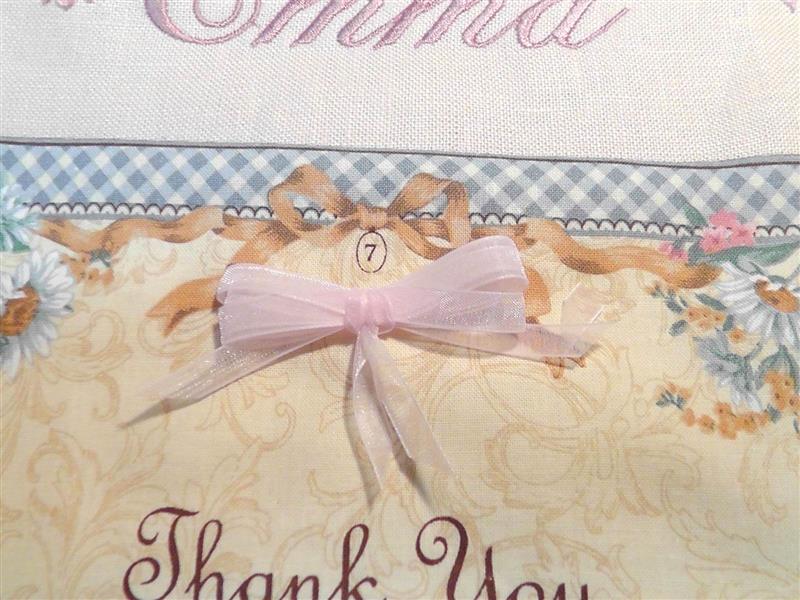
There are “page” numbers on the fabric panels. Form small bows from the organza ribbon to place over them; hand stitch the bows in place.
(Click Image to Enlarge)
Step 35:
Do any quilting you’d like on the wall hanging. For this wall hanging, stitching was just done in the well of the seams.
(Click Image to Enlarge)
Step 36:
Decide on the length of the ribbon with which to hang the wall hanging. Cut a two lengths of ribbon that measurement; pin, and hand sew it to the back of the wall hanging, folding back the cut edges.
(Click Image to Enlarge)
Step 37:
(Click Image to Enlarge)
Congratulations on creating a prayerful wall hanging to welcome a new little one into the world.
Ramona Baird has been in the embroidery industry for over 23 years. She and her husband owned a commercial and retail embroidery store in Arizona for many years. She is an experienced digitizer having been mentored by award-winners Pat Williams and Lindee Goodall. Ramona is a contributor to “Creative Machine Embroidery” magazine having 5 covers to her credit. Ramona has worked for Wilcom America and served many years as Education Director for the American Sewing Guild. With a degree in fashion design, she is able to design and execute patterns which Pat Williams says are “out of the box” in creativity and application. Ramona likes to challenge the boundaries of embroidery and bring new and exciting designs, ideas, and projects to EmbroideryDesigns.com. She wants embroiderers of all levels to increase their skills and enjoyment in using their embroidery machine for gift-making and personal pleasure.