Begin with a purchased tote bag. The tote bag is cut apart and the fabric used to cut the pattern pieces. A small piece of one strap is used for a small tab for the Travel Bag. Cut the pieces, embroider the design, and then construct the bag. Another option is to purchase a commercial pattern; the fabric amounts and notions will be listed on the back of the pattern envelope. If using this method, follow the pattern instructions to construct the bag.
Step 1:
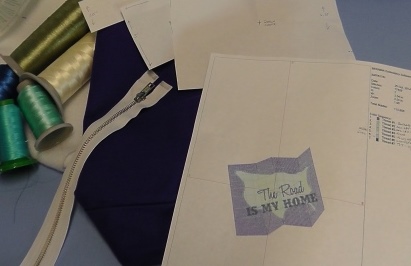
Gather all the supplies, print the design, and read through all the instructions before beginning.
Step 2:
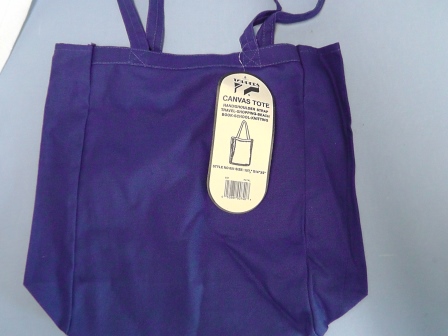
This project begins with a purchased tote bag. The tote is canvas fabric. Adjustments will probably need to be made in all the pattern pieces if there is a different fabric used other than what is recommended.
Step 3:
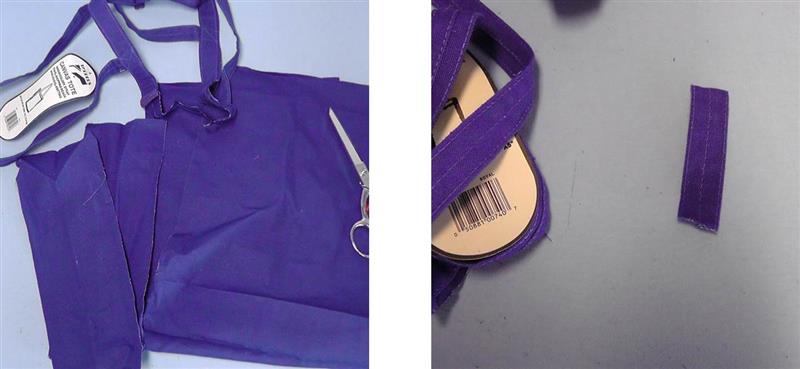
Cut the tote bag apart along the seam lines and press the fabric well. Using one of the straps, cut a piece of strap 3” long to be used for a little tab for the bag and set it aside until needed. It is inserted during the insertion of the zipper.
(Click Image to Enlarge)
Step 4:
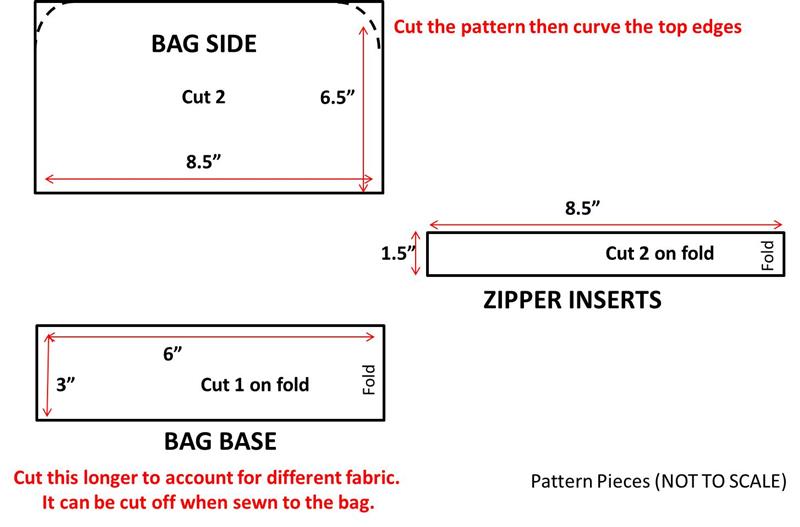
Draft the pattern pieces using the dimensions given. It is recommended to cut the base piece about 1”-2” longer than it is given on the pattern piece. After inserting the zipper, the excess will be trimmed off when the zipper and base pieces are sewn together. Cutting it longer allows for some adjustment at this part of the construction process because of sewing around the corners.
(Click Image to Enlarge)
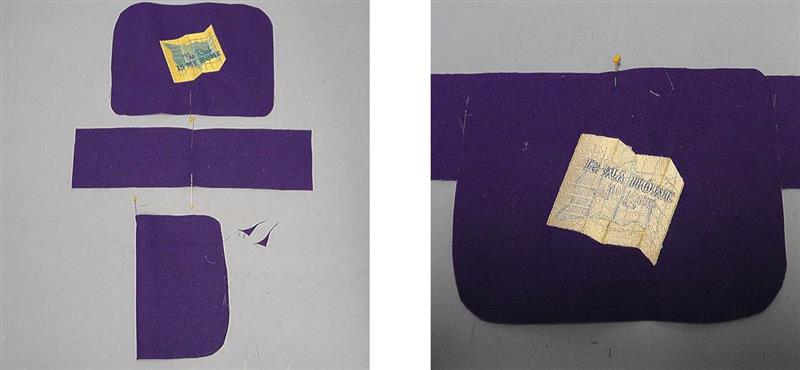
Step 5:
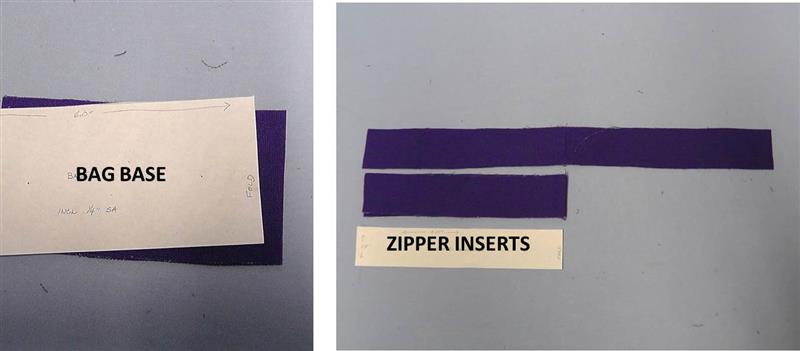
After drafting the pattern, from the fabric cut 1-BAG BASE on the fold and 2-ZIPPER INSERTS on the fold of the fabric.
(Click Image to Enlarge)
Step 6:
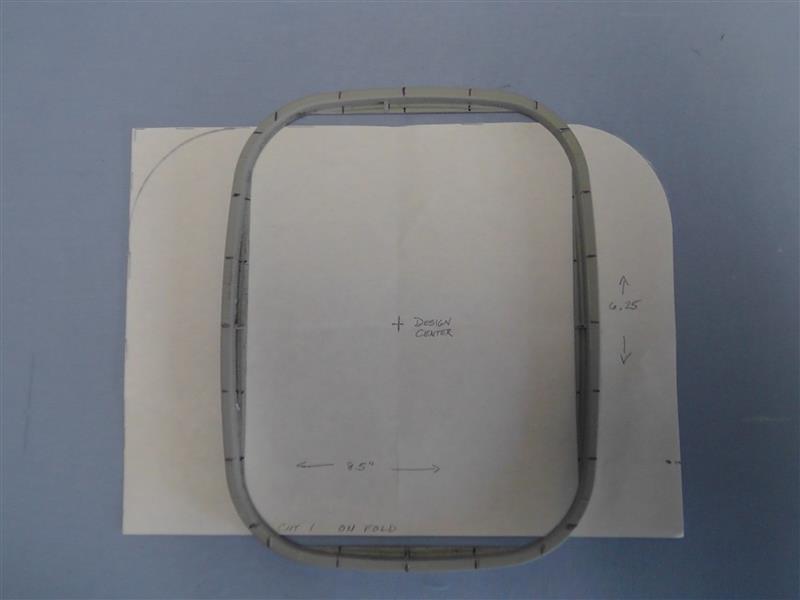
Determine how much fabric will need to fit in the hoop compared to the pattern. Cut the fabric large enough to be able to hoop the entire fabric piece for embroidery. The fabric will be cut down after the embroidery is done.
(Click Image to Enlarge)
Step 7:
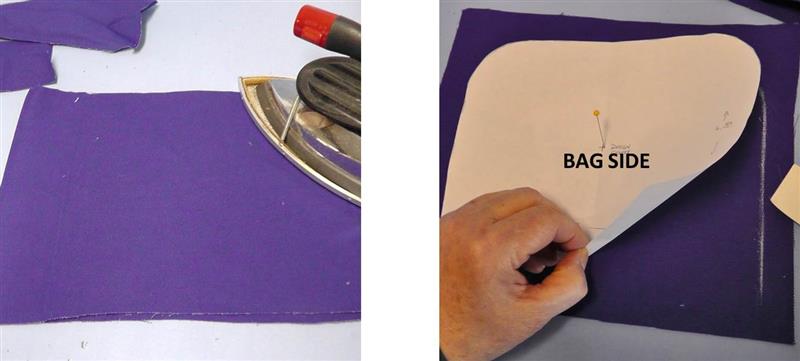
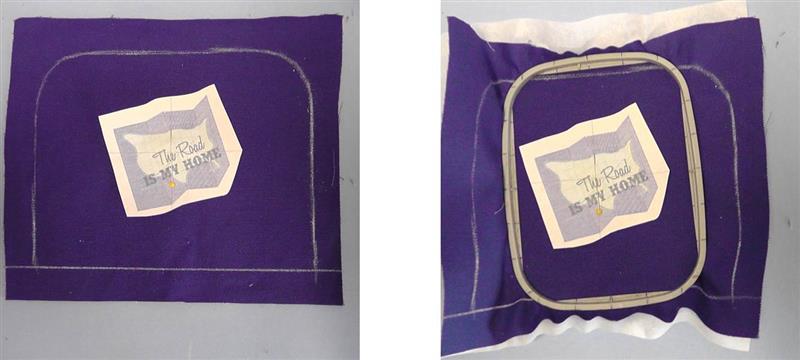
Be sure the fabric is pressed well then place the bag pattern down on the fabric and use chalk to draw around the pattern piece.
(Click Image to Enlarge)
Step 8:
Center the paper design over the BAG SIDE front. Hoop the fabric with one layer of tearaway stabilizer.
(Click Image to Enlarge)
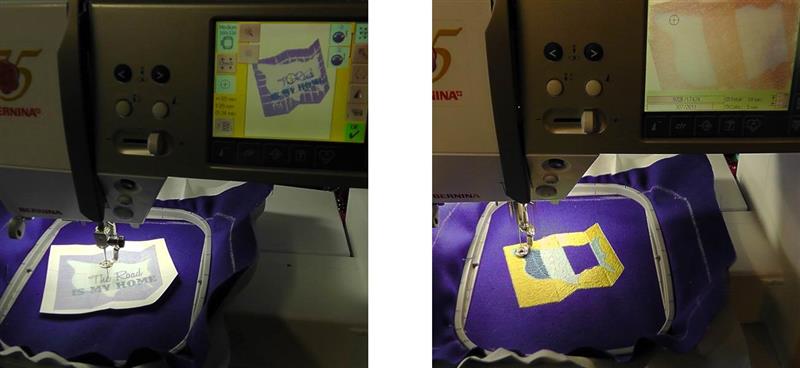
Step 9:
Load the design on the machine and center the hoop to the paper design. Stitch the design with the chosen colors.
(Click Image to Enlarge)
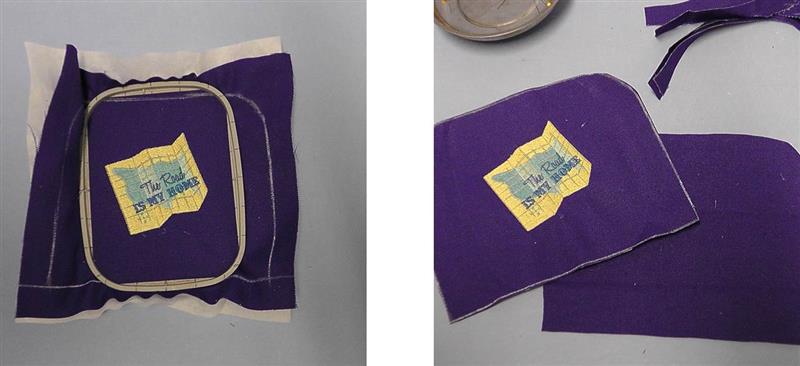
Step 10:
After the entire design is stitched, remove the fabric from the hoop and remove the excess stabilizer from the back of the fabric. Cut out the BAG SIDE front along the chalk line then cut the BAG SIDE back piece. Slightly round the bottom of the BAG SIDE pieces at the corners so the straight BAG BASE piece will round the bottom corners more easily.
(Click Image to Enlarge)
Step 11:
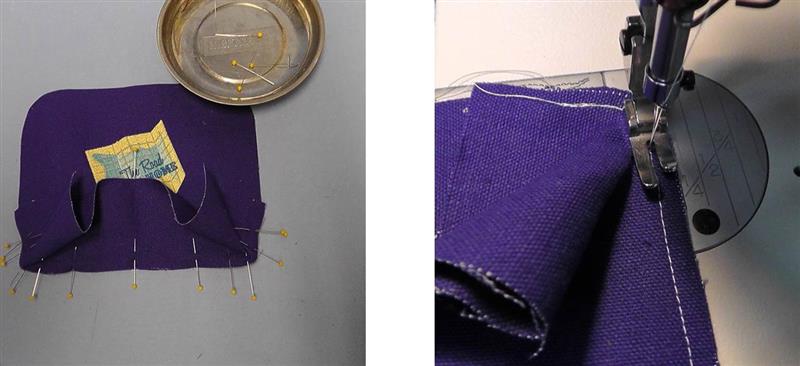
Fold the BAG SIDE pieces in half finding the center at the top and bottom; place pins at the center marks. Find the center mark (top and bottom) of the BAG BASE piece; place pins at the center marks. With right sides together, match the center of the base to the bottom center pin of the BAG BASE front as shown.
(Click Image to Enlarge)
Step 12:
Pin the base along the bottom, stopping about 2” from each end of the BAG BASE fabric (where the double pins are in the photo). Stitch from double pins to double pins sewing the BAG BASE to the BAG SIDE front. Stitch again over the original stitching to reinforce the seam.
(Click Image to Enlarge)
Step 13:
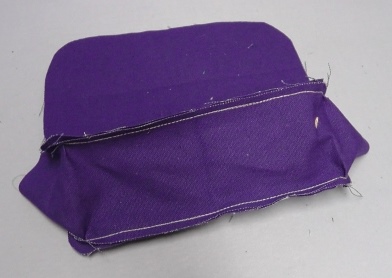
(Click Image to Enlarge)
Repeat for the other side, match the center of the BAG BASE to the BAG SIDE back. Stitch and then stitch again to reinforce the seam.
Step 14:
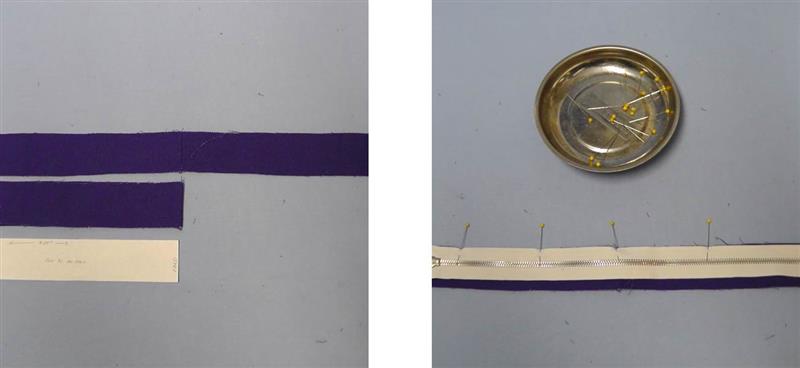
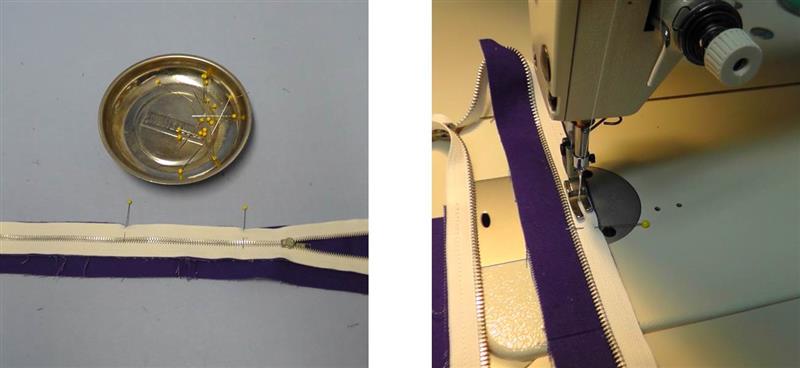
Now it is time to prepare the zipper for insertion. With right sides together, place one long ZIPPER INSERT to the zipper with the edge of the zipper tape meeting the cut edge of the fabric. Begin with the zipper tab about 1” from the short cut edge of the ZIPPER INSERT.
(Click Image to Enlarge)
Step 15:
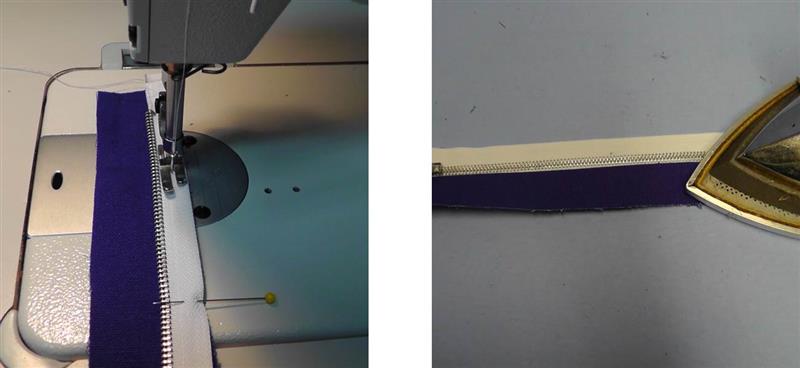
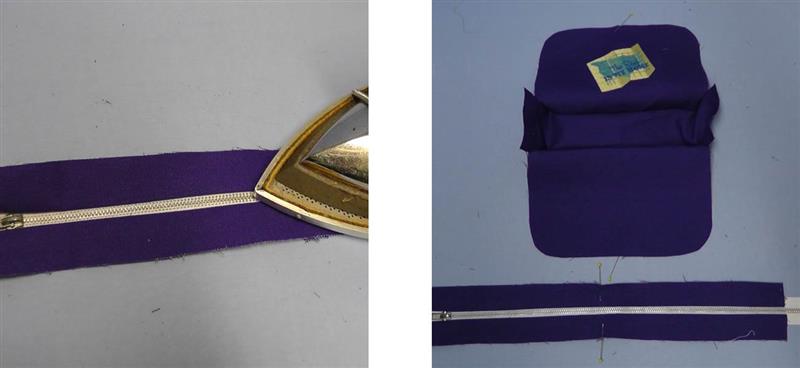
Use the regular machine foot and stitch a ¼” seam. Flip the ZIPPER INSERT fabric to the right side and press in place.
(Click Image to Enlarge)
Step 16:
Repeat the steps of pinning the zipper to the remaining ZIPPER INSERT and sewing them together. Be sure the ends of the ZIPPER INSERT pieces align at the same place on the zipper tape.
(Click Image to Enlarge)
Step 17:
Press the other ZIPPER INSERT and mark the centers of the ZIPPER INSERTS along the unsewn edge.
(Click Image to Enlarge)
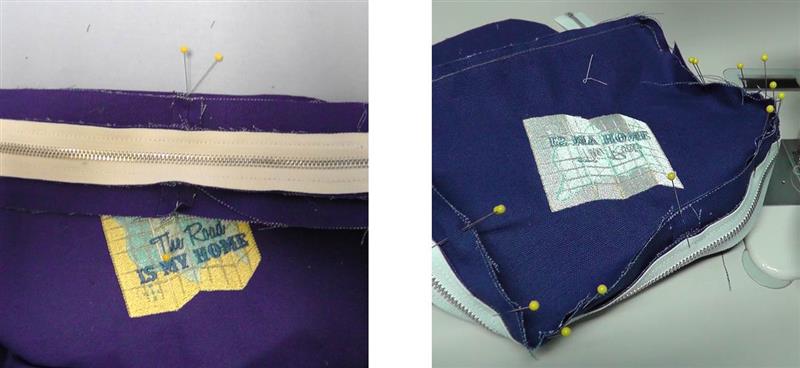
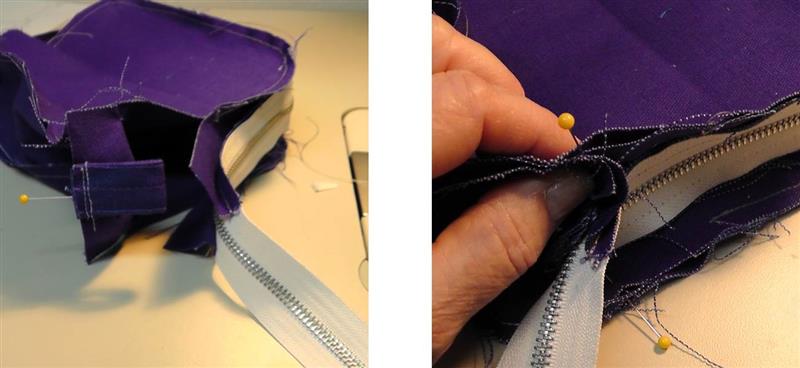
Step 18:
The zipper insert will now be sewn to the top of the BAG SIDE front and back. Match the center of the SIDE BAG front to the center pin of the ZIPPER INSERT. Pin around like was done for the BAG BASE, stopping about 2” from the cut edge of the zipper. Place double pins to mark when to start and stop sewing.
(Click Image to Enlarge)
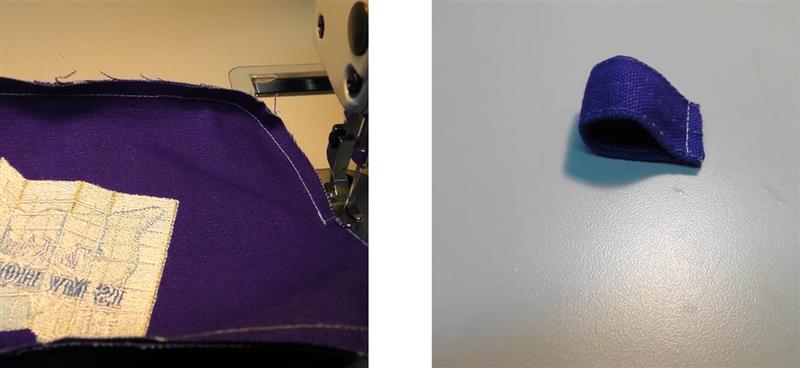
Step 19:
Sew the seam and sew again to reinforce. Find the tab that was cut from the strap, fold it in half and baste the cut edges together.
(Click Image to Enlarge)
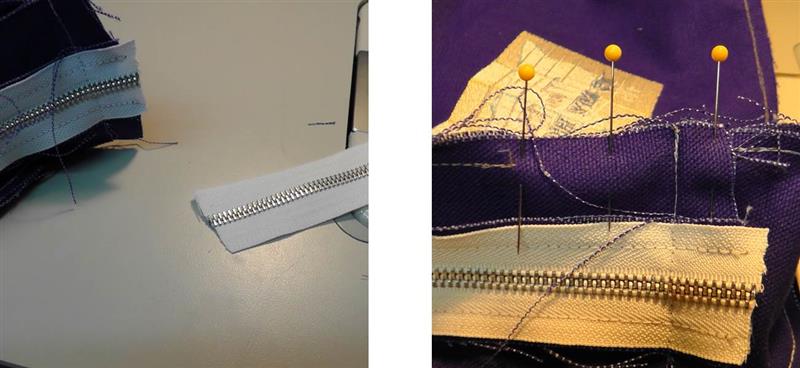
Step 20:
Pin the tab just sewn to the BAG BASE (zipper end side), centering it on the BAG BASE. This is where a little fudging comes into play and why the BAG BASE fabric was cut longer. Meet the end of the ZIPPER INSERT to the BAG BASE at the side. Determine where the seam to sew those pieces should be. Bring the ends together then check to see if there is any adjustment needed to make that total length match to the BAG SIDE piece. Pinch the fabric where the seam needs to be and finger press it.
(Click Image to Enlarge)
Step 21:
Sew the seam. Carefully walk the needle through the zipper teeth area so a needle isn’t broken or bent. Sew the seam again to reinforce it.
(Click Image to Enlarge)
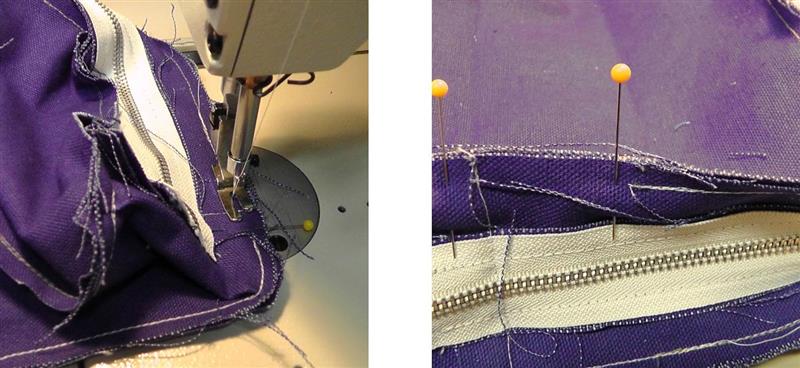
Step 22:
Cut off the excess zipper tape. Pin the base to the bag side flipping the seam just sewn downward.
(Click Image to Enlarge)
Step 23:
Sew this little bit of seam joining the base/zipper to the bag side and stitch again to reinforce.
(Click Image to Enlarge)
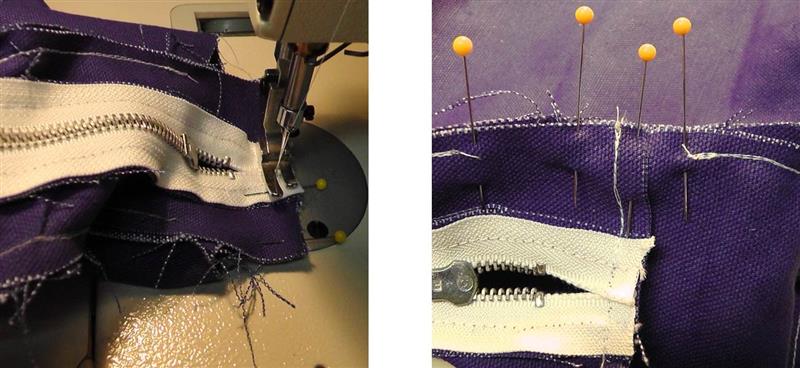
Step 24:
Repeat the same steps of creating the seam to join the base to the zipper tab end, sewing the seam and pinning this section to the bag back.
(Click Image to Enlarge)
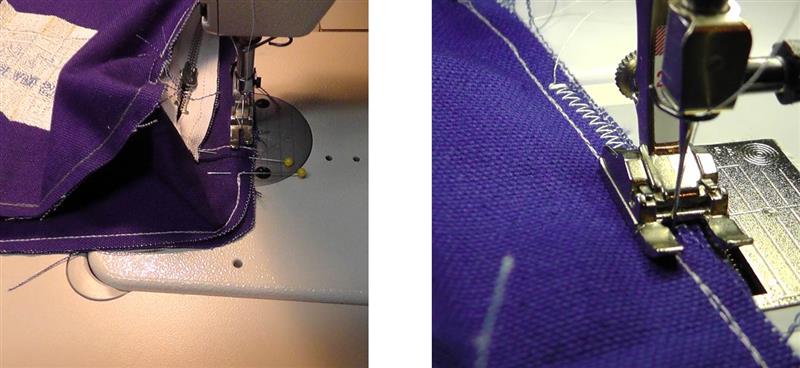
Step 25:
Stitch the seam to join the others and stitch again to reinforce. Finish the seams around the bag front and back with a serger or zig-zag stitch.
(Click Image to Enlarge)
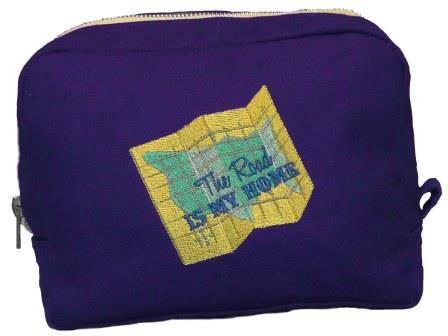
Step 26:
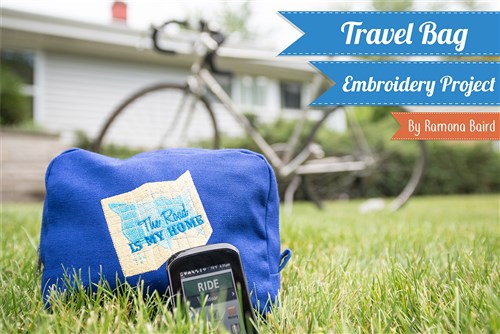
Congratulations! The “Travel Bag” is ready for the next trip. Re-size the pattern to make bags in various sizes for shoes, cosmetics, or anything else required for traveling to your next destination.
Ramona Baird has been in the embroidery industry for over 23 years. She and her husband owned a commercial and retail embroidery store in Arizona for many years. She is an experienced digitizer having been mentored by award-winners Pat Williams and Lindee Goodall. Ramona is a contributor to “Creative Machine Embroidery” magazine having 5 covers to her credit. Ramona has worked for Wilcom America and served many years as Education Director for the American Sewing Guild. With a degree in fashion design, she is able to design and execute patterns which Pat Williams says are “out of the box” in creativity and application. Ramona likes to challenge the boundaries of embroidery and bring new and exciting designs, ideas, and projects to EmbroideryDesigns.com. She wants embroiderers of all levels to increase their skills and enjoyment in using their embroidery machine for gift-making and personal pleasure.