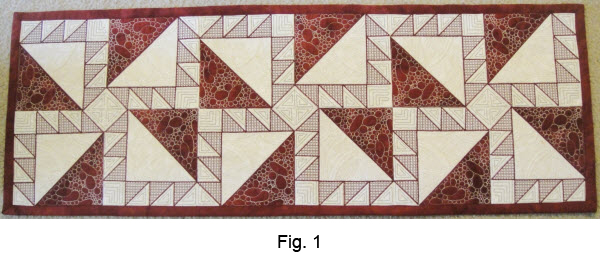
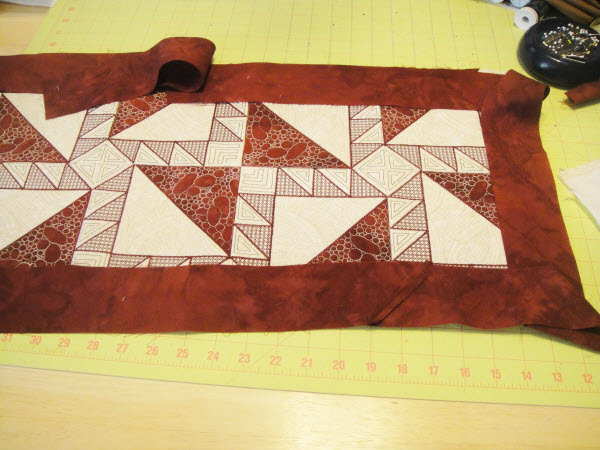
Every embroidered quilt block, large or small, deserves a quilt binding with perfectly mitered corners. (Fig 1, Fig 2)
The process is the same for both these large and smaller projects, just the width of the outside edge trimming and the width of the binding strip will vary.
We will work on the larger binding for the table runner shown in Fig 1. The mitered binding is applied in this manner.
(Click Image to Enlarge)
Step 1-3:
1. Trim all outside edges to an even width of ½”.
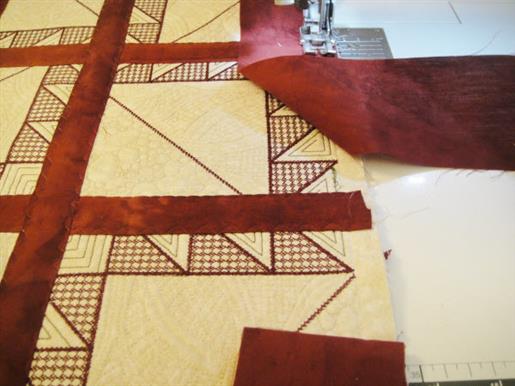
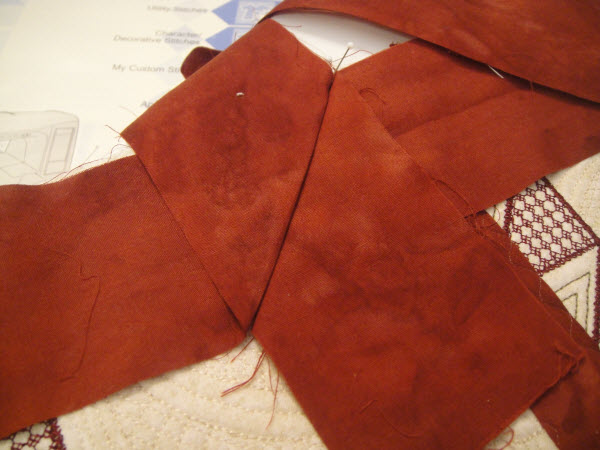
2. Cut enough fabric in straight lengthwise strips 2 ½” wide to go around your whole project, plus two feet to allow for the mitered corners and for the extra fabric required to join the binding together at the end. For the Tombstone Trails Table Runner 3 ½ feet of binding was cut.
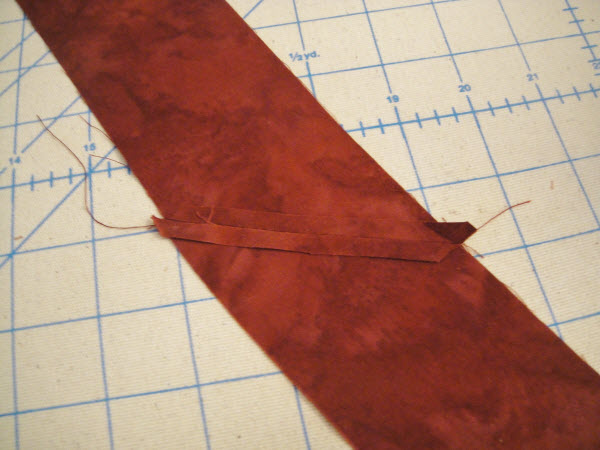
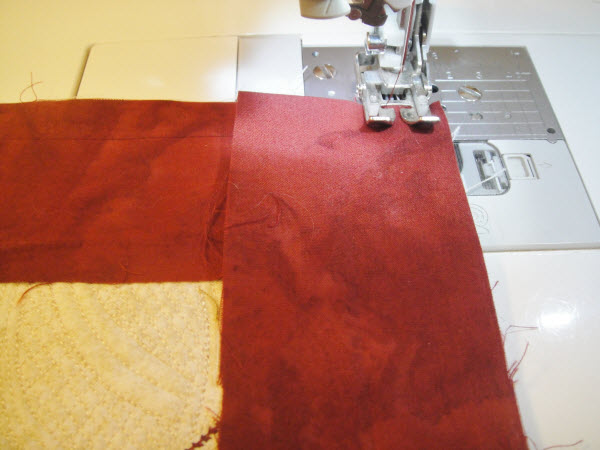
3. To join the strips of binding into one long strip, place two strips of binding at right angles to each other, overlapping the ends by 1/4”.
(Click Image to Enlarge)
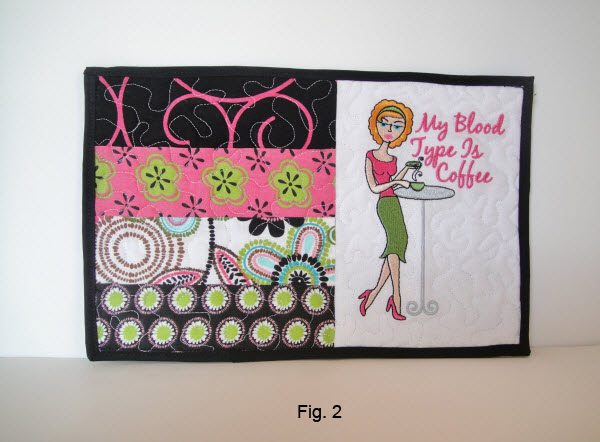
Step 4:
Sew a diagonal line across from where the two strips overlap.
(Click Image to Enlarge)
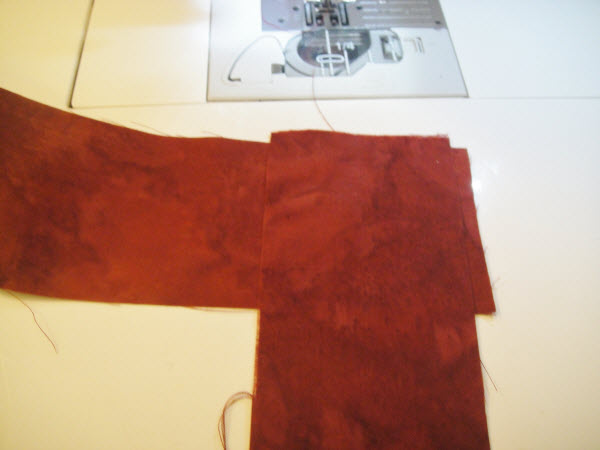
Step 5:
Trim the corners off and press the seam open.
(Click Image to Enlarge)
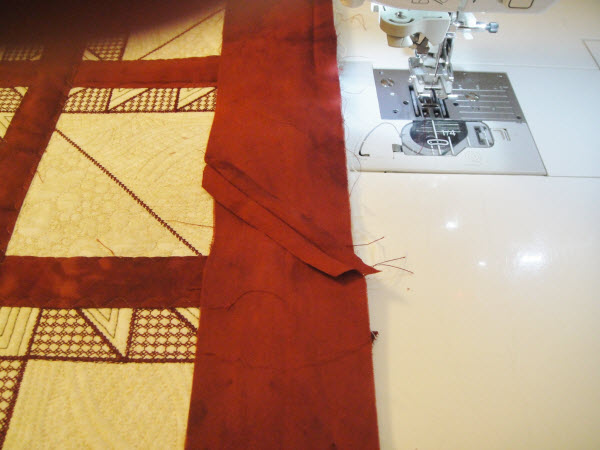
Step 6:
You are going to want to start applying the bind to your quilt on a long side. To determine where you want to start loosely lay the strip around the quilt project, looping a couple of inches at the corners, to see that no joins in the fabric are going to hit right at a corner.
(Click Image to Enlarge)
Step 7:
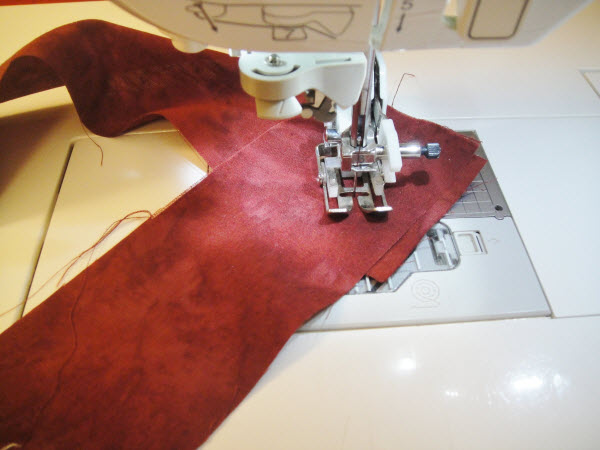
Take the project to the sewing machine. Place the binding on the back of the quilt. Place the binding so about 7” of loose binding is in place before your desired start point. Stitch the binding in a ½” seam from your start point to ½” before the edge of the quilt. Cut the thread.
(Click Image to Enlarge)
Step 8:
Pull the project from under the presser foot. Fold the binding back to a 45° angle.
(Click Image to Enlarge)
Step 9:
Fold the binding back over the 45° fold, lining up the top and sides of this fold with the edges of the quilt.
(Click Image to Enlarge)
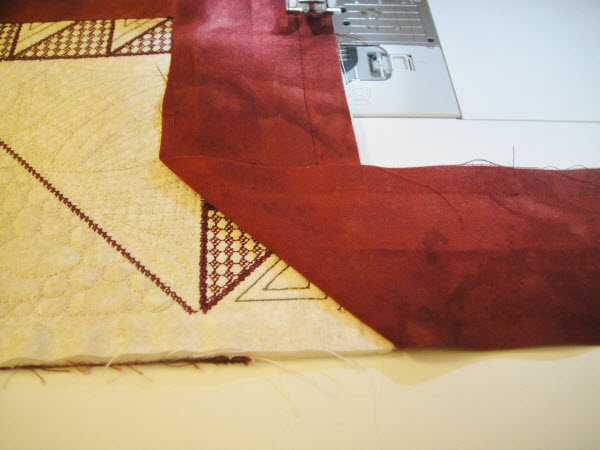
Step 10:
Starting at the very edge of the quilt, sew down the next side until you are a ½” from the next edge of the quilt.
(Click Image to Enlarge)
Step 11:
Repeat Steps, 8, 9 and 10 twice.
Step 12:
When you get to the side where you began the binding only stitch to within about 7” from your original stitching point.
(Click Image to Enlarge)
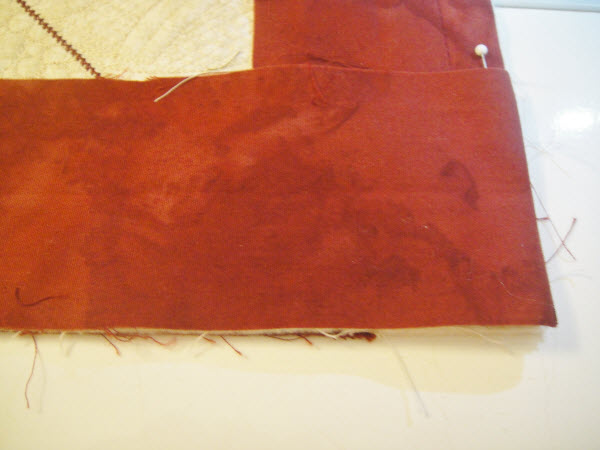
Step 13:
Cut your thread. Lay the two sewn edges along the edges of the quilt and you can see where you are going to want the two edges of binding to be sewn together at an angle. Pin those two edges together at right angles. Pull them away from the quilt and stitch them together in an angled seam.
(Click Image to Enlarge)
Step 14:
Trim and iron the seam open and line up back on the quilt top. Complete the stitching from the point where you stopped sewing the binding on and your starting point.
(Click Image to Enlarge)
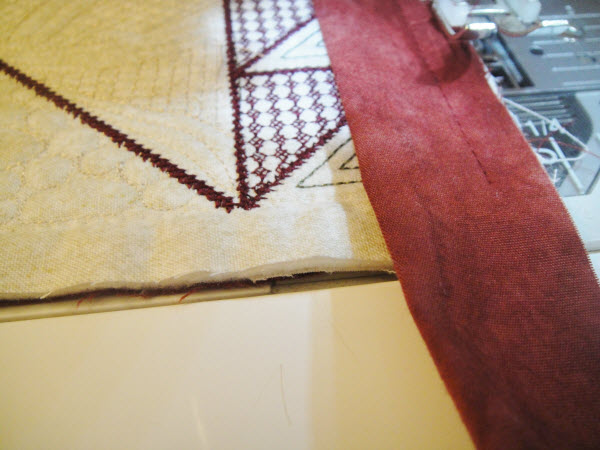
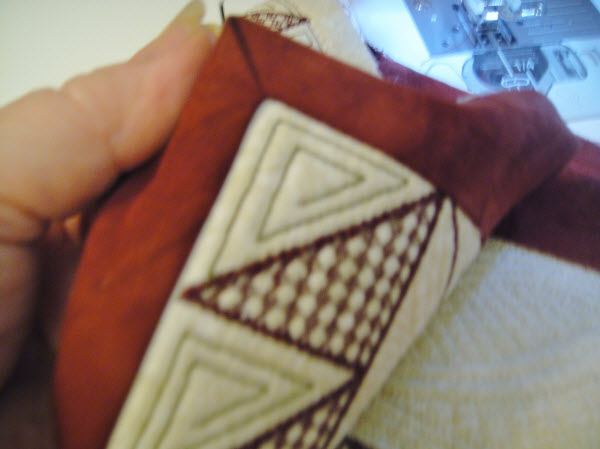
Step 15:
Working from the right side of the quilt, fold the binding so that the raw edge meets the original binding seam line. Place the folded edge over the front of the quilt making sure it is just over the seam line on the front of the quilt and pin in place. Use lots of pins.
(Click Image to Enlarge)
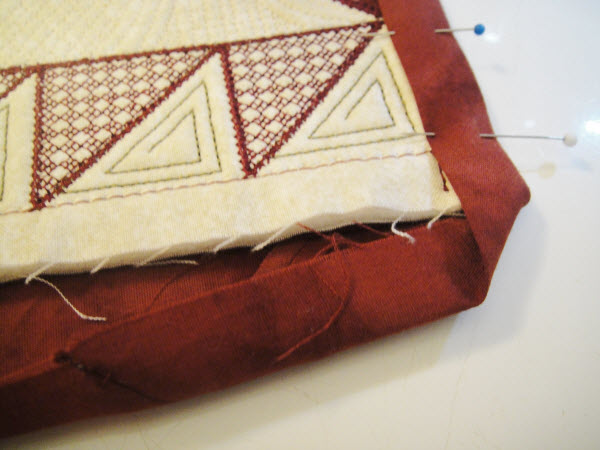
Step 15:
As you fold and pin the quilt binding in place on the front you will see the back of the corners will fold into a nice miter.
(Click Image to Enlarge)
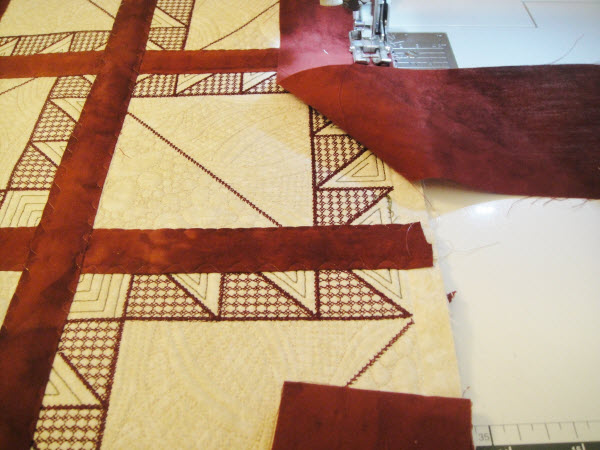
Step 17:
As you pin across the front you will see the natural fold take place over the front of the quilt. Pin the front across one edge, let the miter form at the corner and place pins down the next edge of the quilt.
(Click Image to Enlarge)
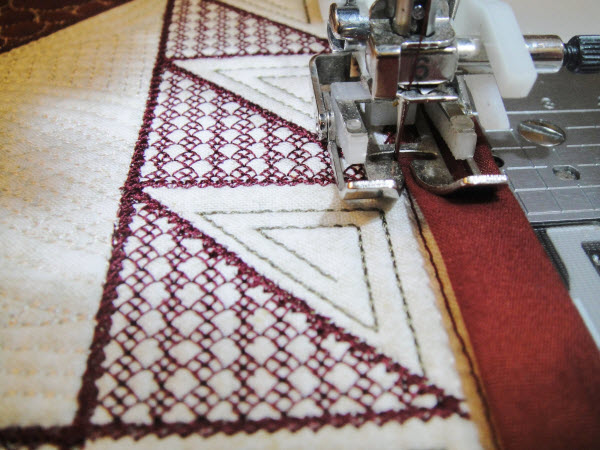
Step 18:
After all sides and corners have been pinned. Machine stitch the binding in place with either a decorative or straight stitch, making sure the original seam line from when the binding was attached to the quilt is covered. In this sample the final stitching was done with a decorative stem stitch to match the borders on the small triangles in the quilt block.
(Click Image to Enlarge)
Step 18:
The procedure for binding the small mug mat would be the same except the binding strips would be cut at 1 ½” wide. The binding would be applied to the mat up to within ¼” of the edges. The edges of the quilt would have been trimmed to ¼”.
Award winning Digitizer, Embroidery Educator, Author and a Consultant to the Industry, Pat Williams has 30 years of experience in the embroidery industry. Pat has won multiple awards for her digitizing expertise including the 2007 Impressions Awards Grand Championship, Best of Show as well as the 1st and 2nd Place Awards. Pat’s love of digitizing has afforded her the opportunity to write numerous articles for Impressions magazine in the United States and Images Magazine in Europe. In 2001 Pat was named “Embroidery Educator of the Year.” For many years Pat taught digitizing seminars at the ISS Shows in Long Beach, CA and for Compucon software. She now resides in Tucson, AZ.