Live Chat
Embroidery Designs
Welcome, Embroiderer
Login
FSL Family/Inspiration Heart Angel
{{mainImageAlt || (productInfo._source && productInfo._source.name) || ''}}

FSL Family/Inspiration Heart Angel Embroidery Project

By   Jayne Monsipapa   on   September 08, 2015
  • SKILL LEVELBeginner
  • TIME REQUIRED00:30
  • FINISHED SIZE4.68 x 6.71 inches
Description

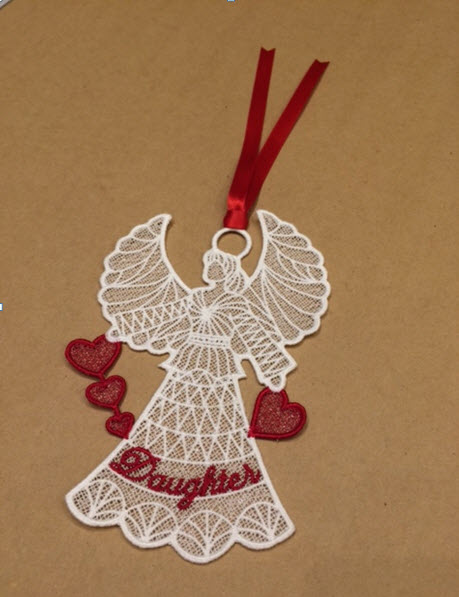
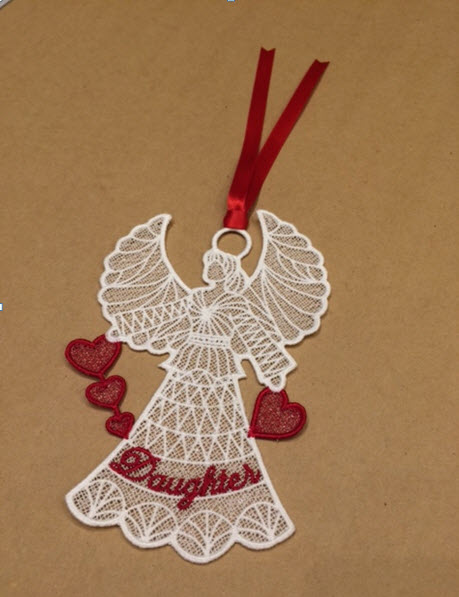
This is a simple sewout, but takes time due to the number of stitches required for a free standing lace design. Add a ribbon and you can use as a bookmark or hang anywhere.

Step of

Materials

Project Preview Video

Materials
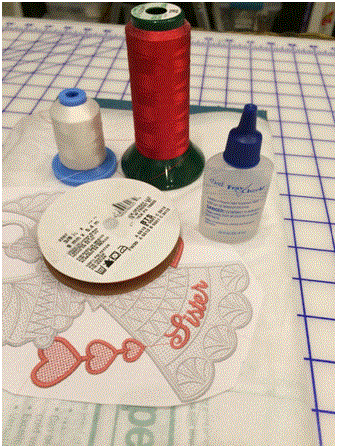
  • Woven Water Soluble Stabilizer
  • Fray Check
  • 1/8", ¼” or 3/8” ribbon
  • White and Red POLYESTER embroidery thread DO NOT USE Rayon)
  • Favorite Kinship Kreation Lace Heart Angel

  • Designs used in this project

    Final Product: What You Will Create


    Step 1:
    (Click Image to Enlarge)
    These are the materials that you will need.


    Step 2:
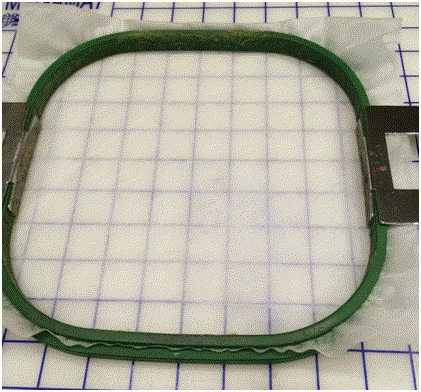
    Hoop the woven water soluble stabilizer. Make sure it is doubled as it needs this extra stabilizer. Thread your machine with Polyester thread. Do Not use Rayon as it will not sew as good.   


    Step 3:
    (Click Image to Enlarge)
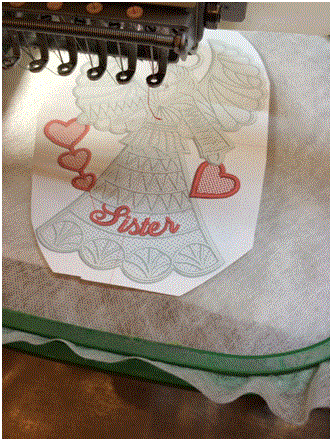
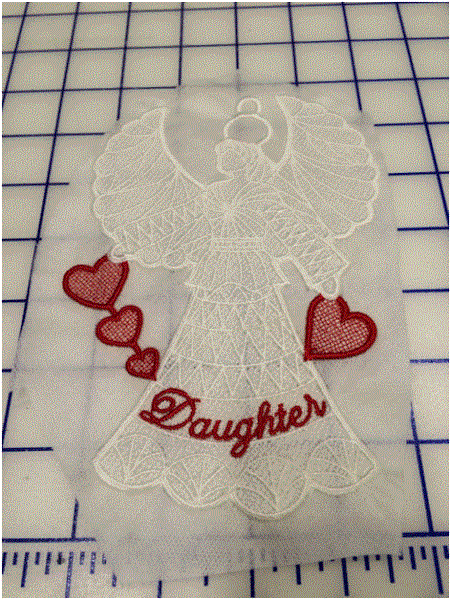
    Select your favorite Kinship Kreations Lace design and sew onto the woven water soluble stabilizer.


    Step 4:
    After it is sewn out carefully cut around the design leaving a good 1/2" to 1" of stabilizer around the edge. Do not cut into any threads.

    (Click Image to Enlarge)


    Step 5:
    (Click Image to Enlarge)
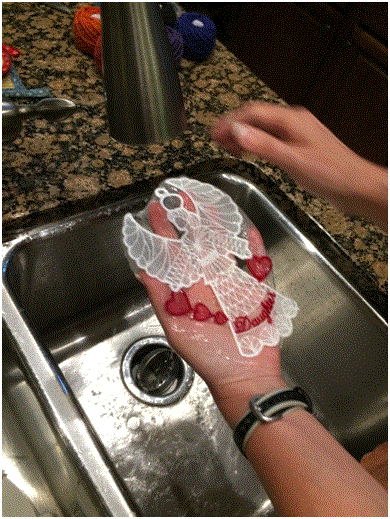
    Very carefully run the design under water for just a second or two. I usually get it wet and let it sit in my hand for a minute until the stabilizer dissolves. After the stabilizer starts to dissolve you can take your fingers and remover the rest. This is one time you want to leave some on your design. When you remove the stabilizer this way there is actually a faint amount left in the design which almost gives it a bit of shimmer when dried.


    Step 6:
    (Click Image to Enlarge)
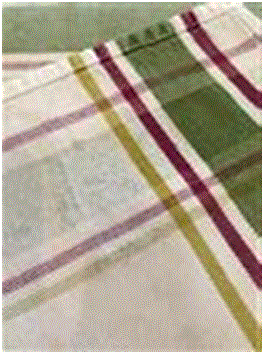
    Carefully lay the wet angel on a linen (or flat, no nap) towel and pat down. Do not attempt to remove the lace until completely dry.


    Step 7:
    (Click Image to Enlarge)
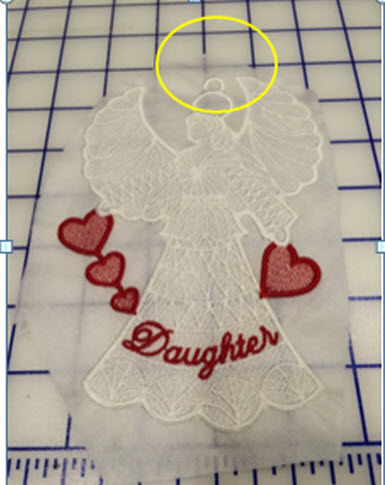
    DO NOT TOUCH UNTIL DRY. Yes, it is tempting, but you can easily distort the design as it is very fragile at this point. Once it is dry (several hours) you can pull up. Make sure it is completely dry before you try to add the ribbon. I cut a 14” length of ribbon and fold in half. Insert this into the circle above the angel’s halo. You can either leave it open at the end or you can tie the ribbon at the end, which would allow the angel to be hung. To get the V end, fold the ribbon in half and cut the end at a diagonal. Put a drop of fray check on the end of the ribbon and it will not fray. 


    Step 8:
    Completed Angel.

    (Click Image to Enlarge)

    Meet the Author: Jayne Monsipapa
    Jayne Monsipapa
    Jayne Monsipapa has been digitizing for 24 years. It all started after walking into a sewing store in 1993 to buy a couple spools of thread and there was a sewing machine hooked up to a computer! Embroidering the designs were fun at first, but it did not take much to get hooked on digitizing. From 1993 until 1999 she worked on her digitizing skills and found her designs sewed out very good. With her husband’s encouragement Kinship Kreations LLC began in 1999 selling designs online. In those early years she took classes with both Walt Floriani and Lee Caroselli (Balboa Embroidery) who are both very talented and successful digitizers. Jayne joined the EmbroideryDesigns team in 2008.
    More From This Author
    Link is Broken, Please check the URL
    Exclusive Embroidery Offers!
    Copyright © {{ currentDate | date:'yyyy'}} - EmbroideryDesigns.com
    GET 50% OFF! ×