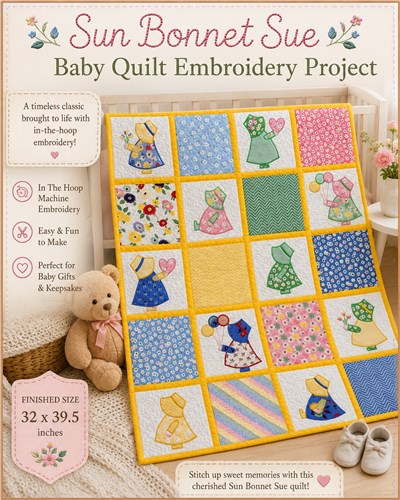
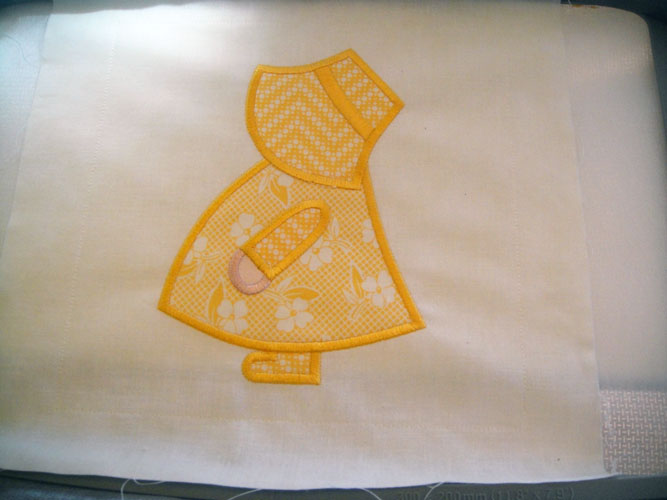
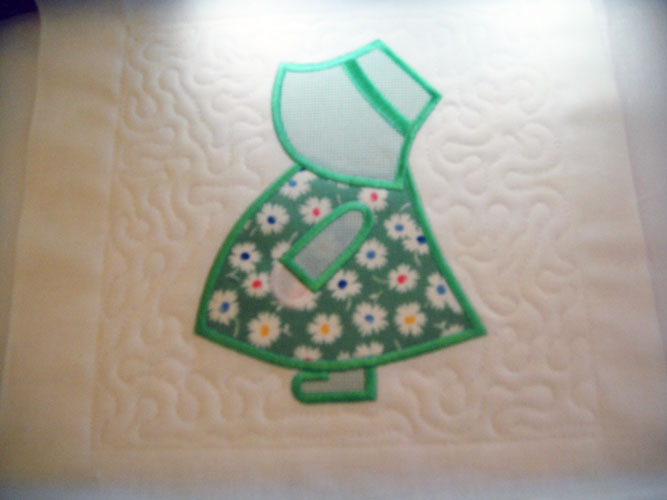
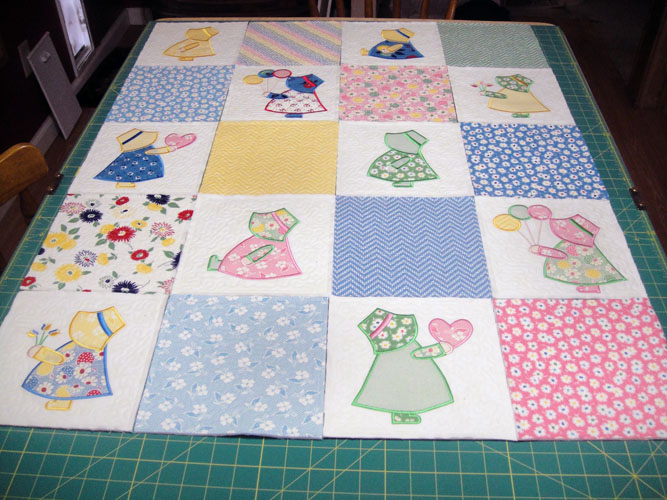
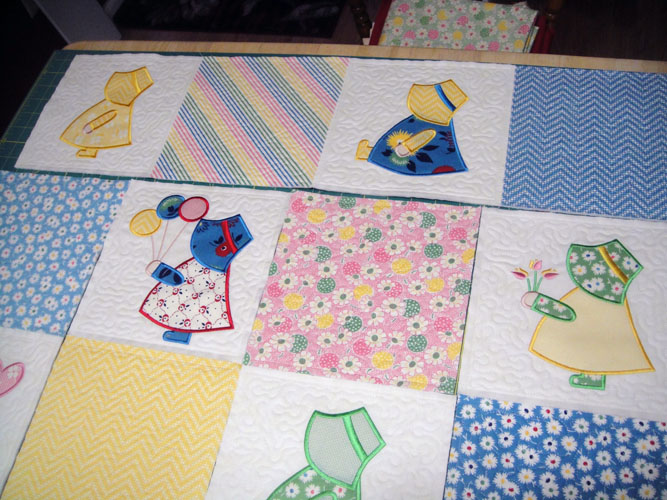
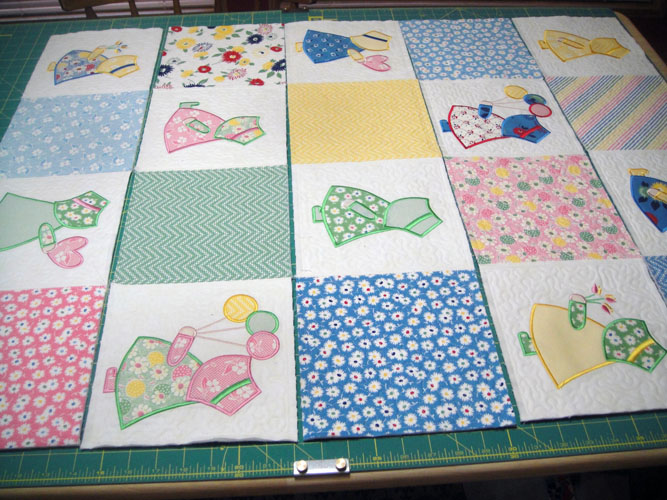
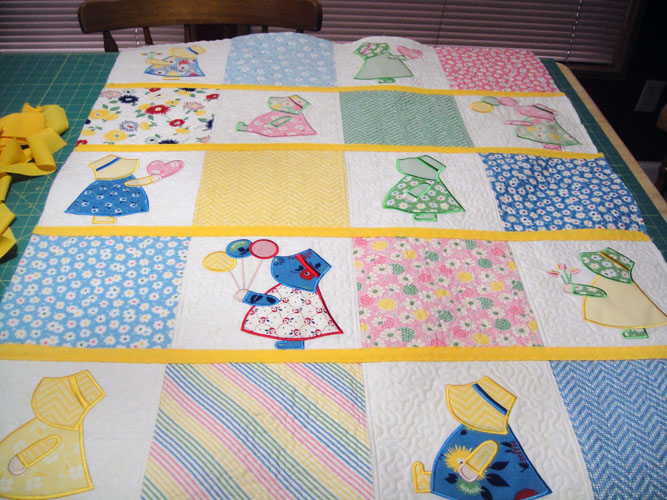
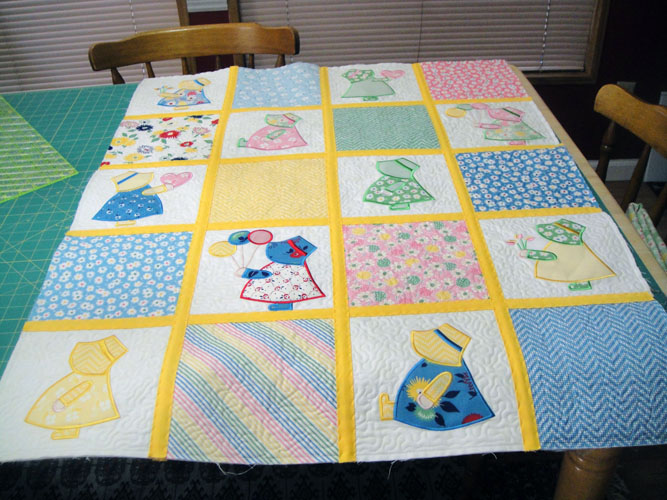
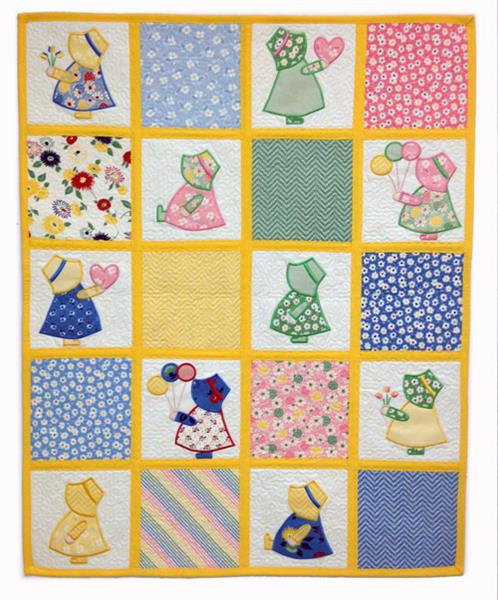
The big sister to our Mini Sun Bonnet Sue Doll Quilt, this version has 5 different poses for Sun Bonnet Sue. Fun, easy appliques in which you can use the Stitch & Trim or Pre-cut applique methods.
The Sun Bonnet Sue Quilt Blocks come in two sizes. The finished size of the 7.5” embroider designs will be 8”. The finished size of the 5.5” sized blocks is 6”. The larger 8” blocks are used in this quilt. Please note the Sun Bonnet Sues are not equal in size so cut the applique pieces for each one separately the pieces are not interchangeable between the blocks.
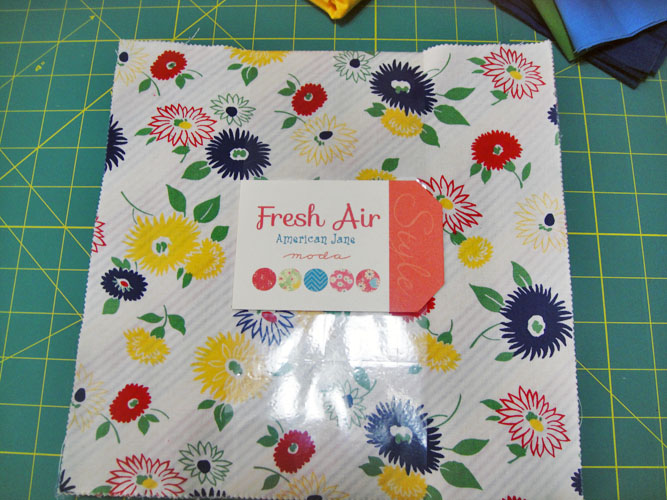
A “Layer Cake” is 42 10” blocks of coordinating fabrics. The set used in this quilt is by Moda fabrics and is called “Fresh Air”. This “Fresh Air” collection included many ‘30’s reproduction fabrics so it seemed to be good choice for the Sun Bonnet Sue Baby Quilt. Do not be daunted by the number of color changes in these blocks. All of the stops listed as outline and tack downs can be sewn in a single color neutral thread to place the appliques. The techniques used in all the applique blocks are the same so only one will be demonstrated here. The applique fabrics were precut with the Scan N Cut in this project, but you can use the stitch and trim method as well. Print the PDF files from this project page for each design to either precut the appliques or to scan into the Scan N Cut. PDF, FCM and SVG files available for download.
Step 1:
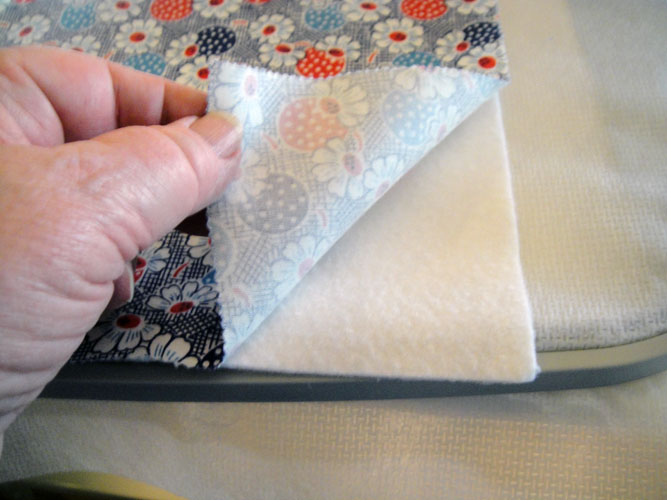
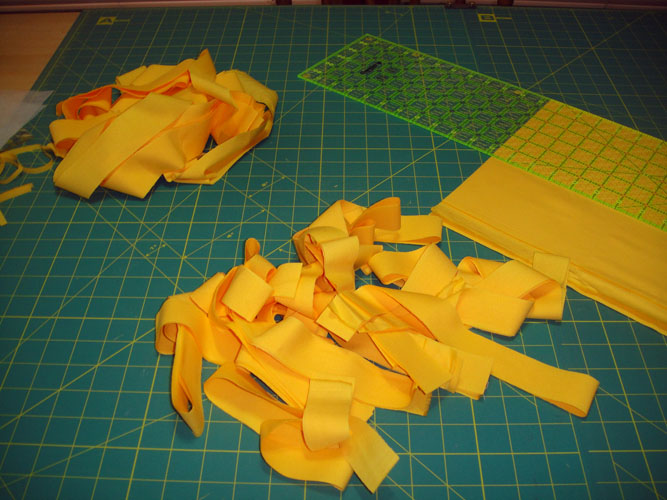
This picture shows the Moda “ Fresh Air” layer cake pack already precut into 10” squares; cut 10 10” squares of the mottled background fabrics for the Sun Bonnet appliqued squares; cut 20 10” squares of Battilizer or low loft batting; cut 7 1 ¼” and 7 1 ½” strips of yellow fabric for sashing across the width of the fabric; cut 5 2 ½” strips of yellow fabric across the width of the fabric for binding; cut 20 pieces of mesh stabilizer to fit the sized hoop you are using.
(Click Image to Enlarge)
Step 2:
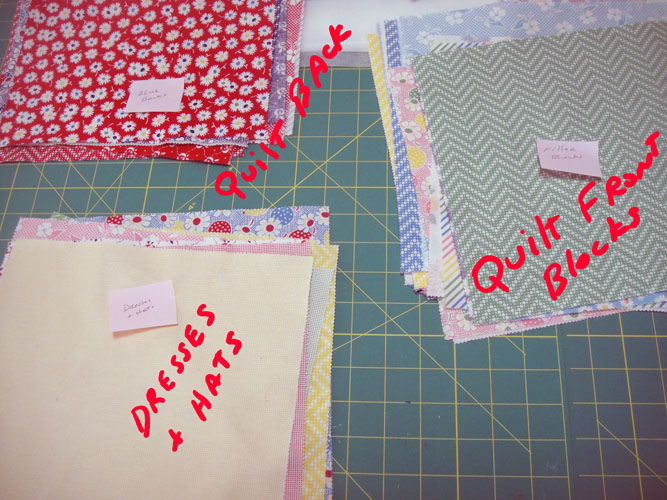
Separate the 42 blocks of the layer cake into 4 stacks; 1 stack of 10 pieces for the filler blocks for the front of the quilt; 12 pieces from which to cut the dresses and bonnets; 20 pieces for the backs of the quilt blocks.
(Click Image to Enlarge)
Step 3:
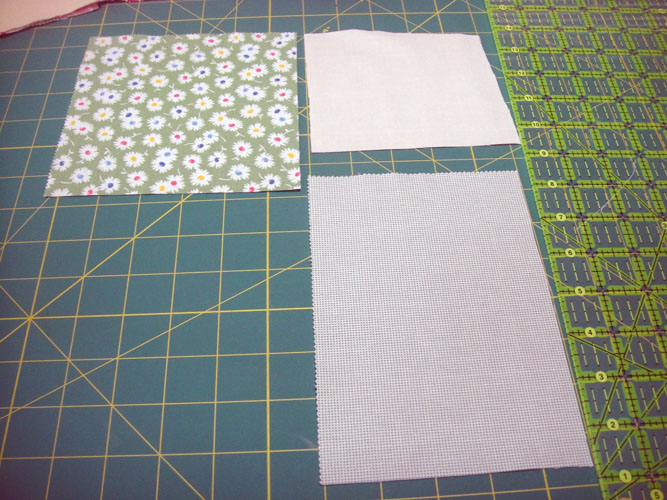
Cut a 5” square of flesh colored fabric (if using a Scan N Cut this will make all the hands); Cut a 5 ½” x 4 ½” rectangle of fabric for the dress; Cut a 4” x 6” rectangle for the bonnet, sleeve and shoe.
(Click Image to Enlarge)
Step 4:
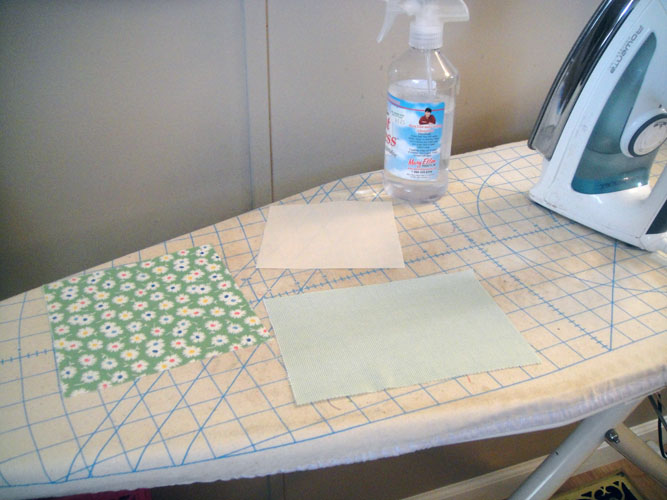
Spray each piece of fabric with Best Press or Magic Sizing and iron 4 times.
(Click Image to Enlarge)
Step 5:
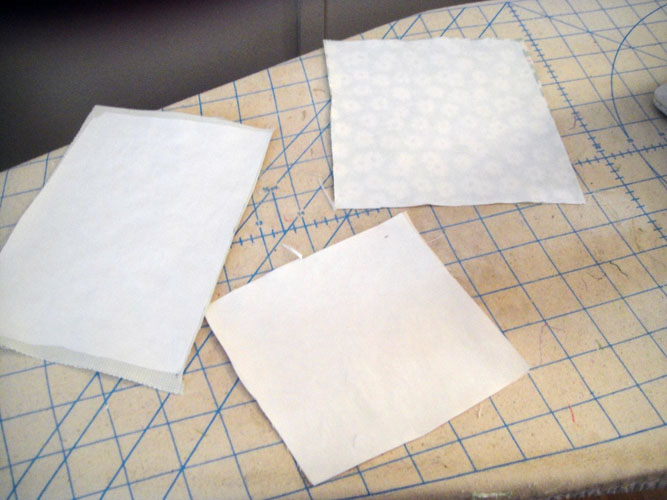
Cut and fuse a piece of Heat N Bond Lite to the back of each fabric following the manufacturer’s instructions.
(Click Image to Enlarge)
Step 6:
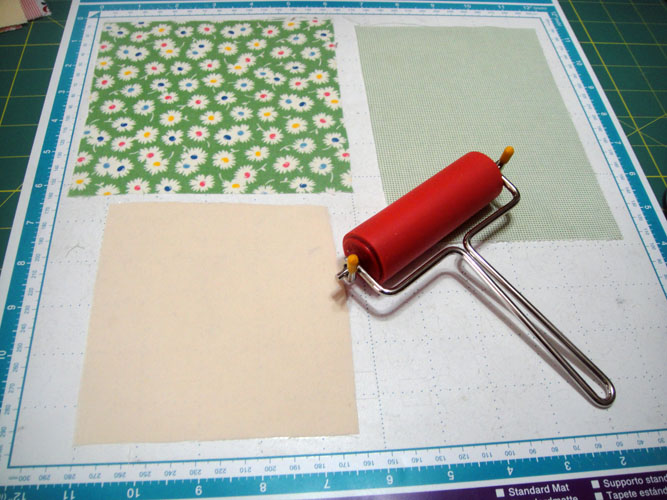
For Scan N Cut users remove the paper backing and place the pieces on the standard mat; roll with a brayer to remove all air bubbles. For stitch and trim application set the pieces aside for use in the applique process.
(Click Image to Enlarge)
Step 7:
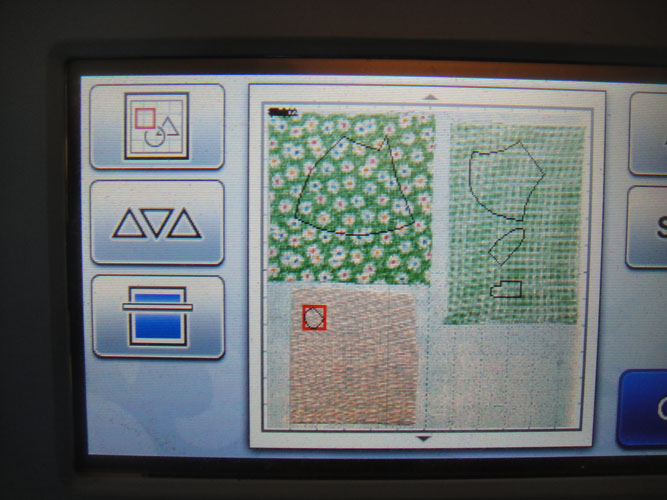
Scan the appropriate pdf file into your Scan N Cut to generate the cutting file; scan in your fabrics on the mat and move the cutting lines over the appropriate fabrics.
(Click Image to Enlarge)
Step 8:
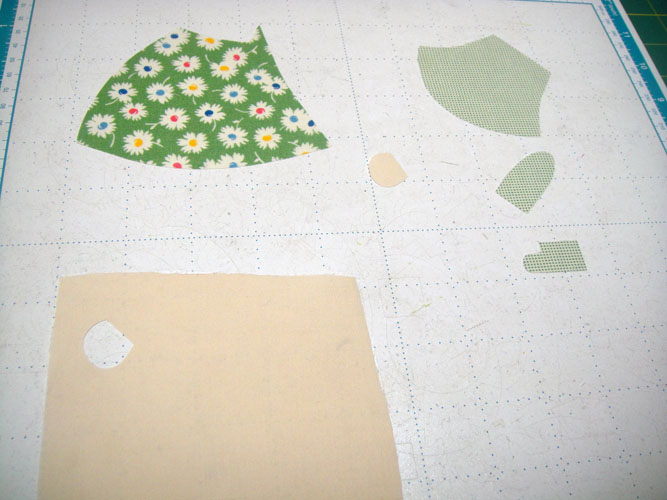
Cut and remove the applique pieces from your mat; just remove the hand from the flesh fabric and leave the remainder attached to the mat for the balance of the appliques.
(Click Image to Enlarge)
Step 9:
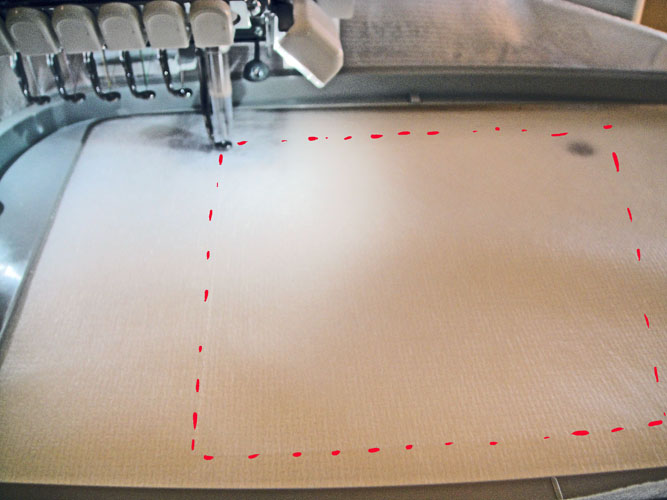
Hoop mesh stabilizer in your embroidery hoop and run the first CS (color stop) for an outline of the block. You may stitch this in a neutral thread or in water soluble thread as that is the thread needed for the second CS.
(Click Image to Enlarge)
Step 10:
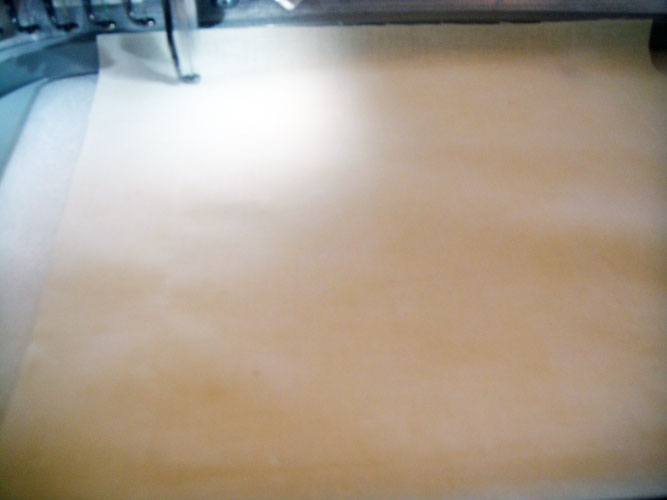
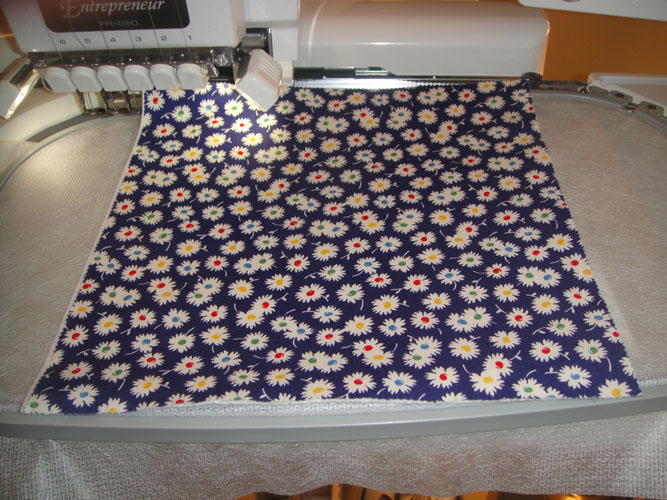
Spray adhesive on a background square of fabric and place over the outline making sure that the fabric exceeds the outline by ½” on all sides. Stitch CS 2 in water soluble thread to tack down the fabric.
(Click Image to Enlarge)
Step 11:
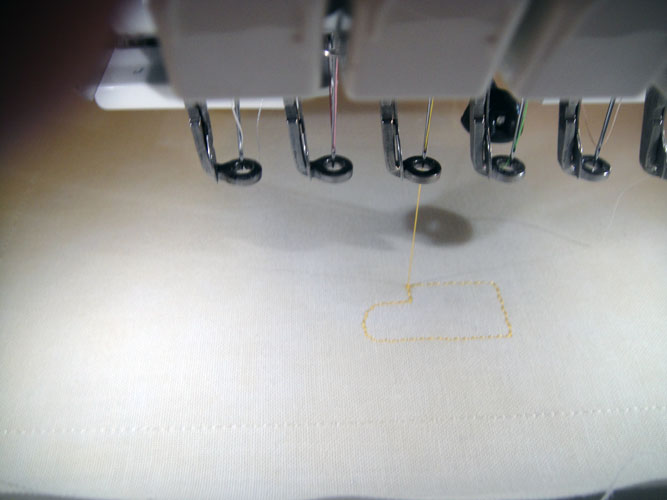
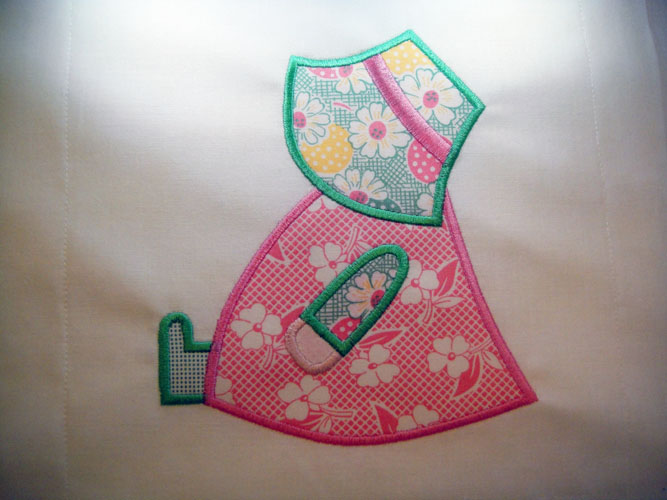
I’m switching to pictures of a block with different fabrics here as the pictures just came out better. Stitch CS 3 in a neutral thread (all outline and tack down color stops may be sewn in the same neutral thread) for an outline of the shoe.
(Click Image to Enlarge)
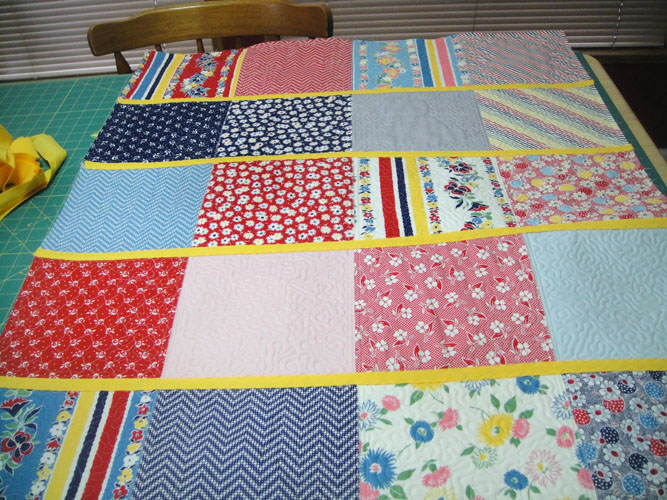
Step 12:
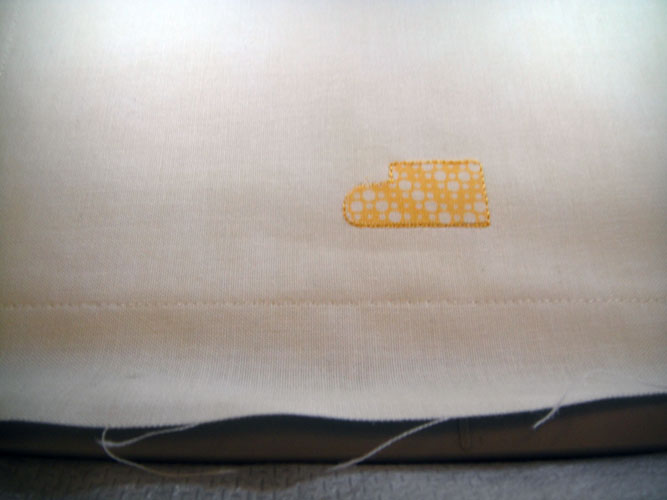
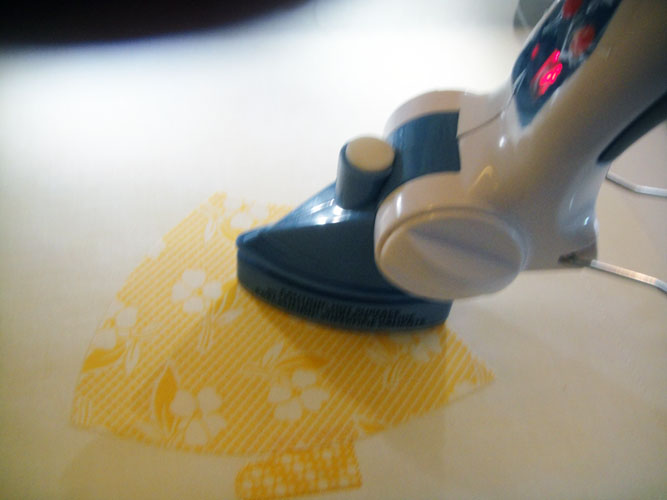
If using precut appliques iron the shoe applique over the outline. If using the stitch and trim method spray a little adhesive on a piece of fabric slightly larger than the shoe over the outlines.
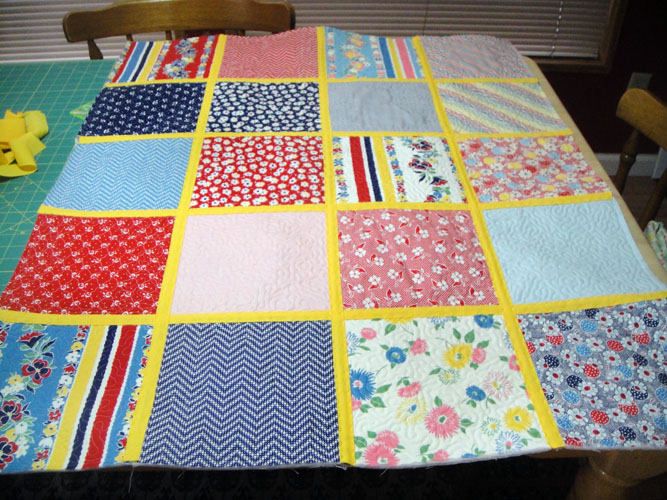
(Click Image to Enlarge)
Step 13:
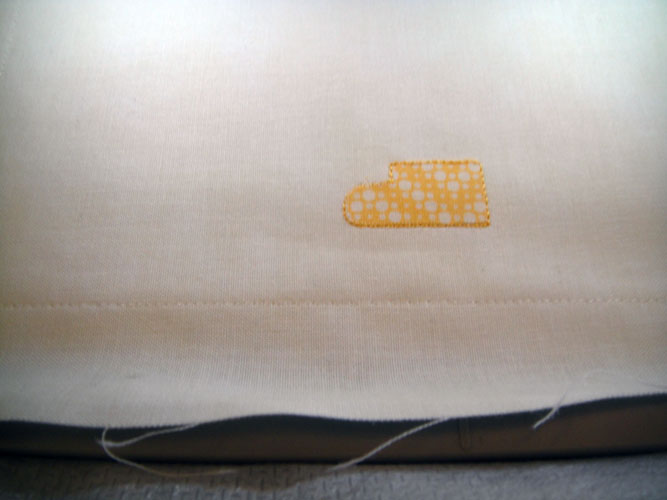
CS 4 is the tack down stitch for the shoe if using precut appliques these stitches will just show you that the applique is in the correct position as they will just skim the fabric. If using the stitch and trim method run these stitches and then trim the applique as close as possible to the stitching
(Click Image to Enlarge)
Step 14:
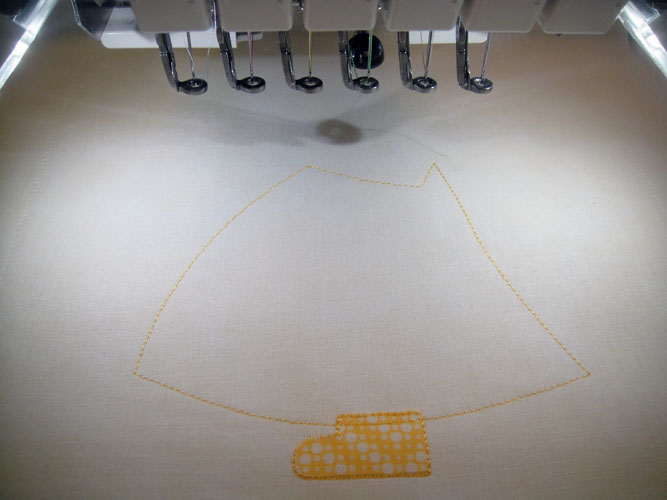
Run CS 5 for outline for the dress.
(Click Image to Enlarge)
Step 15:
Iron the dress applique into place, or spray and place applique fabric over the outlines if using the stitch and trim.
(Click Image to Enlarge)
Step 16:
Follow the color charts to place the remaining appliques and stitching of the borders. You may use all one color on the borders as in this picture only the hand was stitched down with a separate color.
(Click Image to Enlarge)
Step 17:
Or you may border each section of the applique in a separate color as shown in this block, the choice is yours.
(Click Image to Enlarge)
Step 18:
After all the borders are completed remove the hoop from the machine – do not unhoop – turn the hoop over; spray adhesive on a square of Battilizer and place over the outlines on the back of the hoop making sure that the Battilizer exceeds the outline by ½” in all directions; spray adhesive on a backing square and place over the Battilizer.
(Click Image to Enlarge)
Step 19:
Return the hoop to the machine. Run the next color stop with water soluble thread in the top of the machine to tack down the Battilizer and the back fabric. Change the top thread to a neutral thread to stitch the quilting. Make a total of 10 Sun Bonnet Sue blocks.
(Click Image to Enlarge)
Step 20:
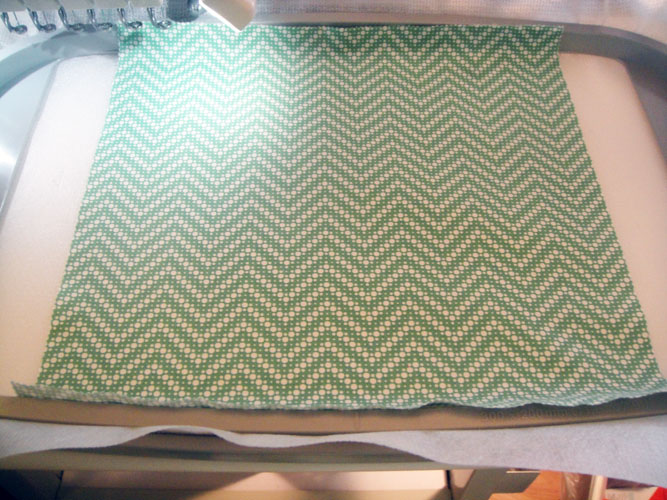
To stitch the filler blocks: place water soluble thread in the top of the machine; hoop mesh stabilizer and run CS 1 for the outline; spray adhesive on the top fabric and place over the outlines making sure the fabric exceeds the outline by ½” in all directions.
(Click Image to Enlarge)
Step 21:
Remove the hoop from the machine – do not unhoop – turn the hoop over and spray the Battilizer and place over the outlines; spray and place the back fabric over the Battilizer.
(Click Image to Enlarge)
Step 22:
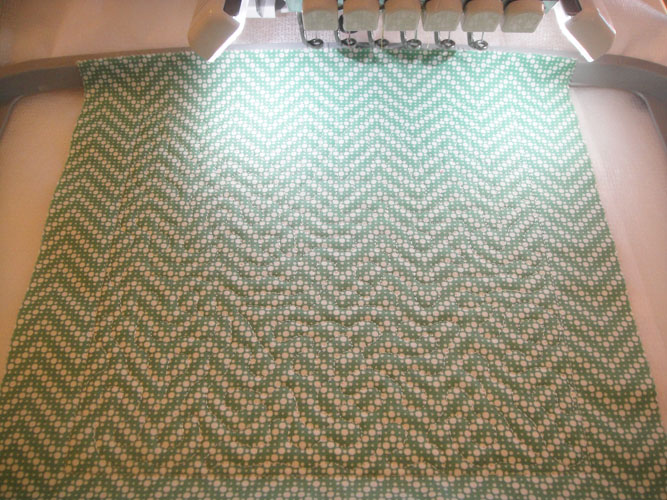
Continuing with the water soluble thread stitch CS 3 to tack down the back fabrics; change the top thread to a neutral thread and stitch the quilting with CS4; make 10 blocks in this manner.
(Click Image to Enlarge)
Step 23:
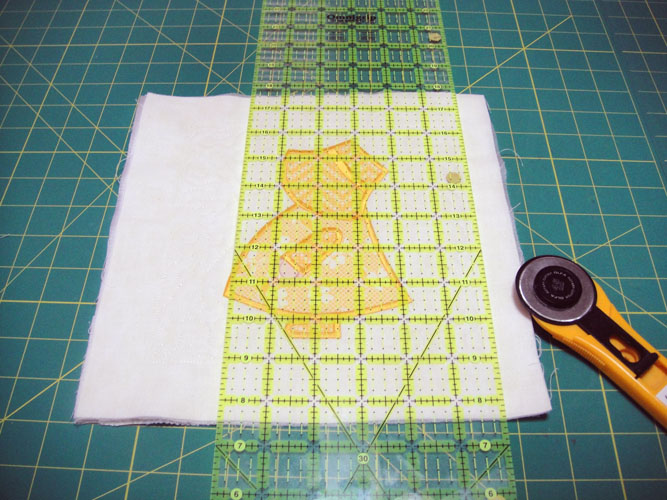
Lay the ¼” mark on a see through ruler over the tack down lines of the block and trim all edges to ¼”.
(Click Image to Enlarge)
Step 24:
Lay out your blocks 4 across and 5 deep alternating Sun Bonnet Sue and filler blocks.
(Click Image to Enlarge)
Step 25:
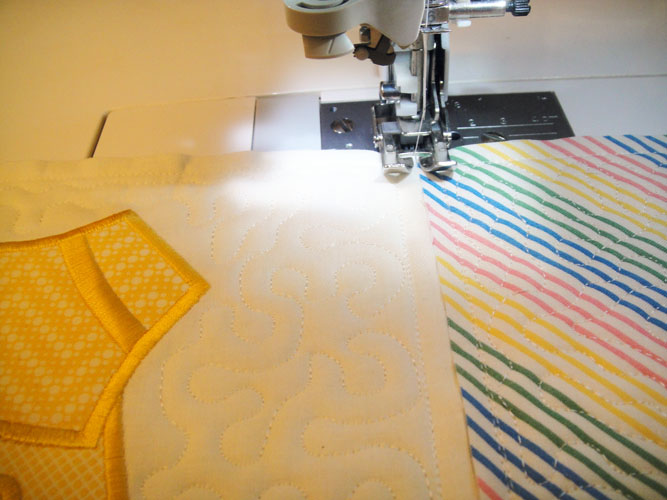
You will first join the blocks into rows by butting two blocks sides together – do not overlap. A walking foot attachment is recommended.
(Click Image to Enlarge)
Step 26:
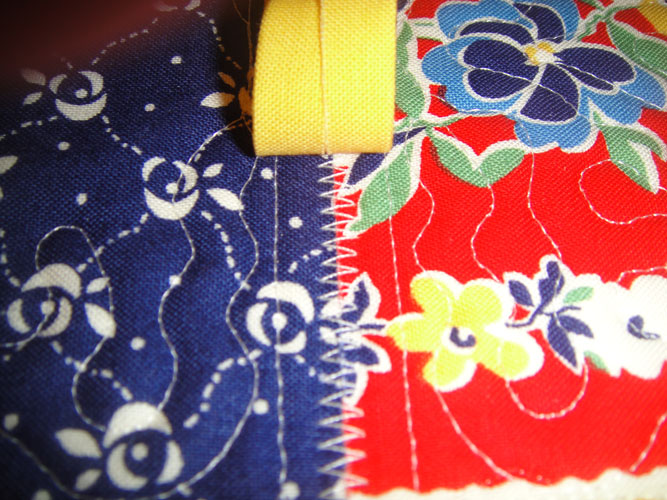
With a wide zigzag (4.5 to 5mm) zigzag the two blocks together.
(Click Image to Enlarge)
Step 27:
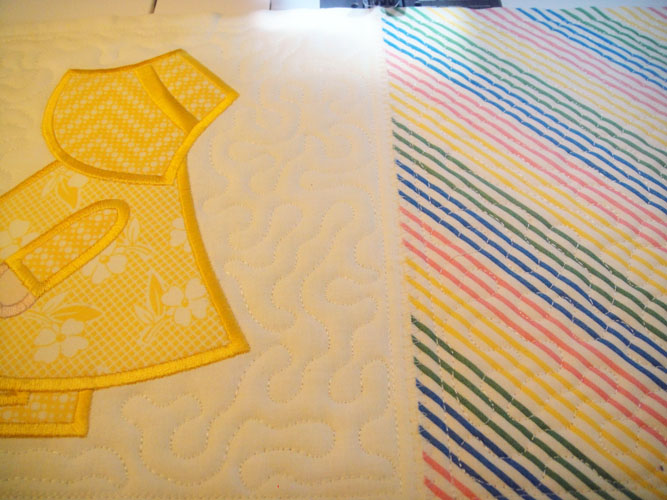
In this picture the top row of blocks is joined. Repeat this joining of the blocks for the other 4 rows.
(Click Image to Enlarge)
Step 28:
Make sure that all the edges of your rows are straight; trim minor imperfections off if necessary. Join the rows together with the same zigzag technique aligning the intersections of the adjacent blocks.
(Click Image to Enlarge)
Step 29:
You have two sets of sashing strips, one set of 7 cut at 1 ¼” and one set of 7 cut at 1/1/2”. Select the narrower set of strips first.
(Click Image to Enlarge)
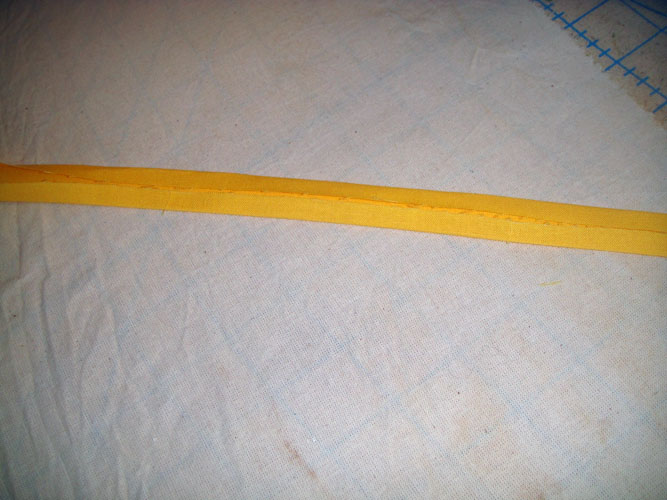
Step 30:
Bring the long edges of the strip together in the center and press to make the sashing.
(Click Image to Enlarge)
Step 31:
Load invisible thread into the top and bobbin of your sewing machine. Invisible thread can be problematic, however I have found that YLI embroidery thread will run beautifully in your machine. It is carried by many quilt shops and on Amazon.
Step 32:
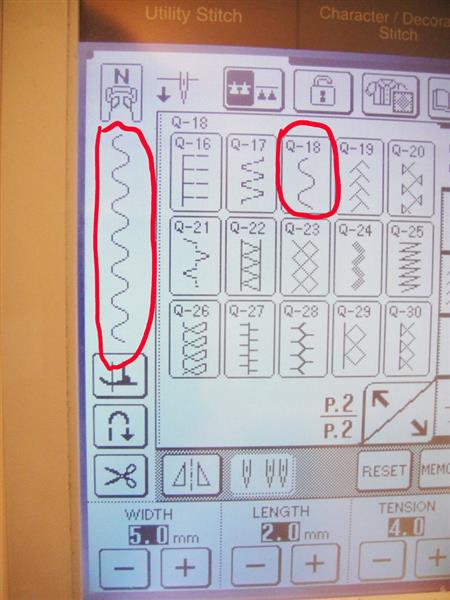
Select a Serpentine stitch or another stitch type other than just a straight seam; this will hide the stitches on the other side of your quilt.
(Click Image to Enlarge)
Step 33:
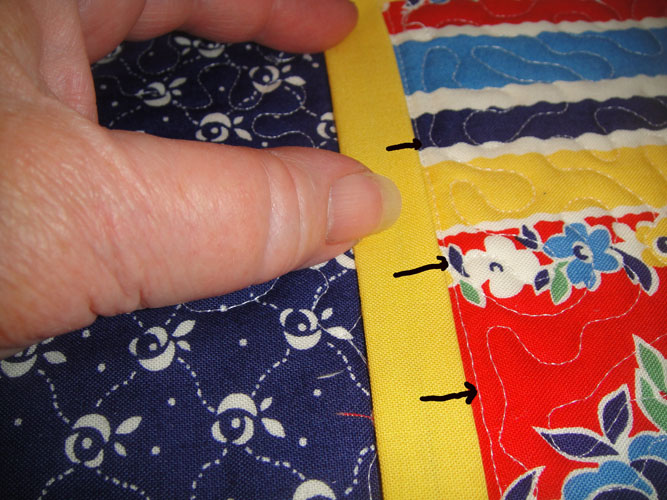
Align the folded sashing strip, raw edges down across a horizontal row of zigzag stitches that join the rows together; center of the sashing should follow your zigzag stitches and the right edge of the sashing should just meet the water soluble thread outline of the blocks.
(Click Image to Enlarge)
Step 34:
A second picture of how the sashing should be aligned over the zigzag row.
(Click Image to Enlarge)
Step 35:
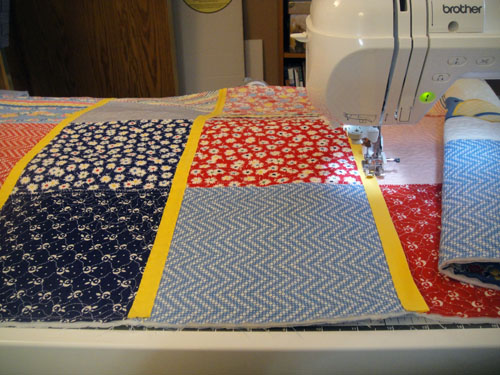
Stitch down both sides of the sashing with the Serpentine stitch and invisible thread on all horizontal joining rows.
Step 36:
The back of the quilt will now look like this.
(Click Image to Enlarge)
Step 37:
Fold the centers of the wider sashing strips into the center and press. Apply the wider strips to the front of the horizontal joining rows in the same manner. The front will look like this.
(Click Image to Enlarge)
Step 38:
Turn the quilt back over and apply three of the narrow
sashing strips over the vertical joining rows.
(Click Image to Enlarge)
Step 39:
Turn the quilt right side up and apply the wider sashing to the vertical rows on the front of the quilt.
(Click Image to Enlarge)
Step 40:
Apply binding by your favorite method and your Sun Bonnet Sue Baby Quilt is complete!
Award winning Digitizer, Embroidery Educator, Author and a Consultant to the Industry, Pat Williams has 30 years of experience in the embroidery industry. Pat has won multiple awards for her digitizing expertise including the 2007 Impressions Awards Grand Championship, Best of Show as well as the 1st and 2nd Place Awards. Pat’s love of digitizing has afforded her the opportunity to write numerous articles for Impressions magazine in the United States and Images Magazine in Europe. In 2001 Pat was named “Embroidery Educator of the Year.” For many years Pat taught digitizing seminars at the ISS Shows in Long Beach, CA and for Compucon software. She now resides in Tucson, AZ.